Tired of rummaging through messy drawers every morning? You’re not alone. Most homes have at least one chaotic drawer that swallows small items and wastes precious time. The good news? You can transform any drawer into an organized paradise using simple materials you already own. These DIY divider projects cost pennies compared to store-bought organizers and take less than an hour to complete. From cardboard boxes to ice cube trays, you’ll discover smart solutions that actually work for real life.
Use Cardboard Boxes as Quick Dividers
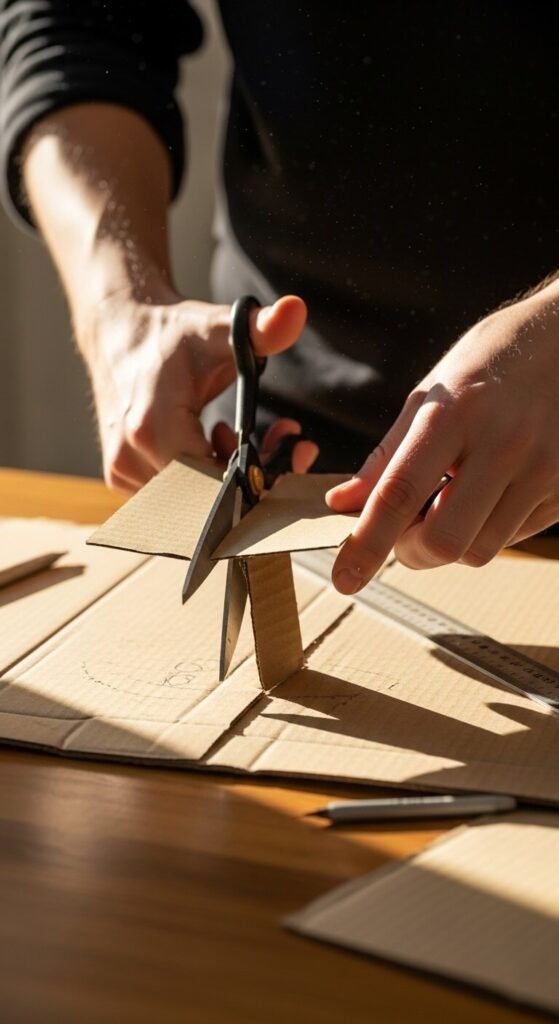
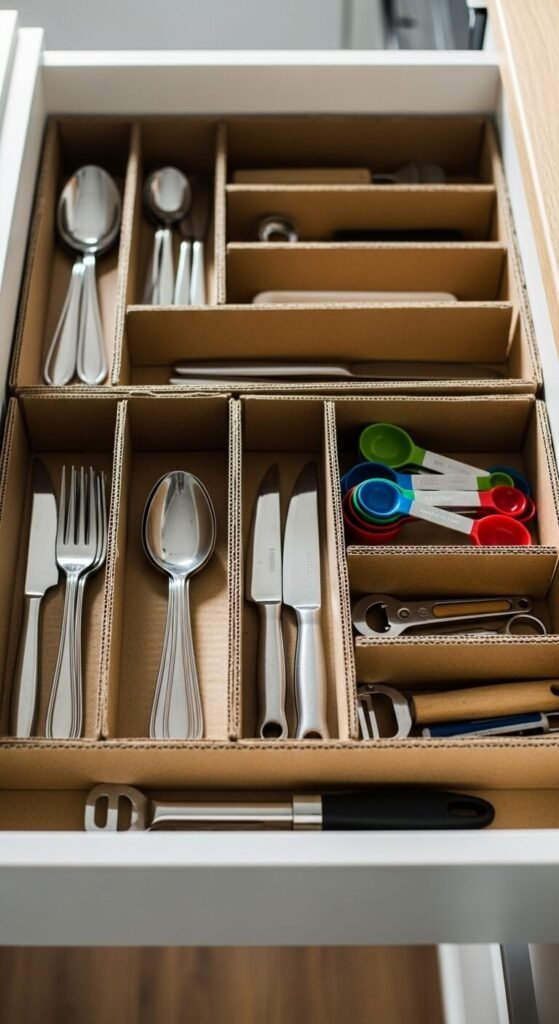
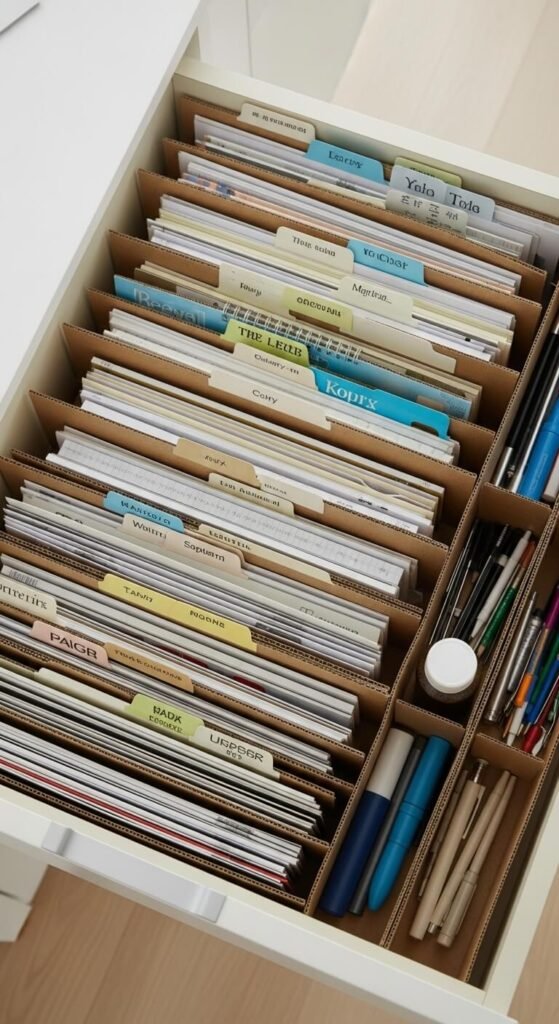
Cereal boxes and shipping containers make perfect free dividers. Cut them to fit your drawer height and arrange them in a grid pattern. Cover with contact paper or washi tape for a polished look. This method works great for junk drawers, bathroom supplies, or craft materials. You can adjust the compartment sizes anytime without buying new organizers. The cardboard is sturdy enough for everyday use and completely replaceable when worn out.
Create Bamboo Dividers from Placemats
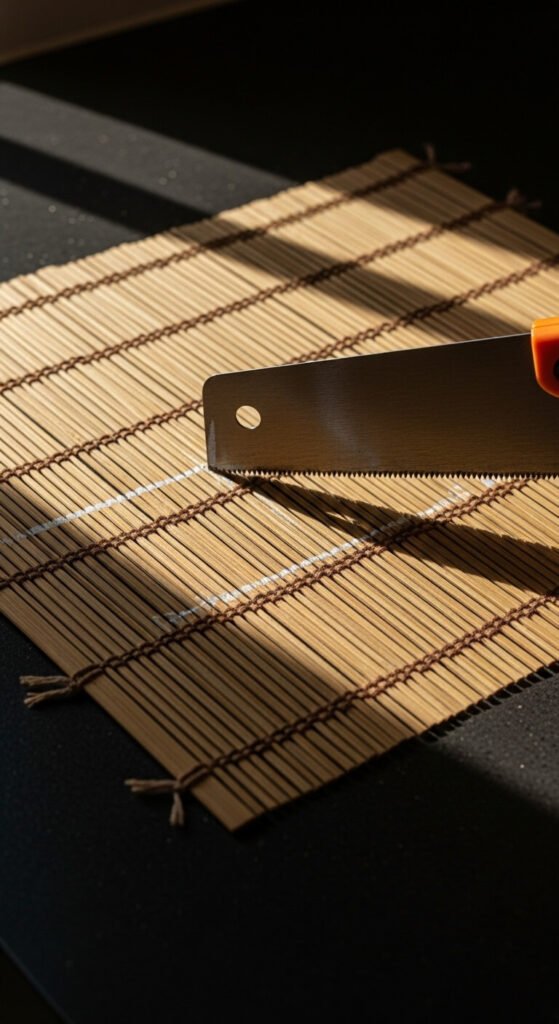
Dollar store bamboo placemats cost under two dollars each. Cut them into strips that match your drawer depth using a hand saw. Hot glue the pieces together to form custom compartments. The natural look adds warmth to any drawer and handles daily wear beautifully. Perfect for kitchen utensils or office supplies. You can stain or paint the bamboo to match your decor before installation.
Repurpose Shoe Boxes for Deep Drawers
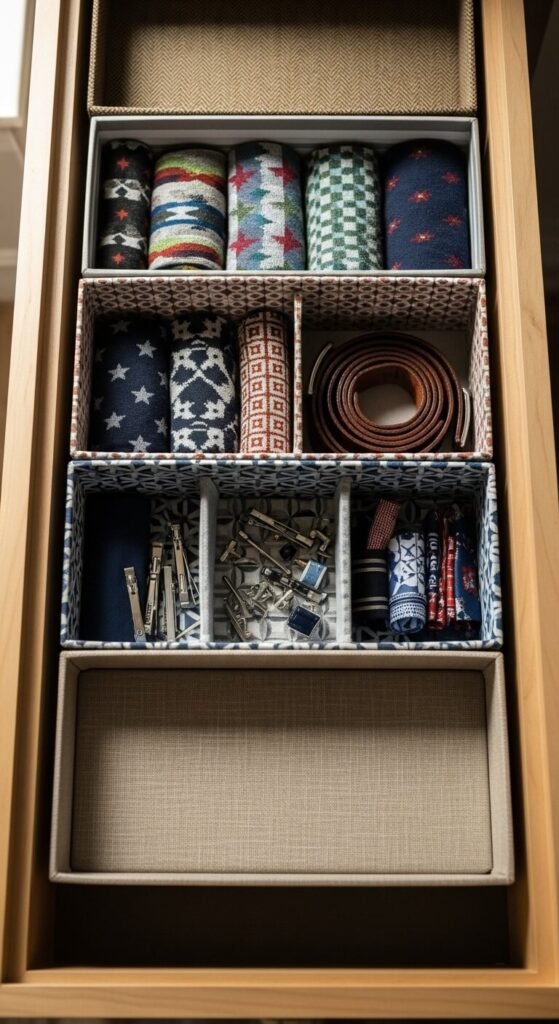
Shoe boxes fit perfectly in most dresser drawers. Remove the lids and cut down the height if needed. Line them with pretty fabric or wrapping paper to hide the branding. Group similar items together like socks, scarves, or workout gear. The sturdy construction holds heavy items without collapsing. Swap them out seasonally to rotate your wardrobe storage effortlessly.
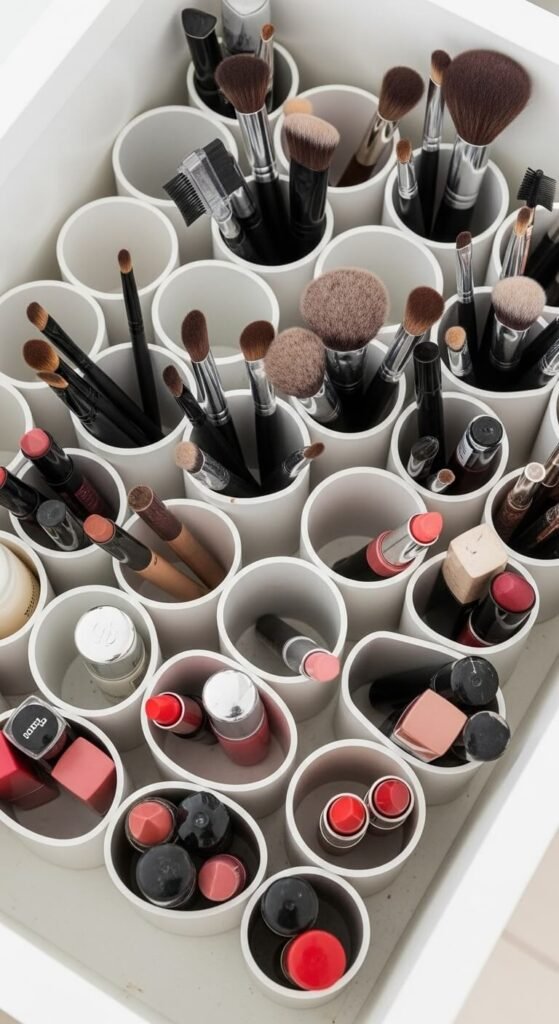
Build PVC Pipe Compartments

Half-inch PVC pipes from hardware stores cost about five dollars for ten feet. Cut them into sections and lay them horizontally in your drawer. Perfect for storing makeup brushes, pens, or small tools upright. The smooth plastic wipes clean easily and prevents rolling. Paint the pipes before cutting for personalized color coordination. This design maximizes vertical space in shallow drawers.
Transform Ice Cube Trays into Tiny Organizers
Silicone ice cube trays cost one dollar at discount stores. Place them directly in drawers to corral tiny items. Great for jewelry, hardware, beads, or office supplies. The flexible material makes retrieving items simple. Stack multiple trays for deeper drawers or different item categories. Choose fun colors to make organization more enjoyable and visually appealing.
Craft Wooden Dividers from Paint Sticks
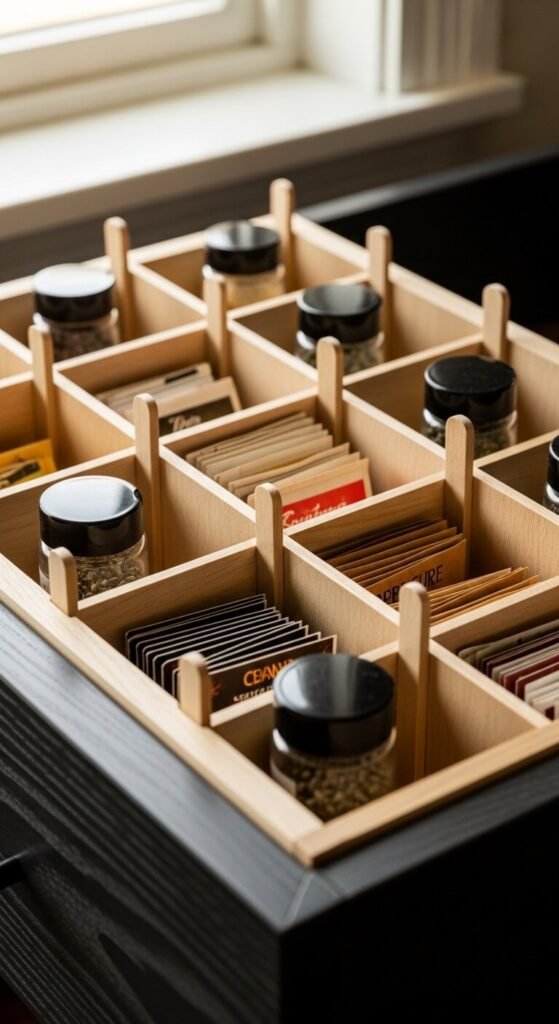
Paint stores give away wooden stirrers for free. Measure your drawer and cut sticks to size with a hand saw. Notch them at intersections to create a stable grid. Sand the rough edges and finish with tung oil or leave natural. This old-school method costs absolutely nothing and looks charmingly rustic. Adjust the grid spacing based on what you’re storing.
Use Toilet Paper Rolls for Small Items
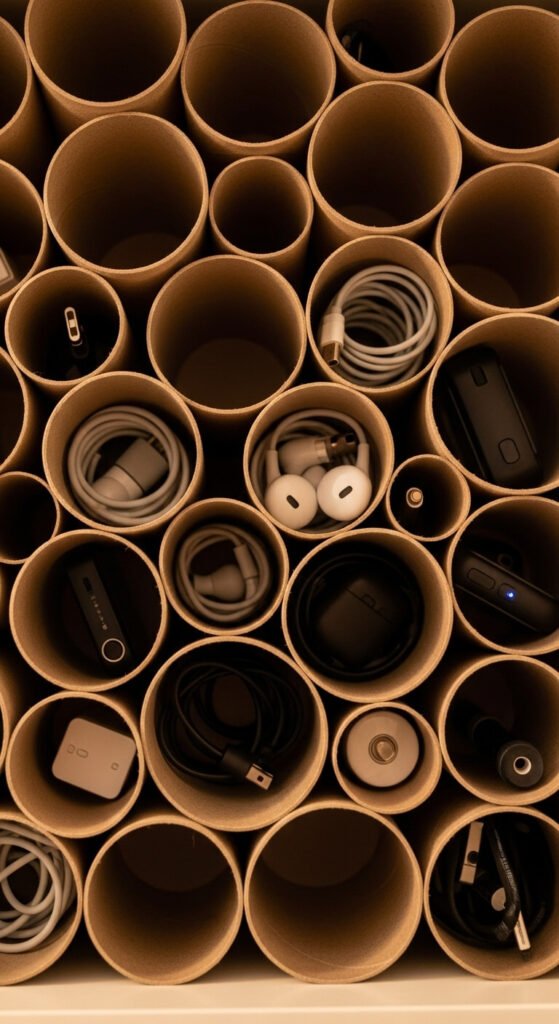
Empty toilet paper rolls are free and surprisingly useful. Stand them upright in a drawer and pack them tightly together. Drop charging cables, hair ties, or craft supplies into each tube. The height prevents items from tangling or getting lost. Cover the tubes with fabric or paper if you want a prettier finish. Replace worn tubes anytime at no cost.
Make Felt Dividers with Hot Glue

Craft felt sheets cost fifty cents each at hobby stores. Cut strips to your drawer dimensions and hot glue them together. The soft material won’t scratch delicate items and adds cushioning. Works beautifully for jewelry drawers or baby clothes. Choose colors that make you happy when you open the drawer. Felt withstands humidity better than cardboard in bathroom settings.
Install Tension Rods as Vertical Dividers
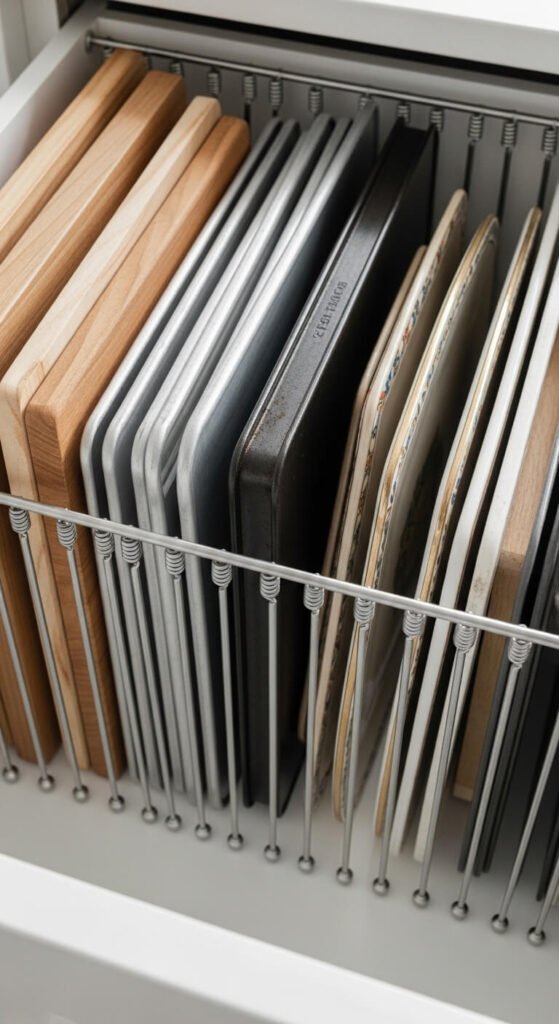
Spring-loaded tension rods fit any drawer width without tools. Install them vertically to separate platters, cutting boards, or file folders. The rods adjust instantly when you need to resize compartments. No drilling or permanent changes required for renters. Find them at dollar stores for under three dollars each. This method doubles storage capacity for flat items that stack poorly.
Create Magazine File Dividers
Cardboard magazine files from office supply stores cost two dollars. Tip them on their sides and place them in drawers. Perfect for organizing file folders, notebooks, or even canned goods in pantry drawers. The angled opening makes grabbing items quick and easy. Spray paint them to match your drawer interior or cover with decorative paper.
Build Drawer Grids from Foam Board
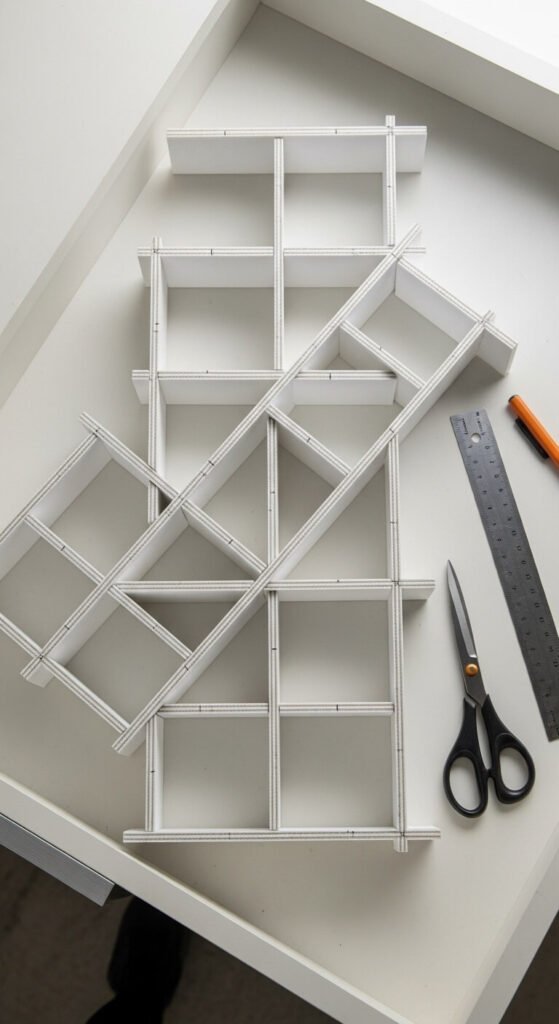
Foam board from dollar stores is lightweight and easy to cut. Measure and slice pieces to create a custom grid pattern. Slot pieces together at notches for a friction-fit assembly. The rigid foam holds shape well for lightweight items. Cover with contact paper if you want durability. This method gives you complete control over compartment sizes for odd-shaped items.
Repurpose Berry Containers
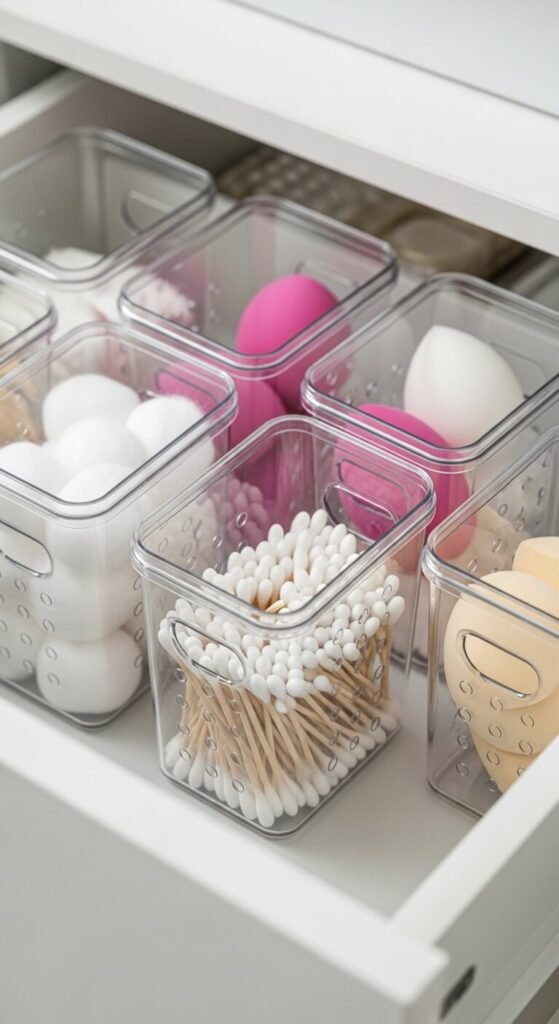
Plastic berry containers are free after you eat the fruit. Wash them thoroughly and use them as see-through organizers. The ventilation holes prevent moisture buildup in bathroom drawers. Stack them or arrange side by side depending on drawer depth. Perfect for cotton balls, hair accessories, or small toiletries. The clear plastic helps you spot what you need instantly.
Fashion Dividers from Corrugated Plastic Signs
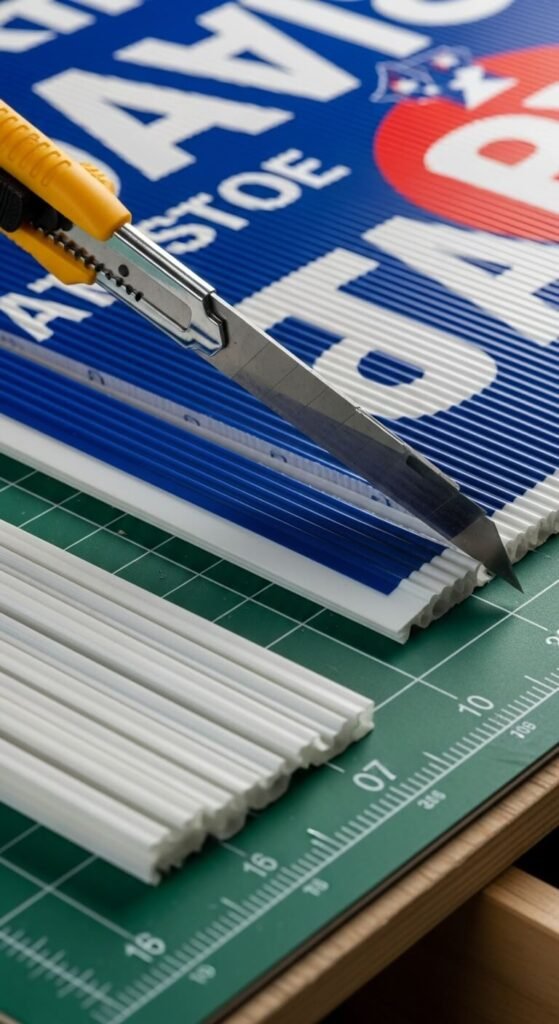
After elections, grab free yard signs for sturdy divider material. Cut the corrugated plastic to size with a utility knife. The waterproof surface works great in garages or damp areas. Heavier than cardboard but lasts for years without warping. The material is thick enough to stand upright without support. Choose signs with colors you like or spray paint them.
Use Mason Jar Lids as Circular Organizers
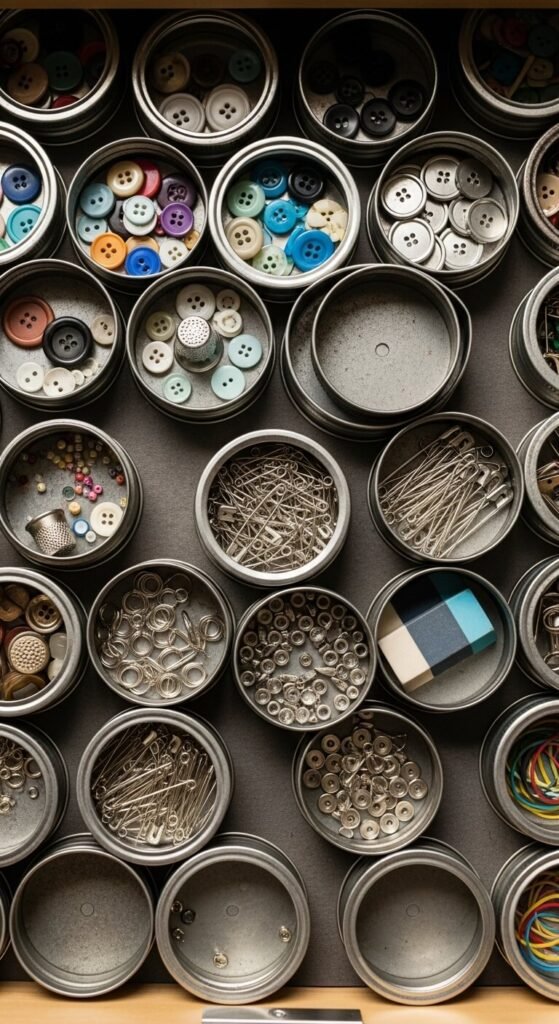
Separate mason jar lids from their jars and use just the rings. Arrange them in your drawer to create circular compartments. Great for corralling small items like buttons, beads, or pills. The metal rings are durable and cost nothing if you already can food. Different sized lids accommodate various item sizes. The open top makes grabbing items effortless.
Construct Drawer Dividers from Cereal Box Cardboard

Cereal boxes are thicker than regular cardboard and perfect for dividers. Cut and score them to create standing walls. Cover with scrapbook paper or fabric to hide the printed designs. Customize the layout completely for your specific drawer contents. Kids can help decorate these for their own room organization. The sturdy material handles daily drawer opening and closing.
Make Expandable Dividers with Accordion Files
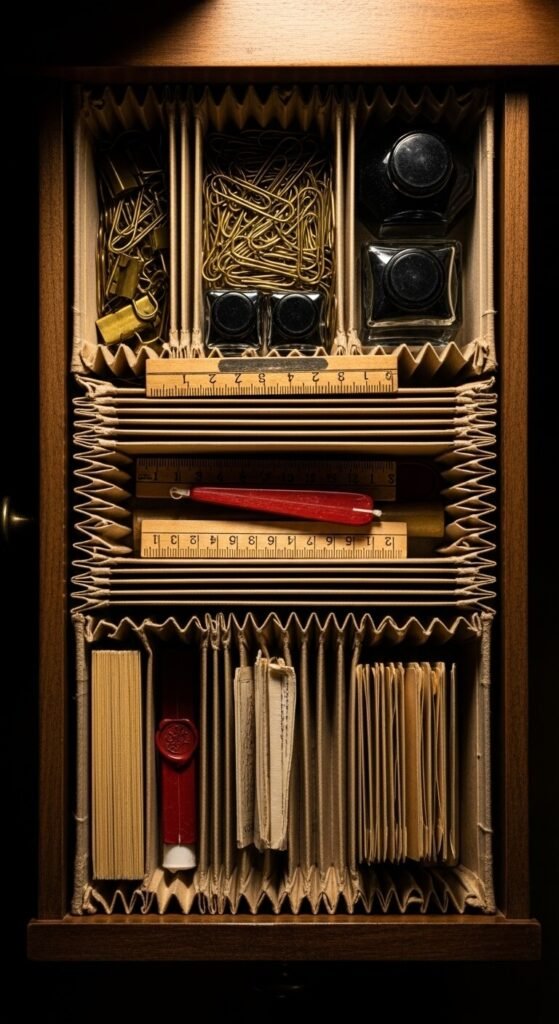
Old accordion files can be trimmed to fit drawer dimensions. The expandable sections adjust to hold different quantities of items. Works well for receipts, coupons, or greeting cards. The built-in structure eliminates assembly time. Look for these at thrift stores for under a dollar. The fabric coating adds durability compared to plain cardboard dividers.
Create Pegboard Drawer Inserts
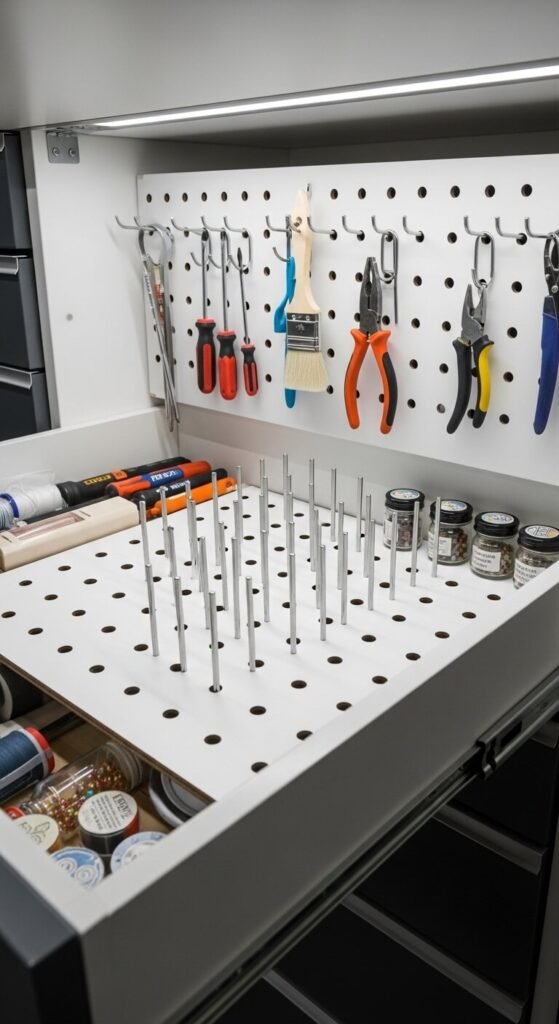
Cut pegboard to fit your drawer bottom exactly. Insert pegs to create movable dividers anywhere you need them. Rearrange the configuration as your storage requirements change. Hardware stores sell pegboard scraps cheaply or for free. The holes allow airflow and you can see through to the drawer bottom. Hang small items directly on pegs for maximum space efficiency.
Build Drawer Dividers from Balsa Wood
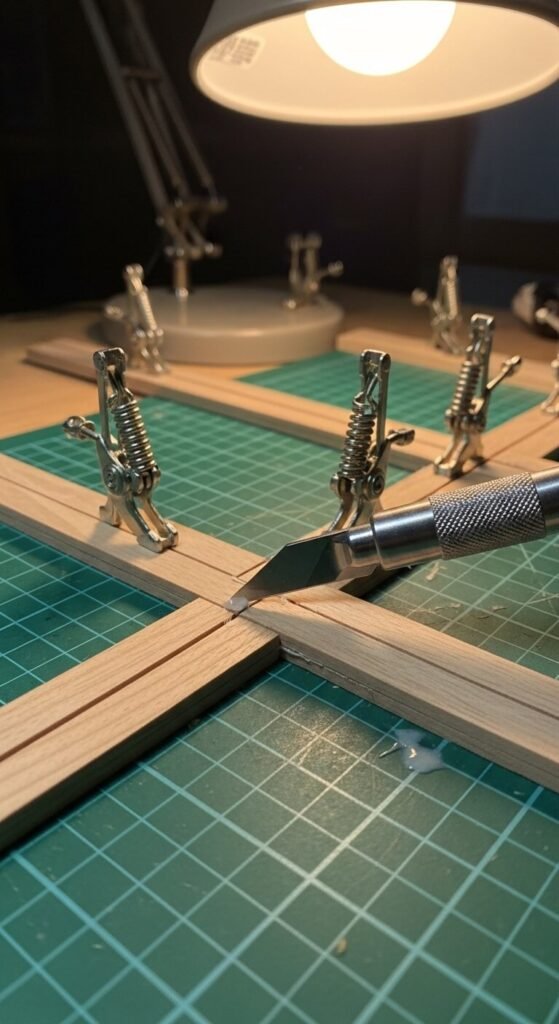
Balsa wood sheets from craft stores cost about three dollars. Cut thin strips and glue them together in your desired pattern. The lightweight wood won’t add bulk to your drawer. Sand smooth and stain or paint to match furniture. This option looks more refined than cardboard but stays budget-friendly. Perfect for displaying in guest room dressers or visible drawers.
Repurpose Muffin Tins as Drawer Organizers
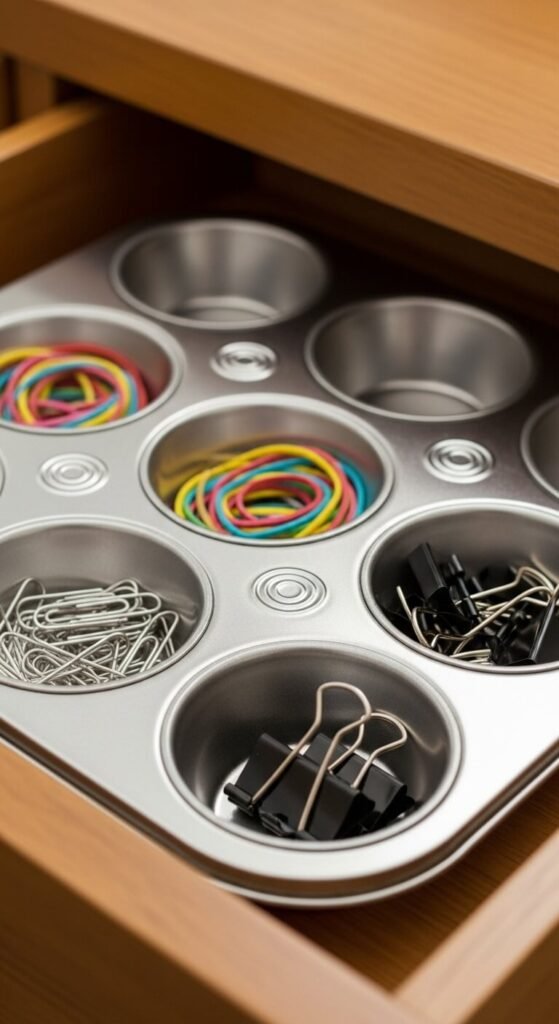
Old muffin tins that no longer bake well make excellent organizers. Place them directly in drawers without any modification needed. The cups keep small items separated and easy to grab. Works for garage hardware, craft supplies, or bathroom essentials. Choose between 6-cup or 12-cup sizes depending on drawer dimensions. The metal construction lasts forever and wipes clean easily.
Fashion Dividers from Recycled Cardboard Tubes

Paper towel tubes and wrapping paper cores cost nothing. Cut them to match drawer depth and stand them vertically. Roll scarves, ties, or dish towels and store them inside tubes. The tubes prevent wrinkles and keep items from unraveling. Decorate the outside with washi tape or leave them plain. Group tubes together with rubber bands to prevent shifting.
Create Custom Dividers with Craft Foam Sheets

Craft foam sheets are inexpensive and come in rainbow colors. Cut them to size and slot them together like puzzle pieces. The cushiony material protects fragile items from chips and scratches. Great for children’s drawers since foam is safe and easy to customize. The material resists moisture better than cardboard in any room. Replace sections individually if they wear out over time.
Use Plastic Canvas for Needlework Dividers
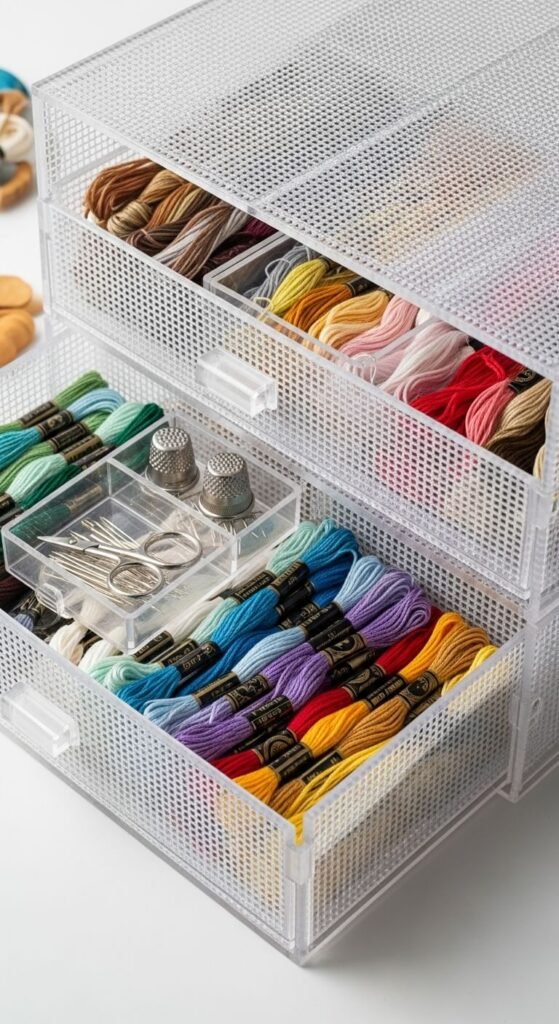
Plastic canvas from craft stores costs about one dollar per sheet. Cut pieces and zip-tie them together to form compartments. The mesh structure allows visibility while keeping items separated. Perfect for craft supplies, small toys, or garage hardware. The plastic won’t warp or deteriorate in humid environments. Trim the sharp edges with sandpaper for safety.
Conclusion
Your drawers don’t have to be expensive disasters waiting to happen. These 22 DIY divider projects prove that organization comes from creativity, not costly store-bought systems. Start with one drawer this weekend using materials you already have around the house. You’ll save money, reduce waste, and actually enjoy opening your drawers again. Pick the project that matches your skill level and available materials. Transform chaos into calm, one drawer at a time.