A chaotic pantry can turn meal prep into a scavenger hunt. Expired cans hide behind cereal boxes, spices tumble out when you open the door, and you buy duplicates because you can’t see what you already own. But transforming your pantry doesn’t require a complete renovation or expensive organizing systems. With smart storage solutions and simple strategies, you can create a space that saves time, reduces food waste, and makes cooking enjoyable again. These 25 hacks use affordable materials you probably already have at home.
Use Clear Containers for Everything
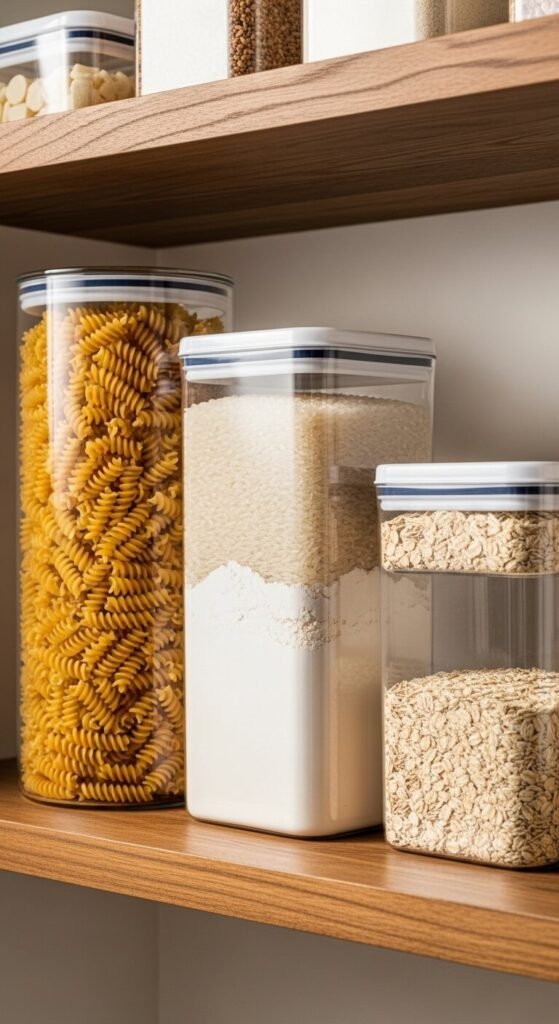
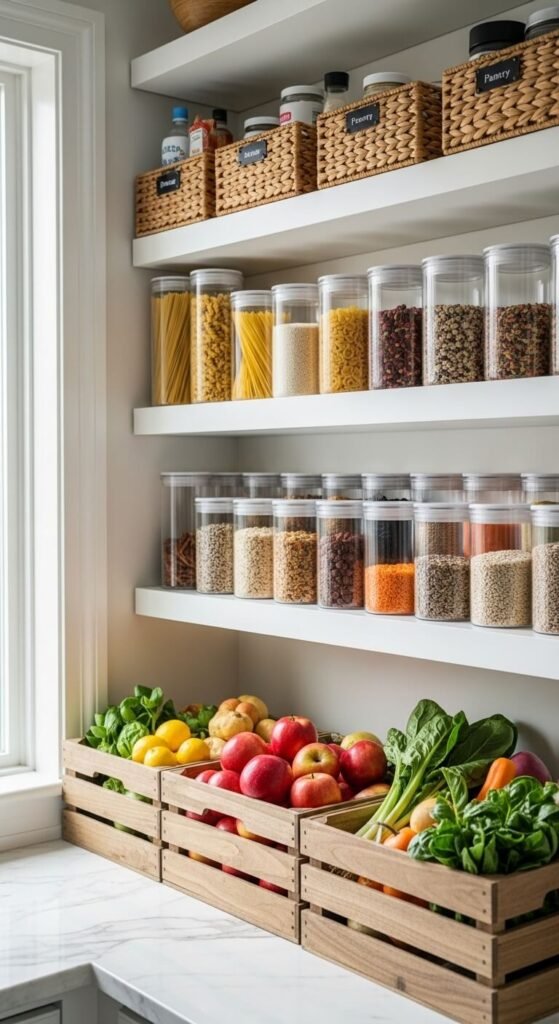
Transferring dry goods into clear containers lets you see exactly what you have at a glance. No more guessing if that bag has enough flour for your recipe. Choose stackable square or rectangular containers to maximize shelf space—round ones waste corners. Label each container with a permanent marker or adhesive labels. You can find affordable container sets at dollar stores or reuse glass jars from pasta sauce and pickles. This simple switch prevents buying duplicates and keeps food fresher longer since airtight seals protect against moisture and pests.
Install a Lazy Susan for Corner Access
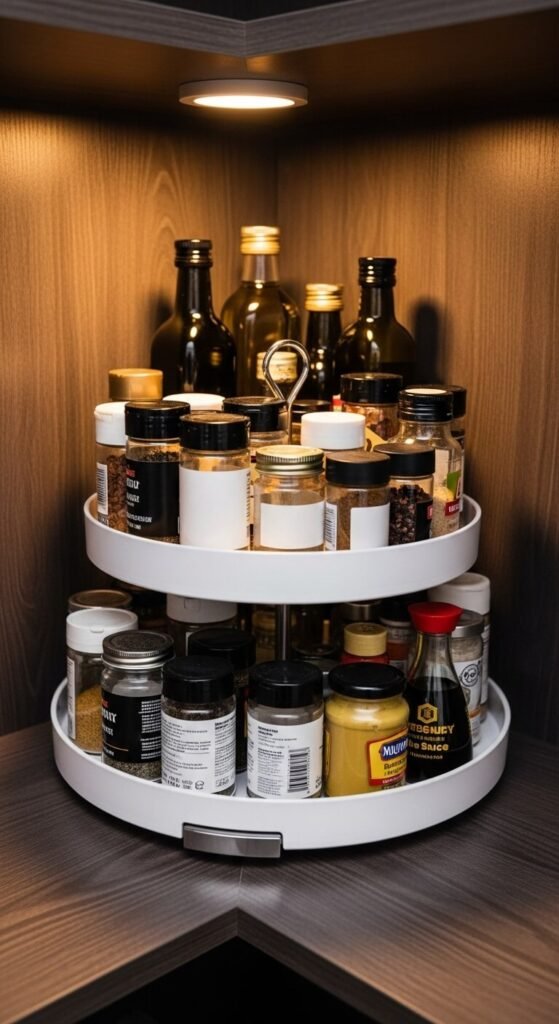
Corner shelves create dead zones where items disappear into darkness. A lazy susan solves this by bringing everything within reach with a simple spin. Use them for oils, vinegars, sauces, and condiments. You can buy plastic turntables for under five dollars at most home stores. For deep corners, try a two-tier lazy susan to double your storage. This hack works brilliantly for spices too—no more knocking over bottles to reach the one in back. Clean it monthly by removing items and wiping down the surface.
Create Zones by Meal Type
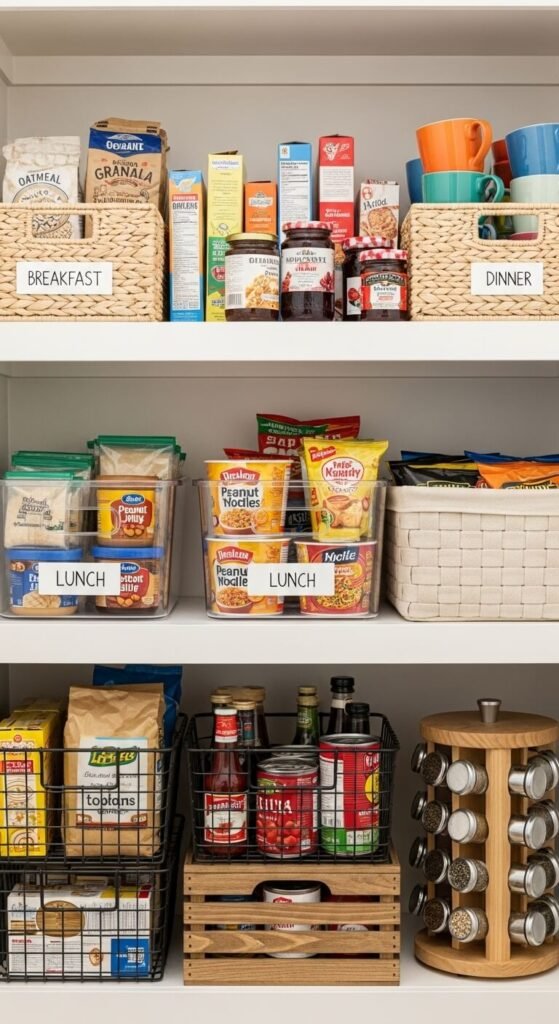
Group items by when you use them rather than by food category. Put breakfast foods together—oats, cereals, pancake mix, syrup. Dedicate another shelf to lunch supplies like crackers, nut butters, and canned soups. Keep dinner staples like pasta, rice, and sauces in their own zone. This method speeds up meal prep because everything you need lives in one spot. You won’t waste time searching multiple shelves for ingredients. Use small baskets or bins to keep each zone tidy and prevent items from migrating to other areas.
Add Shelf Risers for Vertical Space
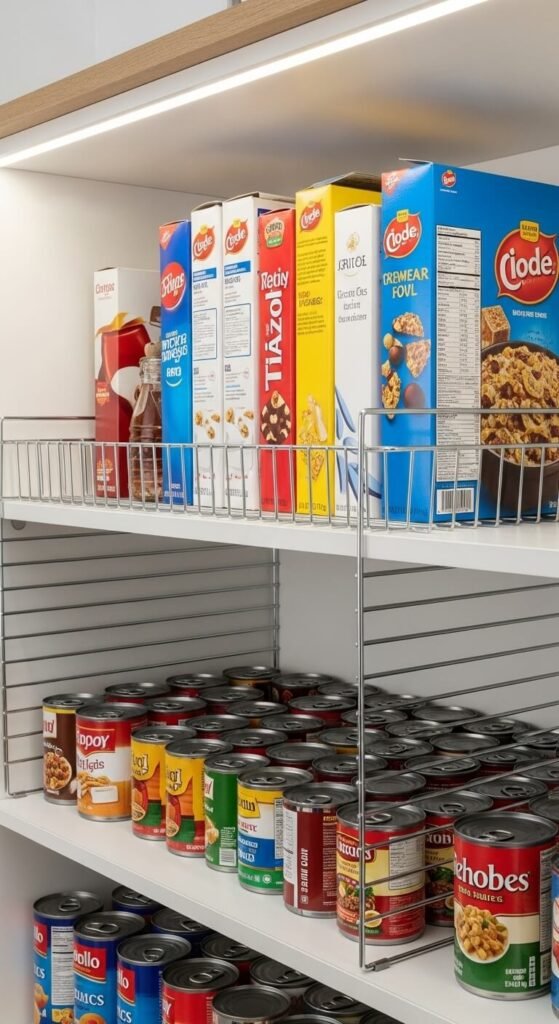
Most pantry shelves have wasted vertical space between the shelf surface and the one above it. Shelf risers fix this by creating stadium-style seating for your cans and boxes. Stack smaller items underneath and taller ones on top. You can find expandable risers that adjust to fit your shelf width for around ten dollars. Metal versions hold more weight than plastic ones. This doubles your usable space without any installation required. Perfect for canned goods, spice jars, or small boxes that would otherwise create single-layer clutter.
Hang a Door Rack for Small Items
Your pantry door holds untapped storage real estate. Over-the-door racks require no tools—they simply hook over the top. Use them for spices, snack packets, tea bags, or aluminum foil and plastic wrap. This keeps small items from getting lost on deep shelves. Choose racks with adjustable baskets to customize spacing. Make sure the rack doesn’t interfere with door closing. This solution works especially well in narrow pantries where every inch counts. Check weight limits before loading heavy items.
Label Everything with Expiration Dates
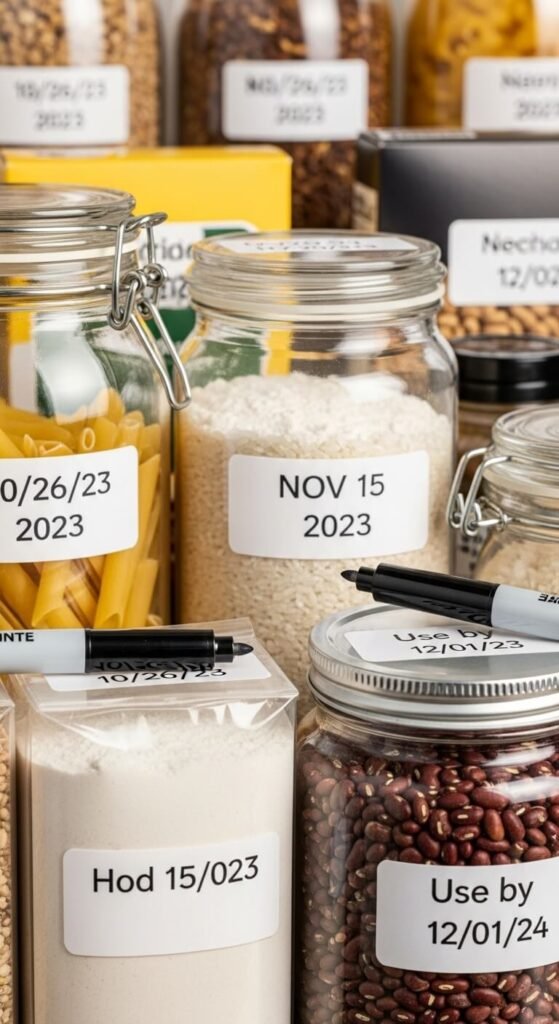
Writing purchase or expiration dates on containers and packages prevents food waste. Use a permanent marker to note the date on the top or front of each item when you bring groceries home. This takes 30 seconds but saves money by ensuring you use older items first. For bulk goods transferred to containers, write the date you opened them. Flour, nuts, and grains go rancid faster than you think. Keep a marker in your pantry for quick labeling. Review dates monthly and move items nearing expiration to the front of shelves.
Use Magazine Holders for Flat Packages
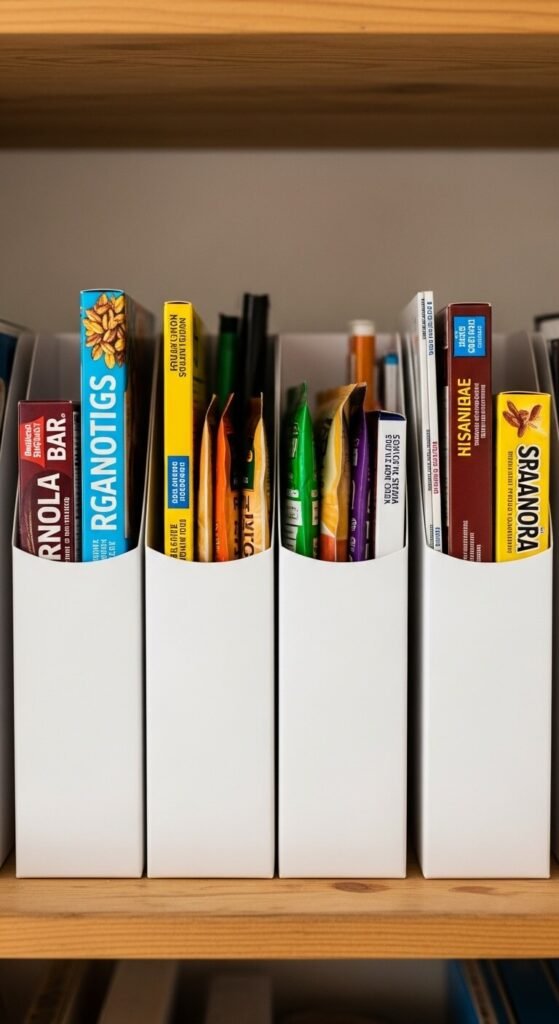
Flat boxes and packets flop over and create messy piles. Standing magazine holders keep them upright like files in a filing cabinet. Store granola bars, instant oatmeal packets, seasoning mixes, and tea boxes this way. You can see everything at once and grab what you want without disturbing the rest. Buy cardboard magazine holders for a dollar each or make your own from cereal boxes by cutting them at an angle. This hack works for cutting boards, baking sheets, and cooling racks too.
Install Tension Rods for Dividers
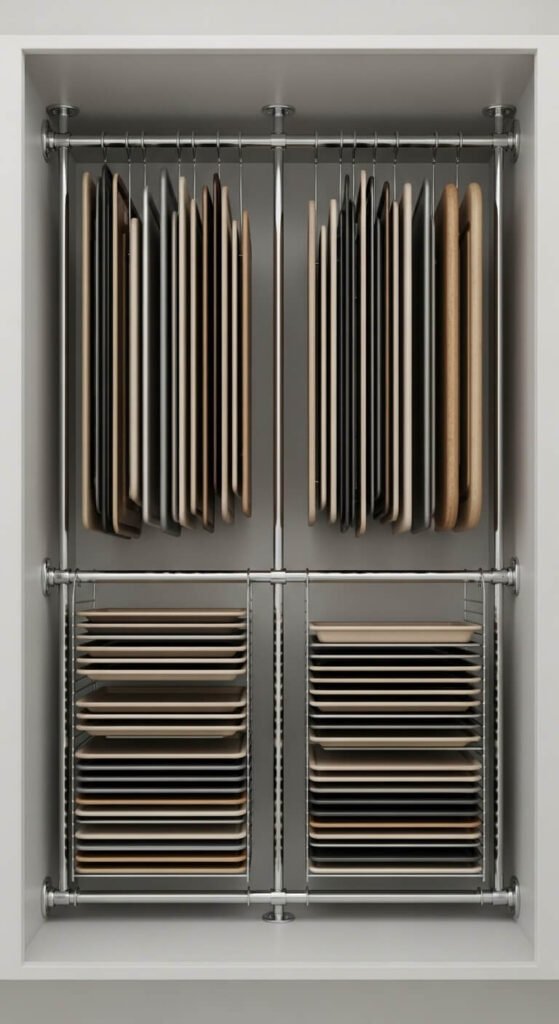
Tension rods aren’t just for shower curtains. Install them vertically between shelves to create dividers for baking sheets, cutting boards, or serving platters. They adjust to fit your exact shelf height without drilling holes. Place them horizontally to keep items from falling off deep shelves—works great for preventing canned goods from rolling to the back. You can reposition them easily as your storage needs change. Pick up tension rods for a few dollars at any hardware store. Make sure to get the right size for your space.
Store Chips in Shower Curtain Rings
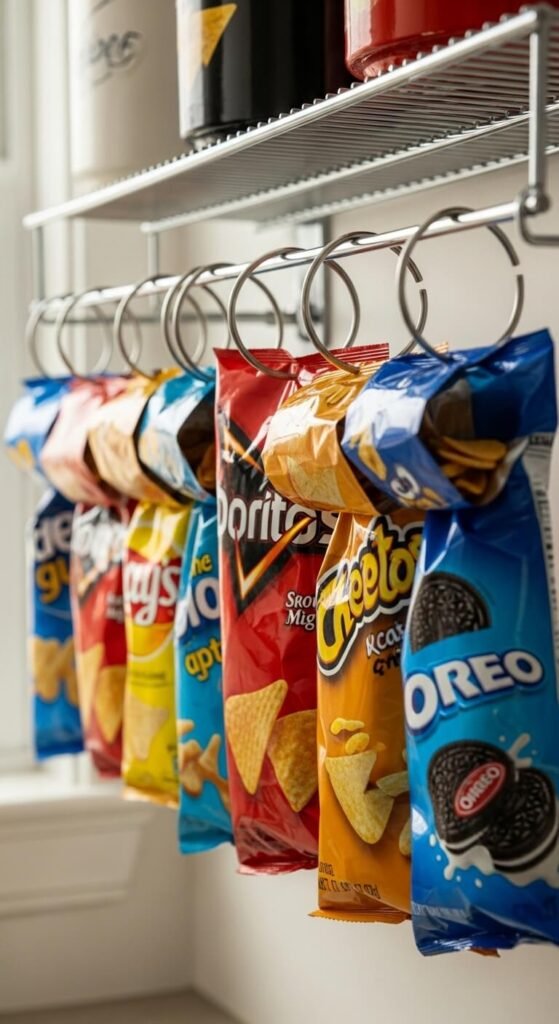
Open chip bags stay fresh longer when you fold the top down and clip them with shower curtain rings hung from a pantry rod or wire shelf. This keeps bags from toppling over and taking up shelf space. The rings cost pennies and you can hang a dozen bags in the space of one shelf. Kids can see all snack options at once and grab what they want. This works for any bag—pretzels, popcorn, cookies. Remove air from bags before clipping to extend freshness and save space.
Create a Snack Bin for Kids
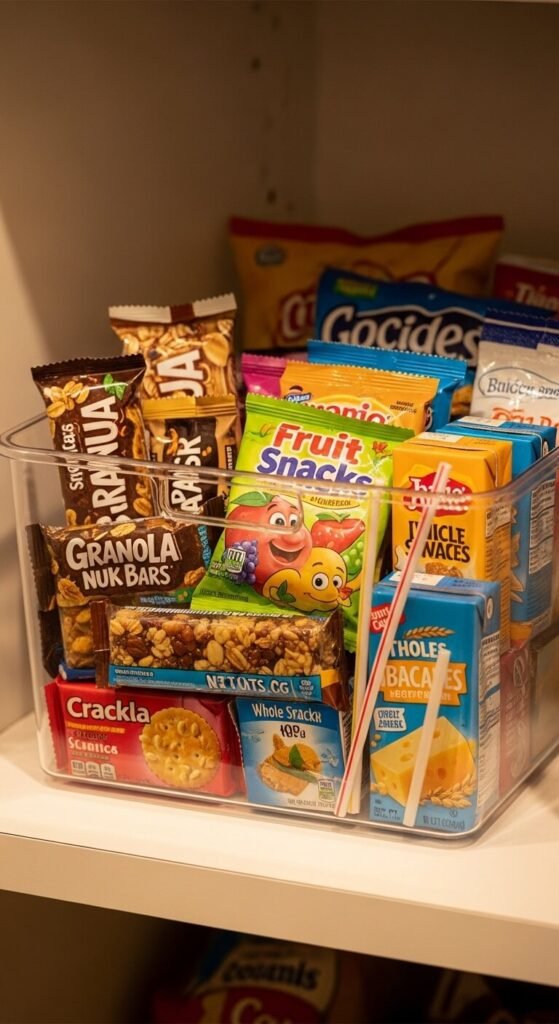
Designate one low bin or basket as the official snack zone where kids can help themselves. Fill it with pre-approved, individually wrapped snacks. This reduces constant requests for snacks and teaches independence. Choose a clear bin so kids can see options without dumping everything out. Refill it weekly during meal prep. This also helps with portion control since items are pre-packaged. Place it at kid height so they can reach without climbing. Rotate snack varieties to prevent boredom and reduce waste.
Use Binder Clips for Open Bags

Binder clips seal opened bags better than twist ties and take up less space than chip clips. Fold the bag top down twice and secure with a medium or large binder clip. This keeps contents fresh and prevents spills. The metal handles let you hang bags from hooks or rods if you want them off shelves. Remove the metal handles to use clips as regular closures. You probably have binder clips in a desk drawer already—free storage solution. Works for coffee, flour, sugar, rice, beans, and pet food.
Stack Cans with Can Organizers
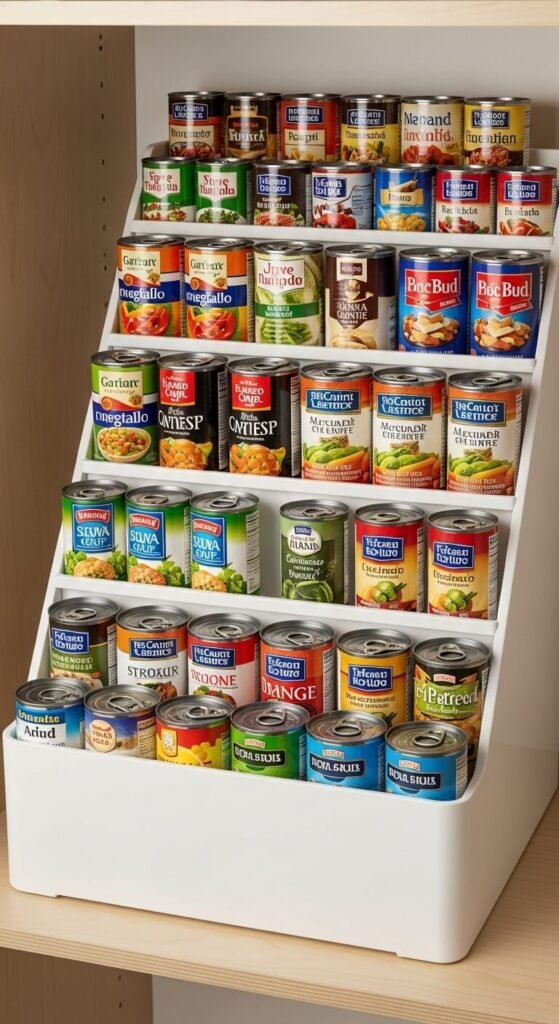
Can organizers create slanted shelves that let you see every label while automatically rotating stock. Load new cans in the back and grab from the front—first in, first out. This prevents cans from expiring in the back of shelves. You can buy plastic or metal can organizers that hold 12 to 36 cans for around 15 dollars. Or make your own with cardboard and duct tape by creating angled platforms. These work in cabinets too. Group cans by type—vegetables, soups, beans—for faster meal planning.
Hang Measuring Cups and Spoons
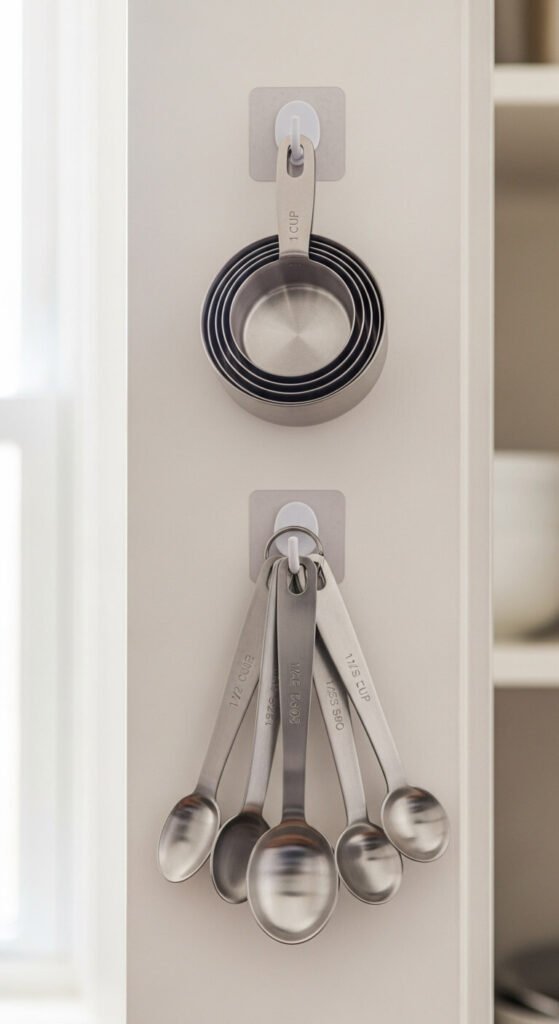
Stop digging through drawers for measuring tools. Hang them inside your pantry door or on the wall where you store baking supplies. Use small adhesive hooks or a mounted rack. This puts them exactly where you need them and saves drawer space. Keep both dry measuring cups and liquid measuring cups here along with measuring spoons. You’ll speed up baking and reduce kitchen traffic. Clean and hang them immediately after use so they’re always ready. This works for whisks and other frequently used tools too.
Use Baskets for Grab-and-Go Items
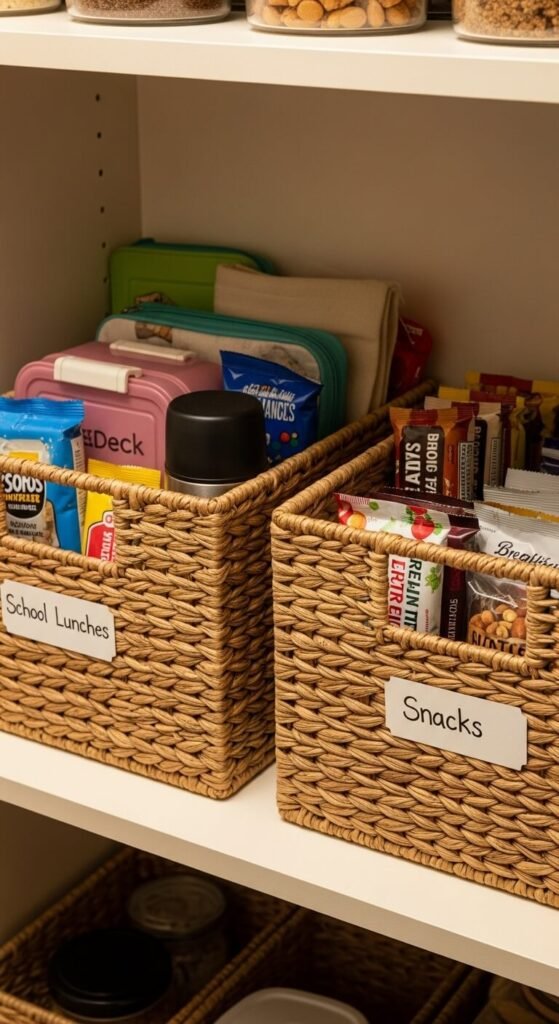
Corralling related items in baskets creates portable kits you can grab and go. Make a school lunch basket with juice boxes, snack packs, and napkins. Create a breakfast basket with instant oatmeal, granola bars, and coffee pods. When it’s time to pack lunches, carry the whole basket to the counter instead of making multiple trips. Woven baskets add texture and warmth while plastic bins are easier to clean. Label each basket clearly on the front. This system works brilliantly for camping supplies, baking ingredients, or baby food.
Install Pull-Out Drawers in Deep Cabinets
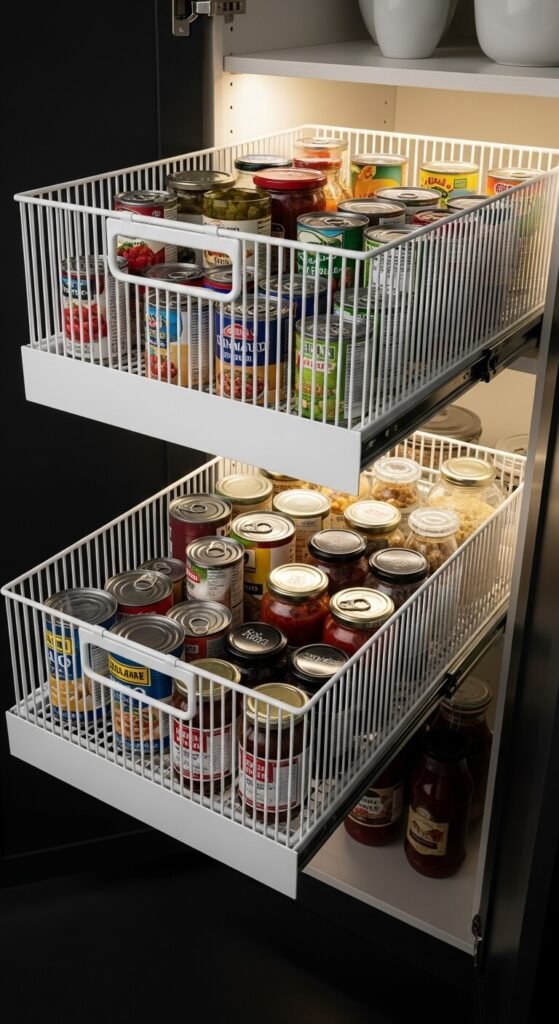
Deep shelves hide items in the back where they’re forgotten until they expire. Pull-out drawers solve this by bringing everything forward with one motion. You can install wire baskets or plastic drawer inserts yourself with basic tools. They cost 20 to 40 dollars depending on size. Measure your cabinet width and depth before buying. These work great for heavy items like canned goods or small items like spice jars. Once installed, you’ll wonder how you managed without them. Check weight ratings if storing heavy items.
Keep a Running Grocery List
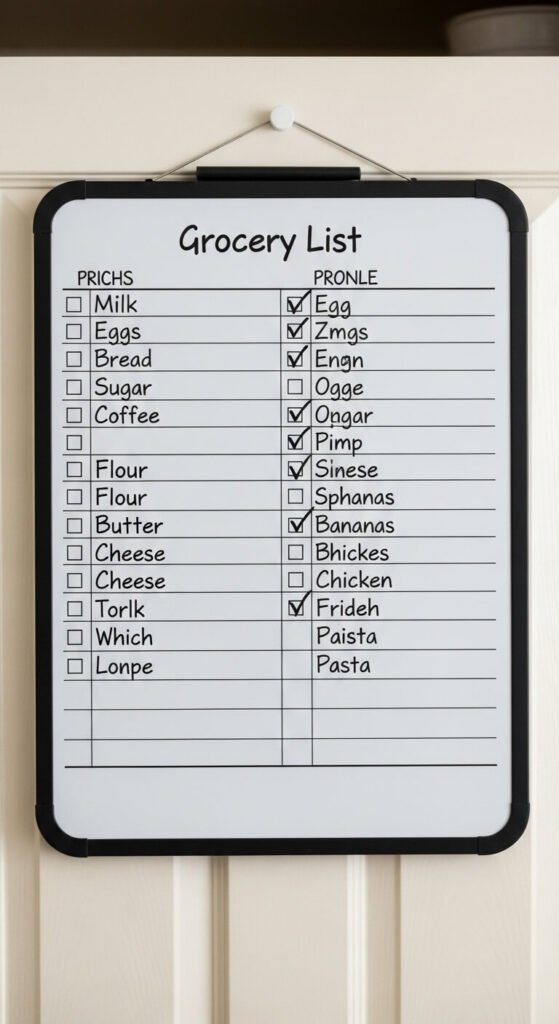
Mount a small whiteboard or chalkboard inside your pantry door for noting items as you run out. This prevents duplicate purchases and ensures you remember everything at the store. Keep a marker or chalk attached with a string so it’s always there. Family members can add items throughout the week. Take a photo of the list before shopping so you don’t forget the list itself. This simple system costs under ten dollars and saves hundreds in prevented waste and duplicate buying over the course of a year.
Group Baking Supplies Together
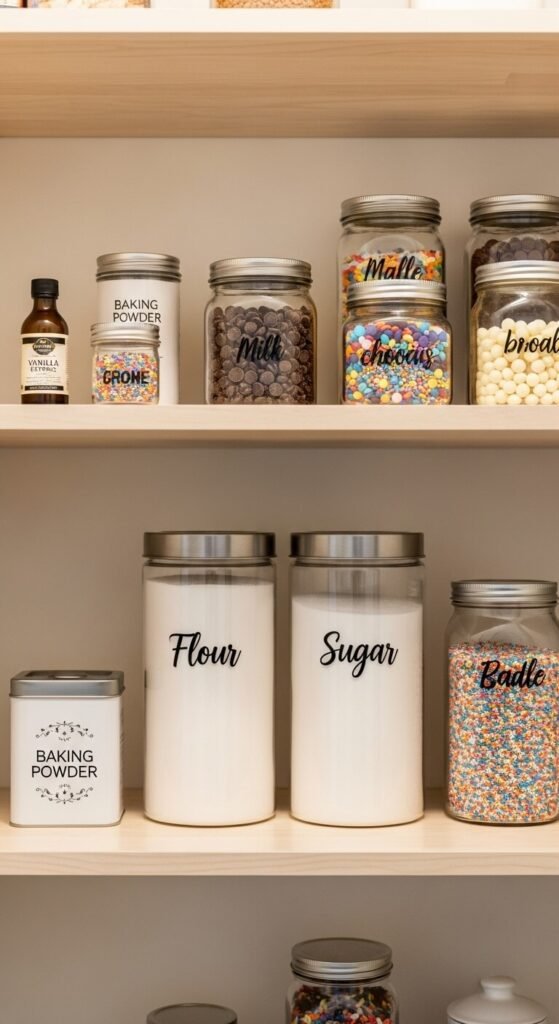
Collect all baking items in one dedicated area—flour, sugar, baking powder, baking soda, vanilla, chocolate chips, sprinkles. This makes baking projects faster since you’re not hunting for ingredients. Use a basket or bin to keep smaller items together. Store measuring cups here too for one-stop shopping. This prevents buying duplicates because you can see your inventory at a glance. Consider a separate small container for decorating supplies like food coloring and cake toppers. Review this zone before holidays when baking ramps up to restock essentials.
Store Spices in Drawer Inserts
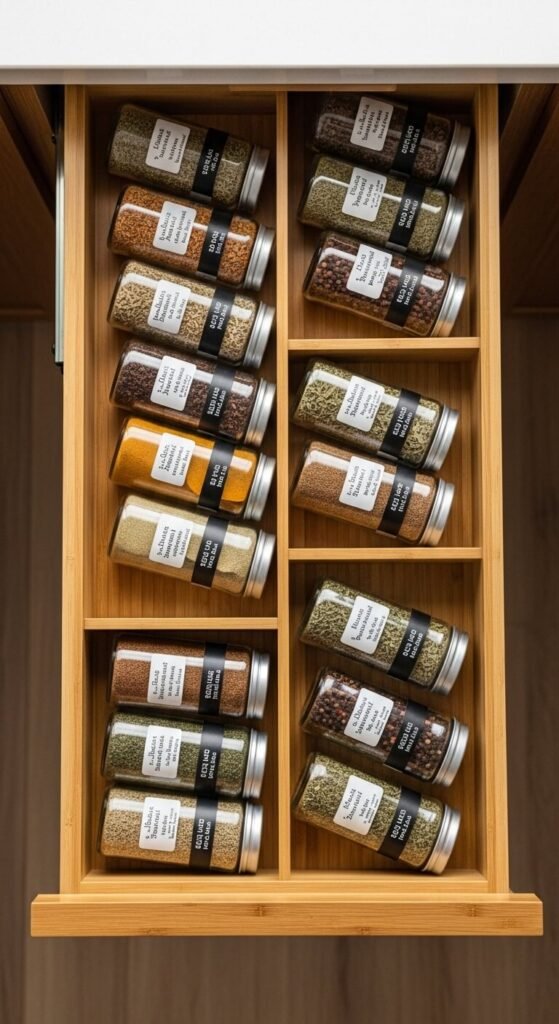
If you have a drawer in or near your pantry, use tiered drawer inserts to store spices at an angle where you can read every label. This beats searching through crowded shelves where bottles hide behind each other. Drawer inserts cost around ten dollars and fit standard kitchen drawers. Alphabetize spices or group by cuisine type—Italian, Mexican, Asian. Toss any spices older than two years since they lose potency. This system works for tea bags, bouillon cubes, and seasoning packets too. Line the drawer with non-slip liner to prevent sliding.
Use Baskets on Top Shelves

Top shelves are hard to reach but perfect for items you don’t use daily. Store seasonal baking supplies, party napkins, special occasion serving dishes, or bulk overflow here. Use baskets with handles so you can pull them down easily when needed. Label the front of each basket so you know what’s inside without climbing. This keeps everyday items at eye level while maximizing vertical space. Consider a small step stool nearby for safe access. Lightweight plastic bins work better than heavy ceramic containers for these heights.
Add Lighting for Dark Corners
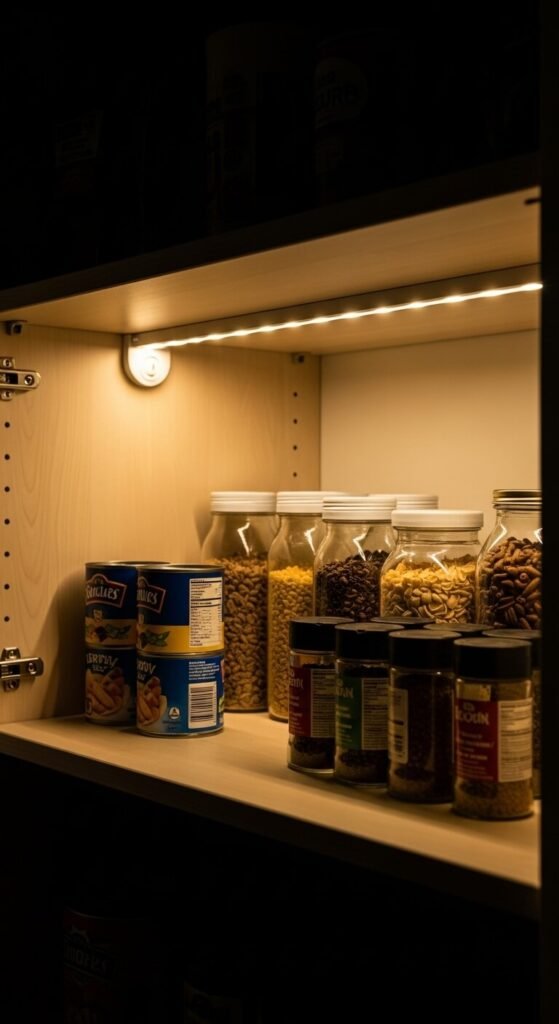
Dark pantries make it hard to see what you have, leading to duplicate purchases and forgotten items. Battery-operated LED strip lights stick under shelves with adhesive backing—no electrician required. They cost around ten dollars per strip and last months on batteries. Motion-sensor versions turn on automatically when you open the door. This small upgrade makes inventory checks quick and prevents you from overlooking items hiding in shadows. Focus lights on corners and back areas where natural light doesn’t reach. Replace batteries annually or switch to rechargeable ones.
Use File Folders for Sauce Packets
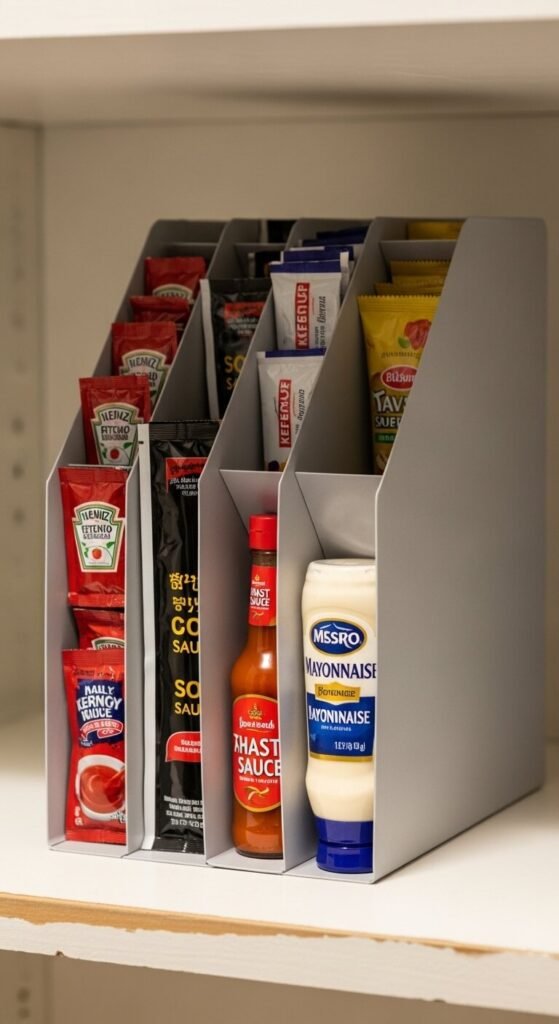
Fast food sauce packets, seasoning mixes, and tea bags multiply quickly and create clutter. A small desktop file organizer keeps them sorted by type. Dedicate each section to a category—soy sauce, ketchup, hot sauce, sweeteners. You can see everything and grab what you want without digging through a jumbled drawer. These organizers cost a few dollars at office supply stores. Review monthly and toss expired packets. This works for instant drink mixes and single-serve coffee pods too. Place it on an easy-to-reach shelf for quick access.
Create a First-In-First-Out System
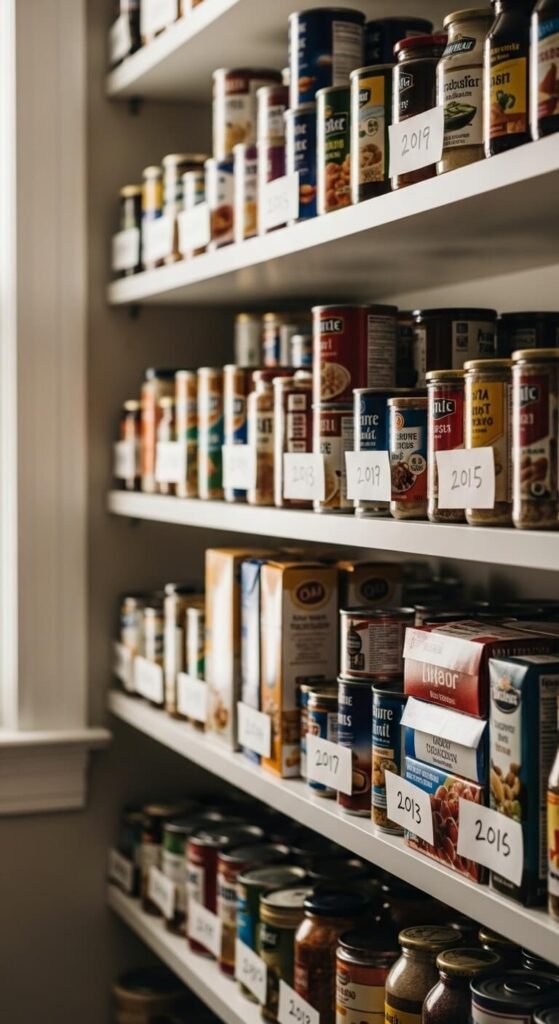
Always place new groceries behind older items so you use what you bought first. This prevents food from expiring while new packages sit in front. Works for canned goods, boxes, and bottled items. Check expiration dates when unloading groceries and move items close to expiring to the front. This takes an extra minute during grocery unloading but saves money by reducing waste. Teach family members this system so everyone maintains it. Restaurant kitchens use this method for a reason—it works. Review your entire pantry monthly to catch anything approaching expiration.
Dedicate Space for Pet Supplies
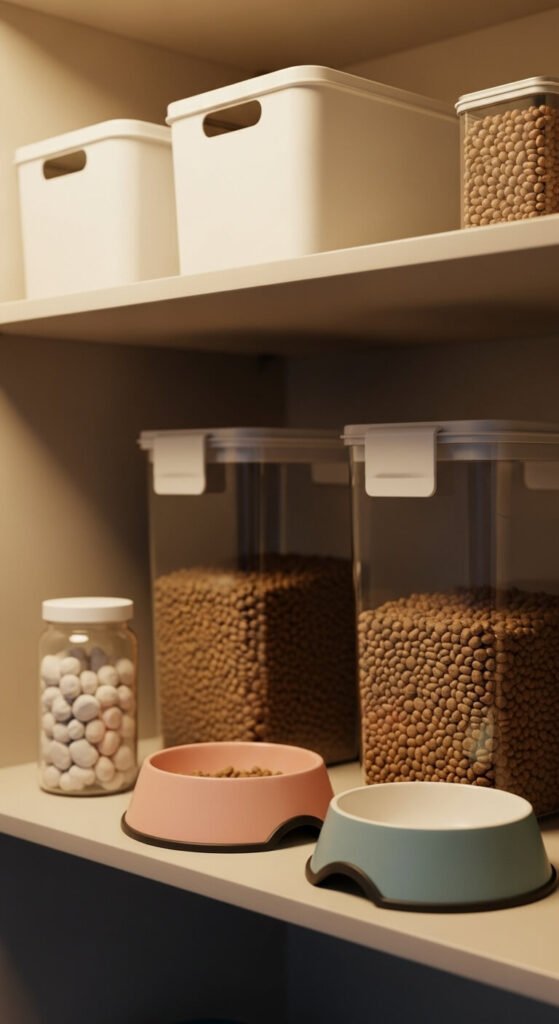
Keep pet food, treats, and supplies in their own pantry zone to prevent contamination with human food and make feeding time faster. Transfer kibble to airtight containers to maintain freshness and prevent odors. Store treats, supplements, and feeding accessories in labeled bins. This prevents accidentally using pet spoons for cooking or mixing up storage containers. Place this zone on a lower shelf for easy access during morning and evening feedings. Keep scoops inside containers for portion control. This organization also helps pet sitters find everything they need quickly.
Use the Door for Recipe Cards
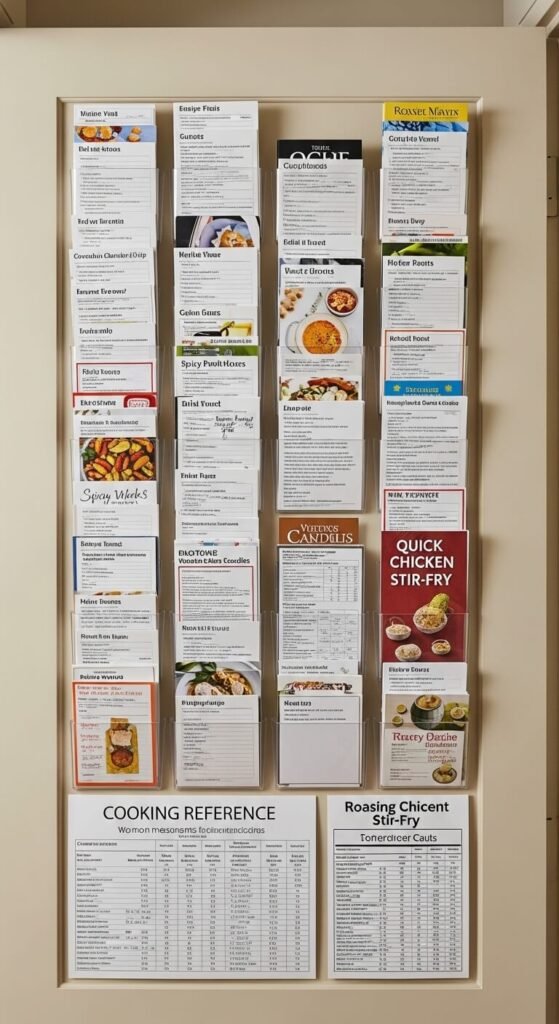
Mount clear plastic pockets on your pantry door to hold frequently used recipe cards, cooking conversion charts, or meal planning calendars. This puts recipes right where you need them when grabbing ingredients. You can find adhesive-backed plastic pockets at office supply stores for under five dollars. Rotate recipes seasonally or keep family favorites permanently displayed. This beats searching through recipe boxes or scrolling on sticky phone screens while cooking. Include emergency substitution charts for when you’re missing an ingredient. Wipe pockets clean monthly to remove cooking splatter.
Store Bulk Items in Original Packaging
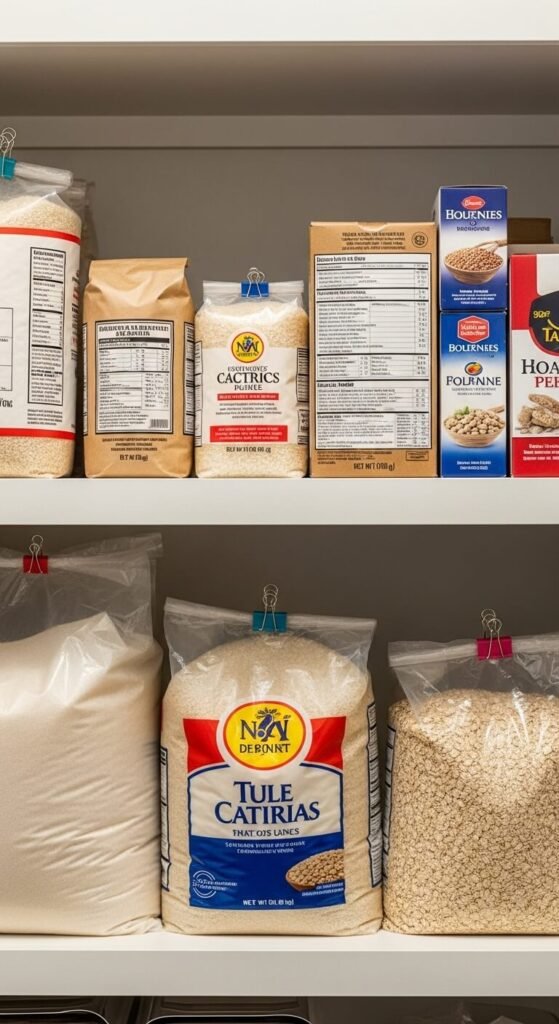
When buying bulk items from warehouse stores, you don’t always need to transfer contents to containers. Large bags of rice, beans, or flour can stay in original packaging if you fold the tops down and secure with heavy-duty clips. This saves time and container costs. Store these larger items on bottom shelves where their weight won’t damage lighter foods. Cut open one corner to pour from rather than fighting with the entire top. Keep a scoop inside the bag for easy portioning. Only transfer to containers if original packaging is damaged or awkward to handle.
Install Hooks for Reusable Bags
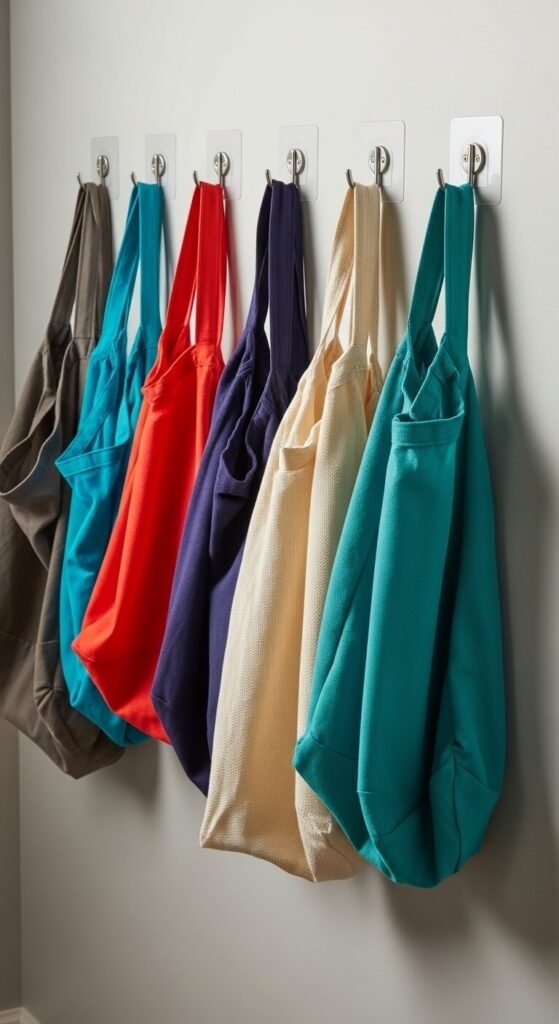
Reusable shopping bags need a home or they end up scattered throughout the house. Install adhesive hooks on the side wall of your pantry or on the door to hang them. This keeps bags ready for your next shopping trip and prevents the plastic bag collection from taking over. Fold bags neatly before hanging for a tidy appearance. Sort by size if you have both small and large bags. This visual reminder also helps you remember to actually bring bags to the store. Keep one or two in your car permanently as backup.
Conclusion
Pantry organization isn’t about perfection or expensive systems. These 25 hacks use affordable materials and simple strategies to create a functional space that works for your lifestyle. Start with one or two changes that address your biggest frustrations—maybe it’s seeing what you have or finding items quickly. Small improvements add up to major time savings and reduced food waste. You’ll spend less money on duplicate purchases and enjoy cooking more when everything has a place. Pick the hacks that fit your space and budget, then maintain them with quick weekly check-ins. A well-organized pantry makes every meal easier.