Keeping a busy household running smoothly feels impossible when everyone’s schedule lives on scattered sticky notes and forgotten school forms. A command center transforms chaos into calm by giving your family one central spot for calendars, mail, keys, and those permission slips that always disappear. You don’t need fancy supplies or a Pinterest-perfect setup. Simple boards, hooks, and baskets create a system that actually works. These 25 ideas help you design a command center that fits your space, budget, and family’s daily rhythm.
Magnetic Chalkboard Wall
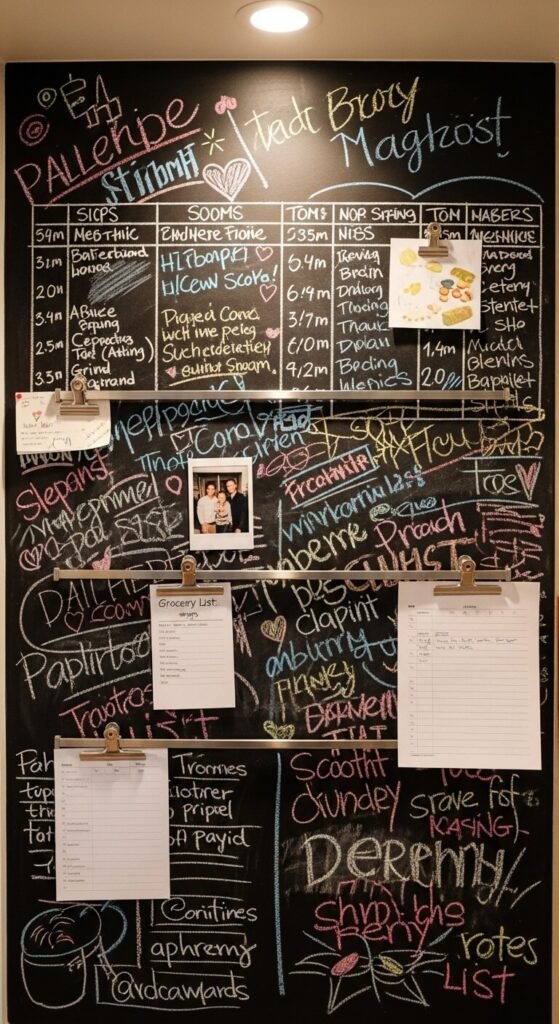
Paint an entire wall with magnetic chalkboard paint for under $50. You get a massive writing surface plus magnet functionality in one step.
Write weekly menus directly on the wall. Attach report cards and artwork with magnets. Kids can doodle in their section while you track appointments in yours.
Clean it weekly with a damp cloth. Refresh the paint every two years to keep the surface smooth. This works perfectly in kitchens, mudrooms, or hallways where everyone passes through daily.
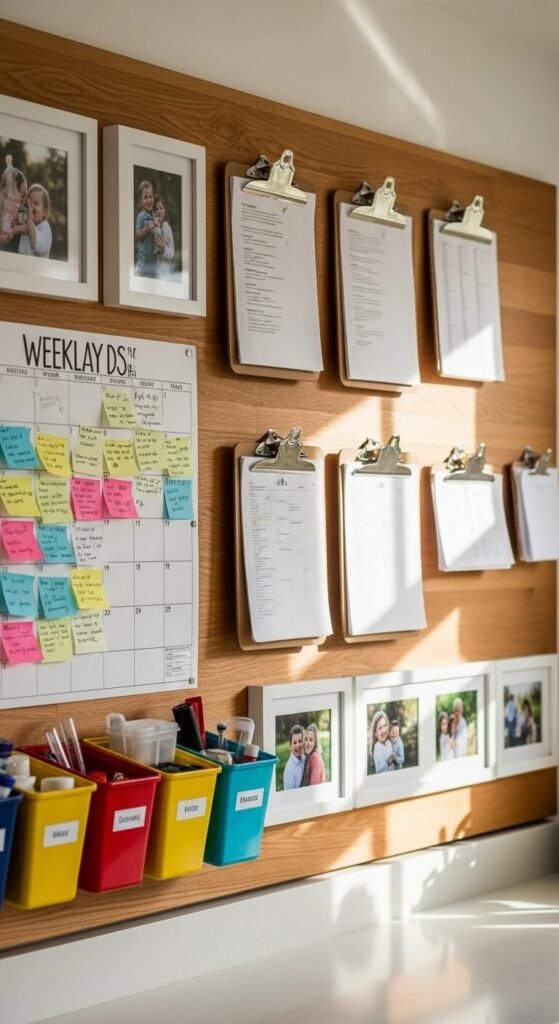
Clipboard Station
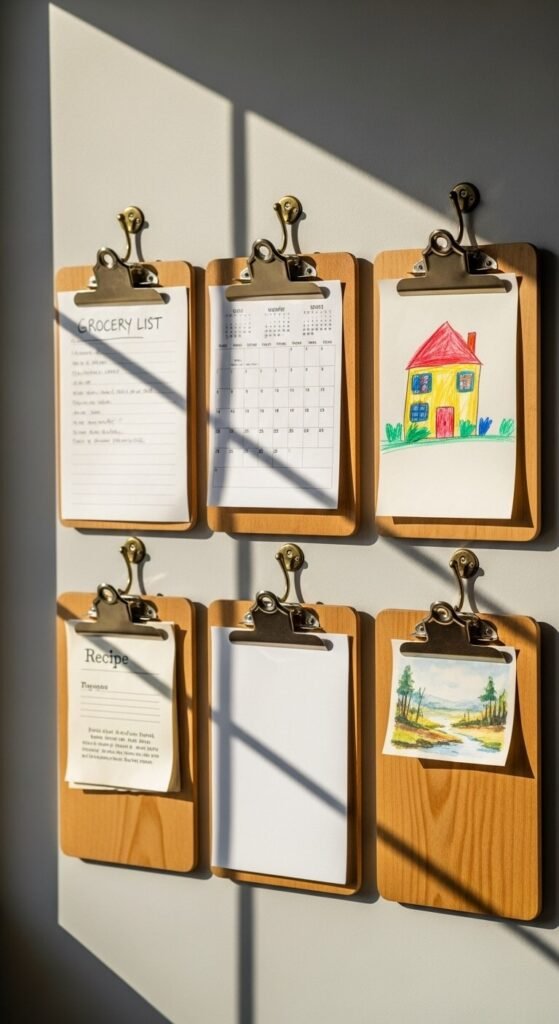
Mount clipboards on hooks for instant organization. Each family member gets their own board.
Assign one clipboard per person for school papers and activities. Add extras for meal planning and household tasks. Kids know exactly where to put permission slips. You know where to find everything.
Buy clipboards at dollar stores for $1 each. Use Command hooks if you rent. Swap papers in seconds without digging through piles. Label each clipboard with names using paint pens or washi tape.
Pegboard Command Hub
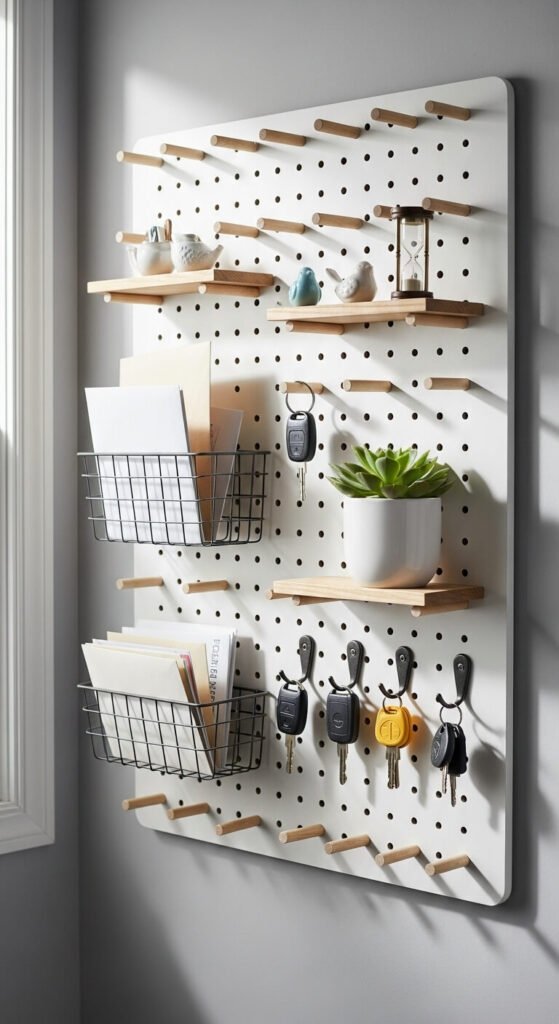
Pegboard gives you endless configuration options. Move pegs around as your family’s routines change.
Install a 2×4 foot pegboard for around $15. Add baskets for mail, hooks for keys and backpacks, small shelves for phones. Spray paint the board any color that matches your space.
Hang it in your entryway or kitchen. Rearrange accessories without new holes in the wall. This setup grows with your family and adapts to new activities or school years.
Floating Shelf System
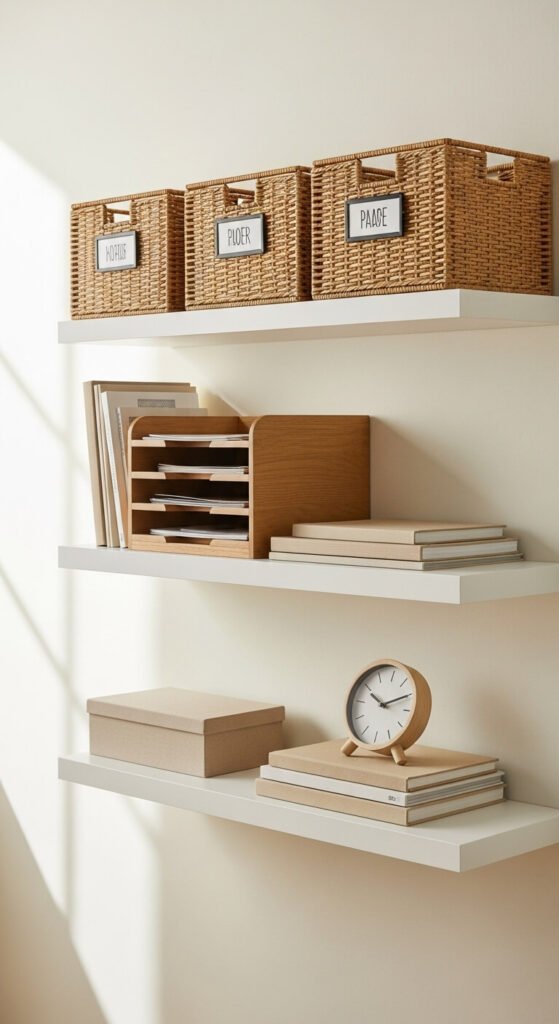
Stack floating shelves at different heights for visual interest and storage.
Place baskets on shelves for each family member’s incoming papers. Add a letter sorter for bills. Keep a small bin for pens and markers.
Install shelves yourself in an hour using basic tools. Find shelves at home improvement stores starting at $10 each. This minimal look works in tight spaces where bulky furniture won’t fit.
Repurposed Window Frame
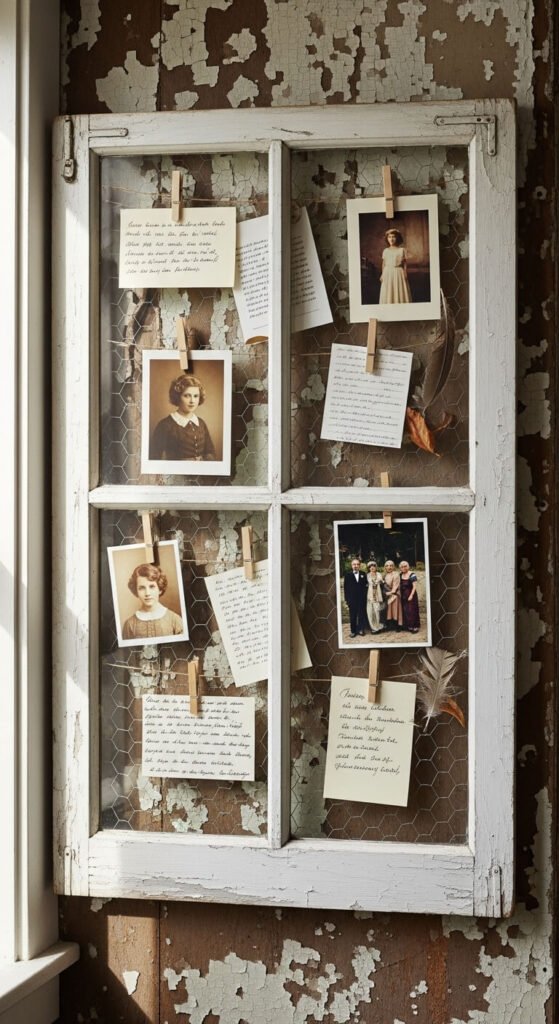
Old window frames turn into charming organizers. Check thrift stores and yard sales for $5 finds.
Remove the glass and staple chicken wire across the openings. Use clothespins to attach photos, invitations, and reminders. The farmhouse look adds character while keeping papers visible.
Paint the frame to match your decor or leave it distressed. Hang it with heavy-duty picture hangers. Switch out papers by simply moving clothespins around the wire grid.
Rolling Cart Station
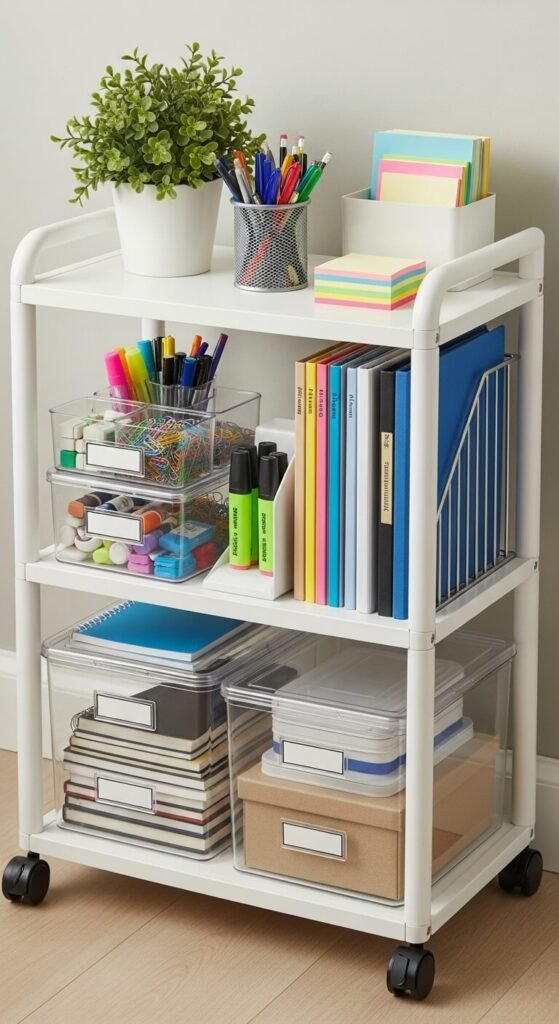
A rolling cart lets you move your command center anywhere. Tuck it away when guests visit.
Use the top tier for daily essentials like keys and sunglasses. Middle tier holds files and planners. Bottom stores backpacks or sports gear.
Buy utility carts at Target or IKEA for $30-50. Roll it to the kitchen during morning rush. Move it to homework areas in the afternoon. Add labels to bins so everything has a home.
Over-the-Door Organizer
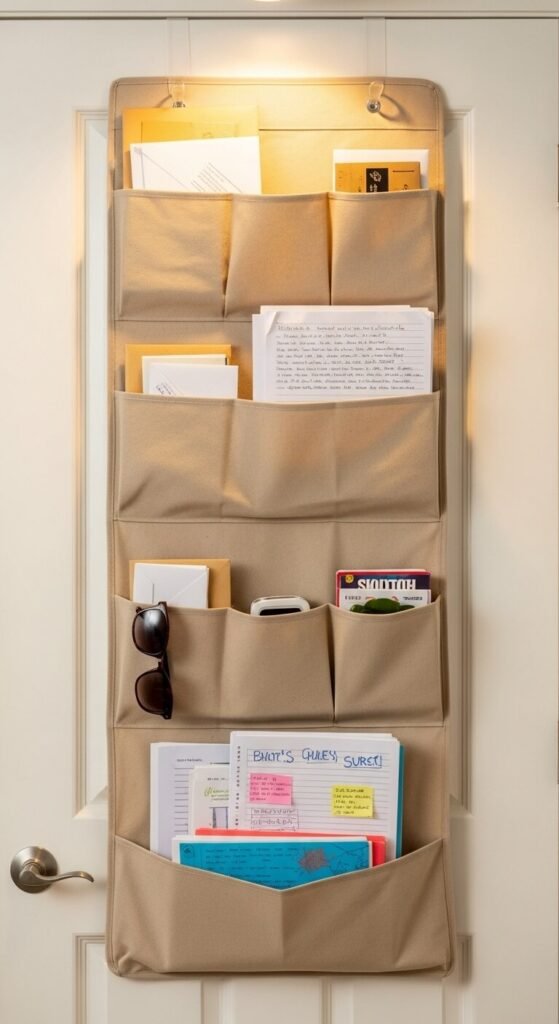
Door organizers work perfectly for renters or small spaces. No holes required.
Hang a pocket organizer on your pantry or closet door. Assign pockets for each person’s mail and papers. Store chapstick, hand sanitizer, and masks in easy-reach spots.
Find these at dollar stores for $3-8. Clear pockets let you see contents instantly. When you move, take it with you. This solution literally takes two seconds to install.
Bulletin Board Gallery Wall
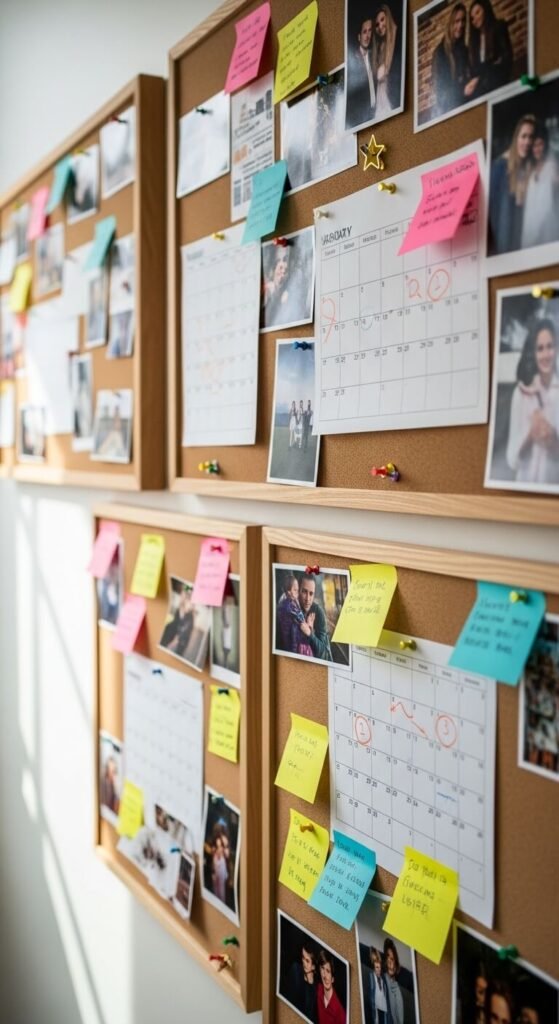
Create a gallery wall using multiple bulletin boards instead of one large board.
Mix different sizes and frame colors for personality. Pin urgent items on small boards at eye level. Use larger boards for monthly calendars and meal plans.
Cork boards cost $5-15 each at craft stores. Arrange them before hanging to find the best layout. This approach lets you separate categories visually while keeping everything accessible.
Acrylic Calendar Frame
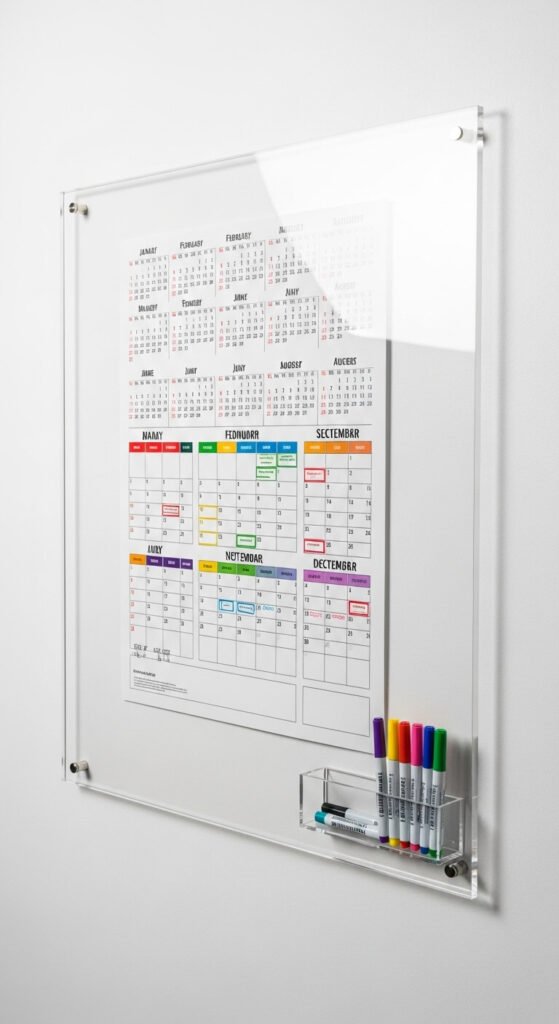
Slip a printed calendar into an acrylic frame for instant dry-erase functionality.
Design free calendars on Canva. Print them monthly and slide into a cheap poster frame with acrylic front. Write appointments with dry-erase markers directly on the glass.
Frames cost $10-20 at craft stores with coupons. Change your calendar design seasonally. Erase and update without buying special calendars. Hang it where everyone gathers for meals.
Mail Sorting Wall Station
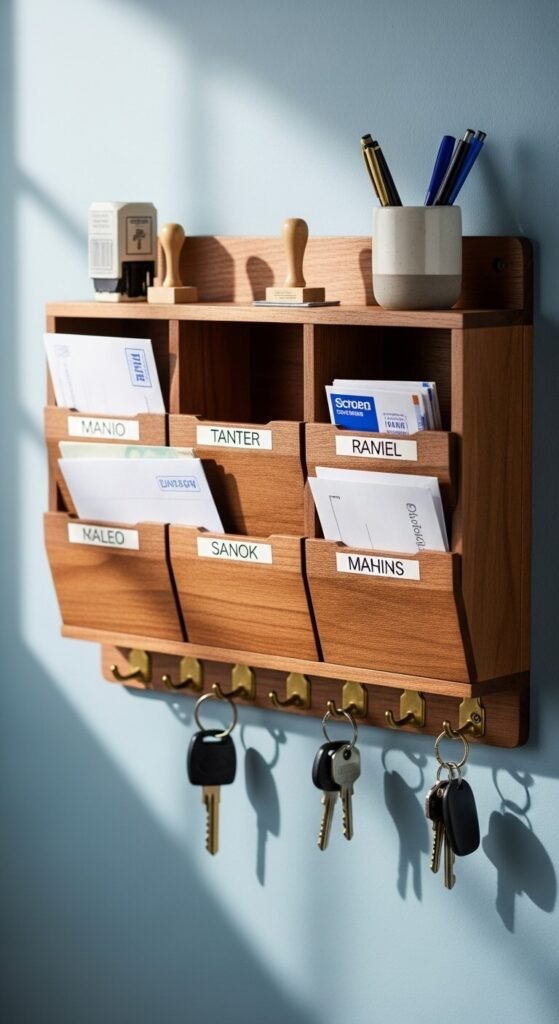
Stop piles of mail on counters with designated slots for each person.
Mount a mail sorter with labeled sections. Add one slot for bills, one for junk mail to shred. Place a small trash bin underneath for immediate sorting.
Mail organizers range from $15-40 online. Sort mail the second it enters your house. Kids learn to check their own slots. You’ll never lose another birthday invitation.
Binder Organization System
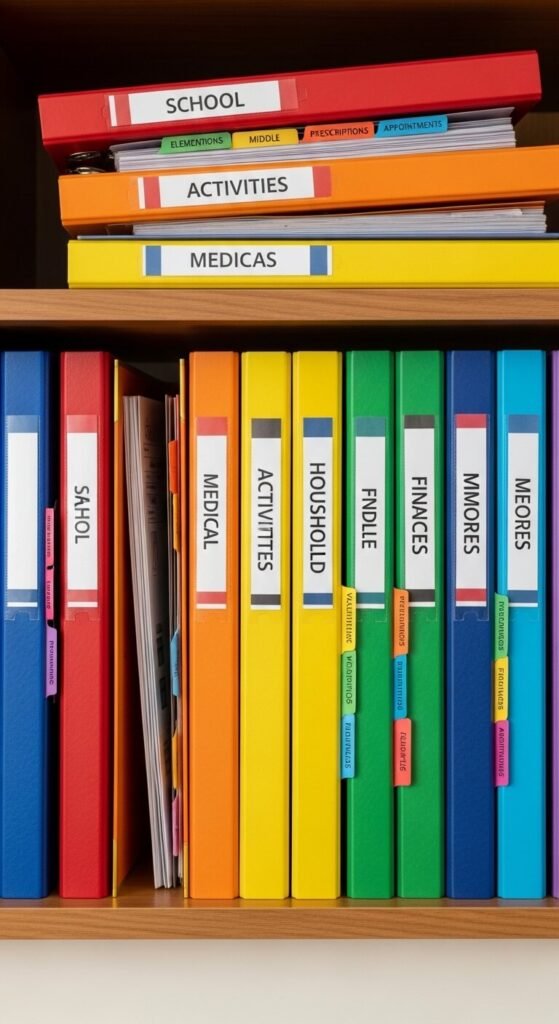
Keep important documents in labeled binders on a shelf near your command center.
Create binders for school, medical, activities, and home maintenance. Use page protectors for frequently referenced items. Kids can grab their own school binder for forms.
Buy binders during back-to-school sales for $1 each. Add printable labels. Store binders vertically so spines face out. Everything stays clean and findable when you actually want it.
Tension Rod Basket Hack
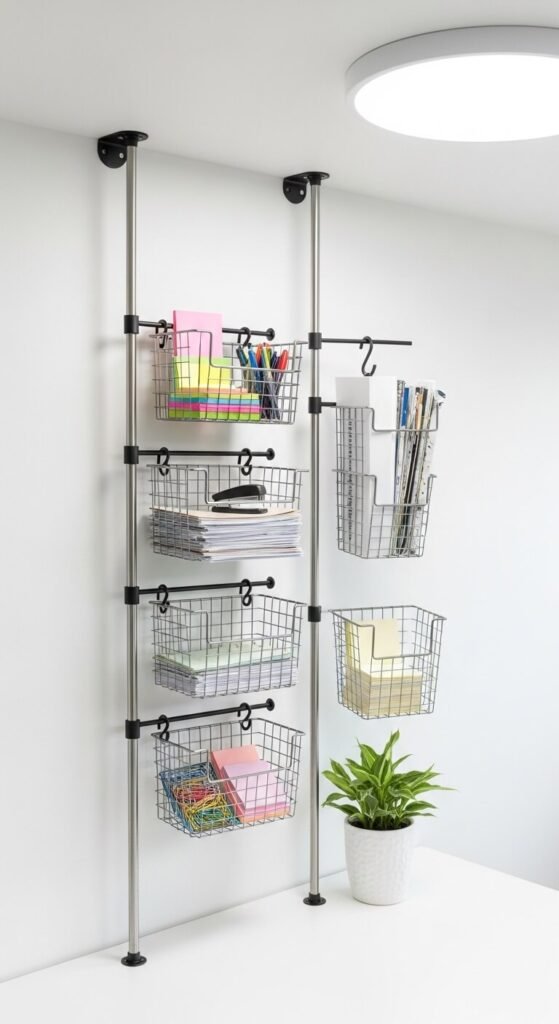
Mount tension rods vertically to hang lightweight baskets without drilling.
Place rods in corners or narrow wall spaces. Hang wire baskets using S-hooks. Store mail, small toys, or art supplies in baskets that slide up and down the rod.
Tension rods cost $5-10. Baskets from dollar stores work perfectly. Adjust height as kids grow. Remove the whole setup when you move without wall damage.
Family Calendar Command Center
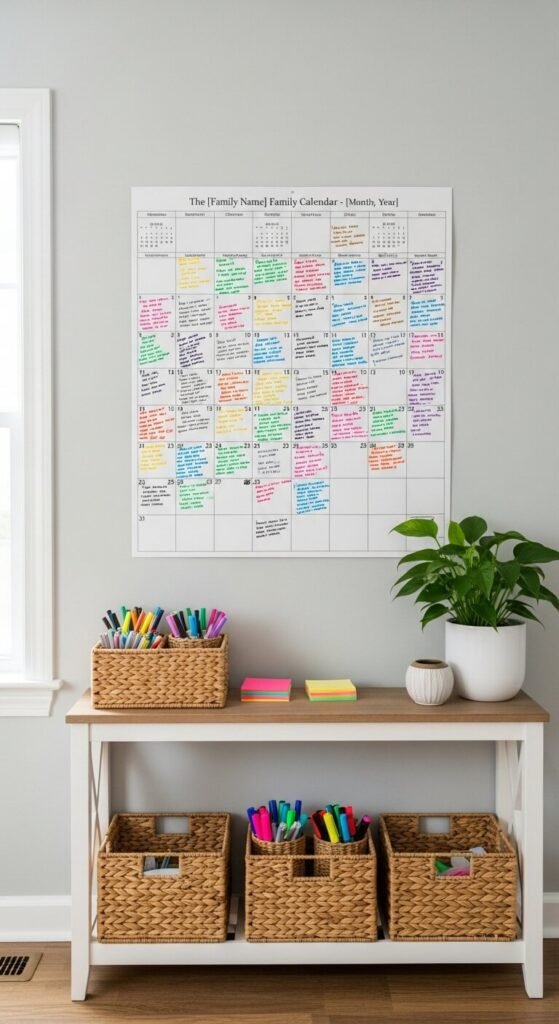
Color-code each family member on one shared calendar. Everyone sees the full schedule at a glance.
Buy a large wall calendar or print free templates. Assign each person a color. Write activities in their color. Add a key if needed.
Keep colored pens in a cup nearby. Hold weekly family meetings to review the upcoming days. Crossing off completed items shows progress. Kids learn time management by seeing the visual layout.
Tiered Tray Organizer
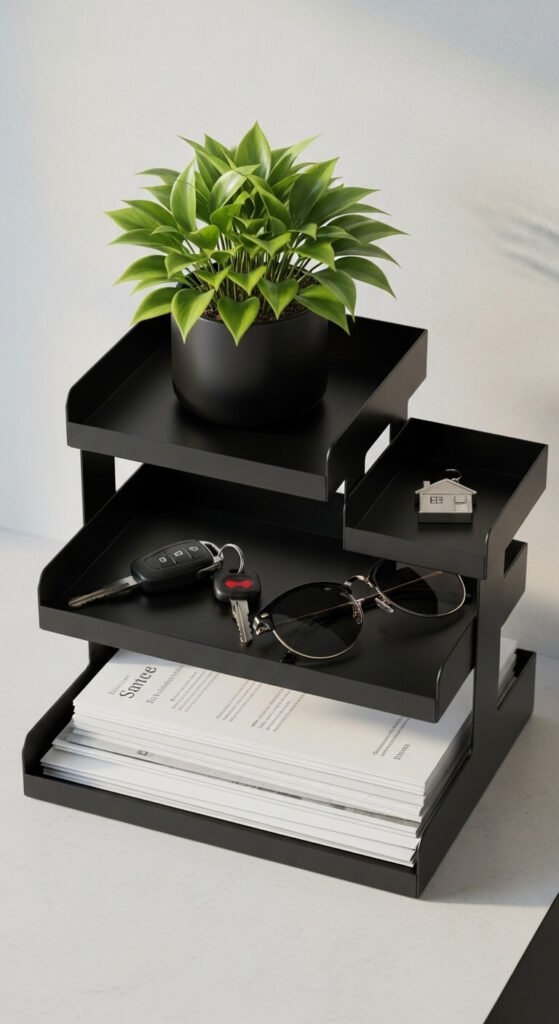
Tiered trays corral small items that usually scatter across counters.
Place one tier for incoming papers, one for outgoing items, one for everyday essentials like keys and wallets. This takes up less than one square foot of counter space.
Find tiered trays at HomeGoods for $15-25. Metal versions last longer than plastic. Everything visible means nothing gets forgotten. Clean out the bottom tier weekly to prevent buildup.
Labeled Basket Wall
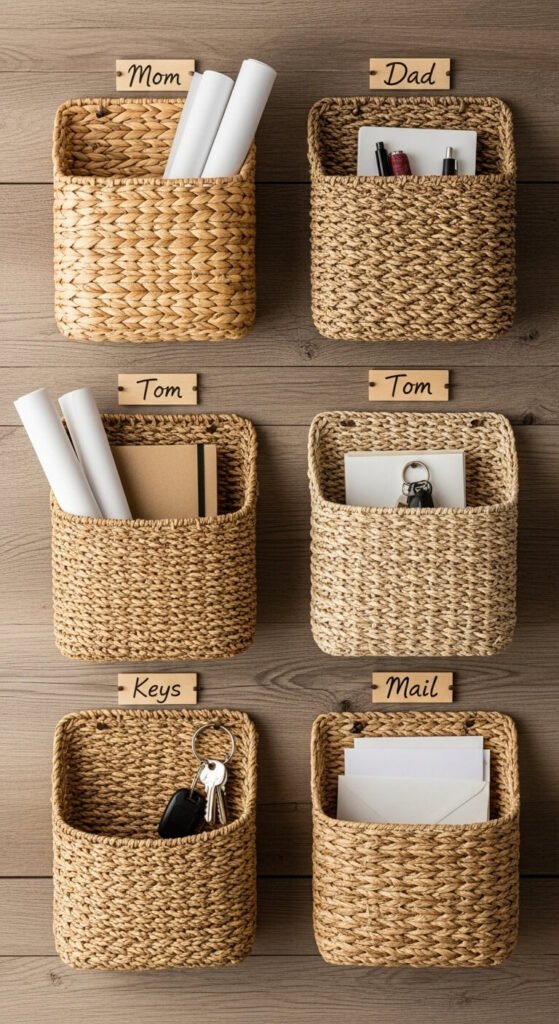
Mount individual baskets on the wall for each family member.
Assign one basket per person for their papers, permission slips, and small items. Add baskets for pets, household tasks, or seasonal items.
Command strips hold lightweight baskets without holes. Wicker baskets cost $3-8 at discount stores. Kids take ownership of their space. You stop being the paper police.
Entryway Hook Board
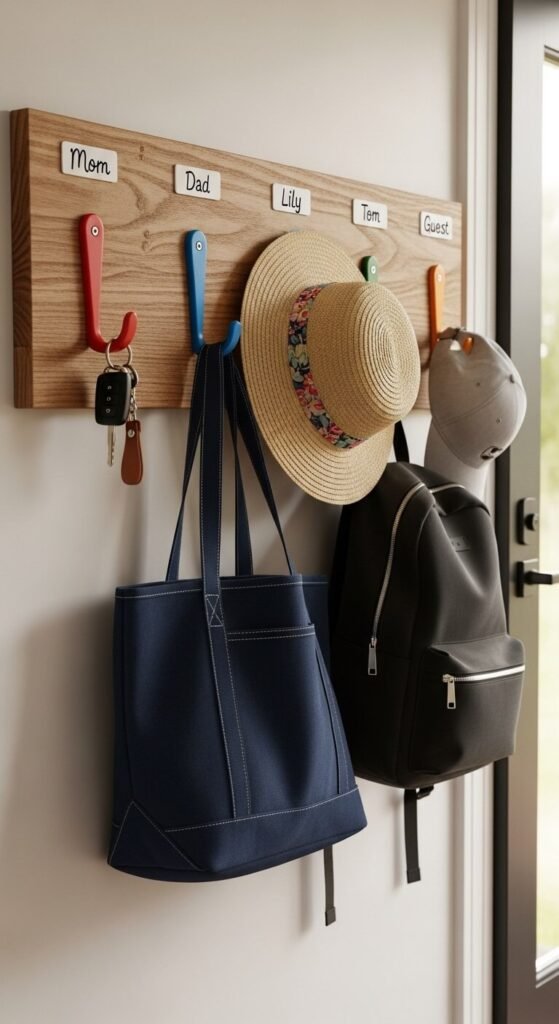
Create a landing zone right at your entry door. Nothing gets lost when it has an immediate home.
Mount a board with hooks for keys, bags, dog leashes, and masks. Add a small shelf above for sunglasses and mail.
Use a piece of painted wood and decorative hooks from hardware stores. Total cost under $20. Everyone develops the habit of hanging items when entering. Morning scrambles for missing keys disappear.
Magazine File Mail System
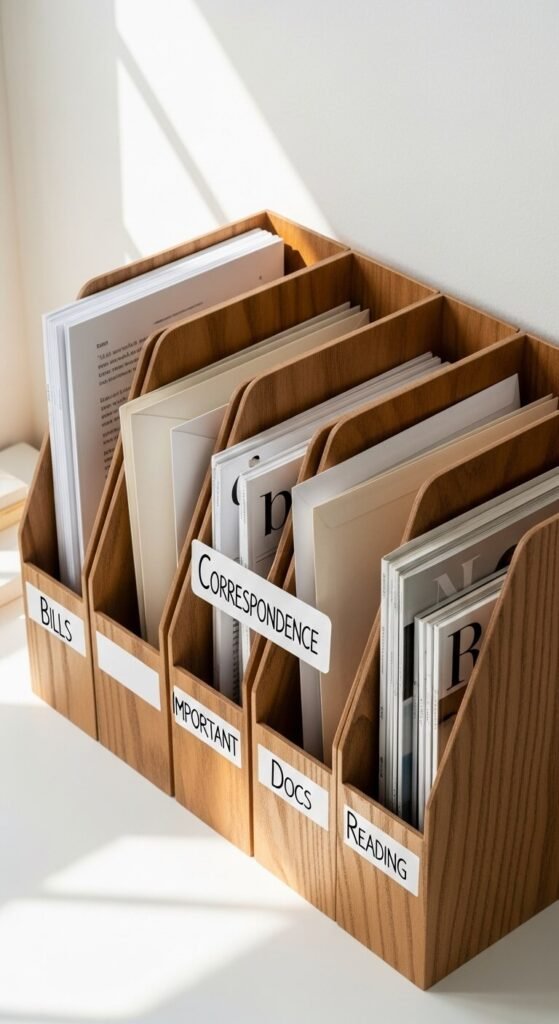
Stand magazine files vertically for an instant mail sorting system.
Label files for action items, bills to pay, filing, and reading. Process mail directly into files instead of piling it.
Magazine files cost $2-5 each at office supply stores. Desktop versions need no mounting. Files stack if you run out of surface space. Sort weekly to keep the system working.
Whiteboard Weekly Planner
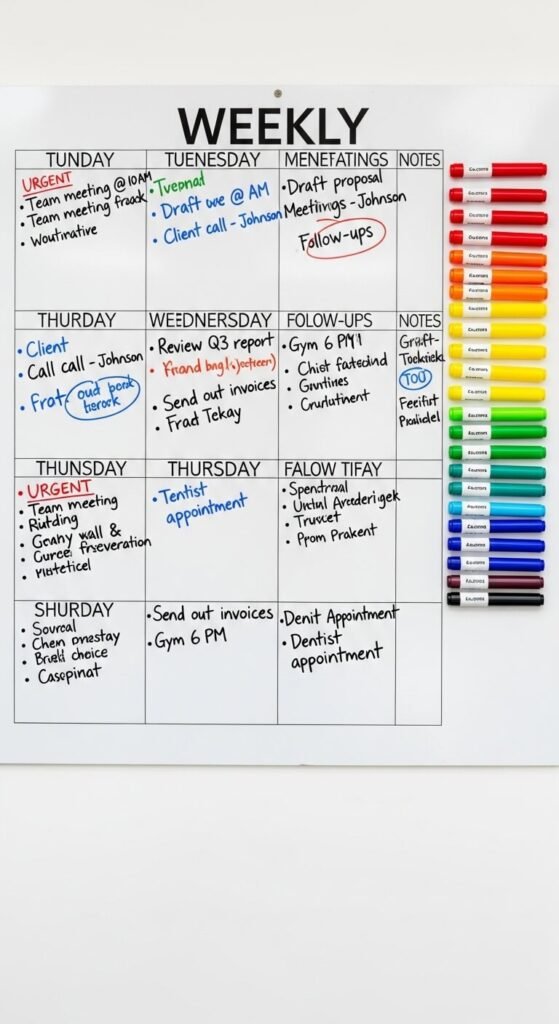
A weekly whiteboard shows the current week at one glance.
Draw columns for each day. Write appointments, meals, and tasks. Erase and refresh every Sunday night.
Large whiteboards cost $15-30. Mount at adult eye level for easy writing. Include space for grocery lists and quick notes. The physical act of writing helps everyone remember.
Charging Station Drawer
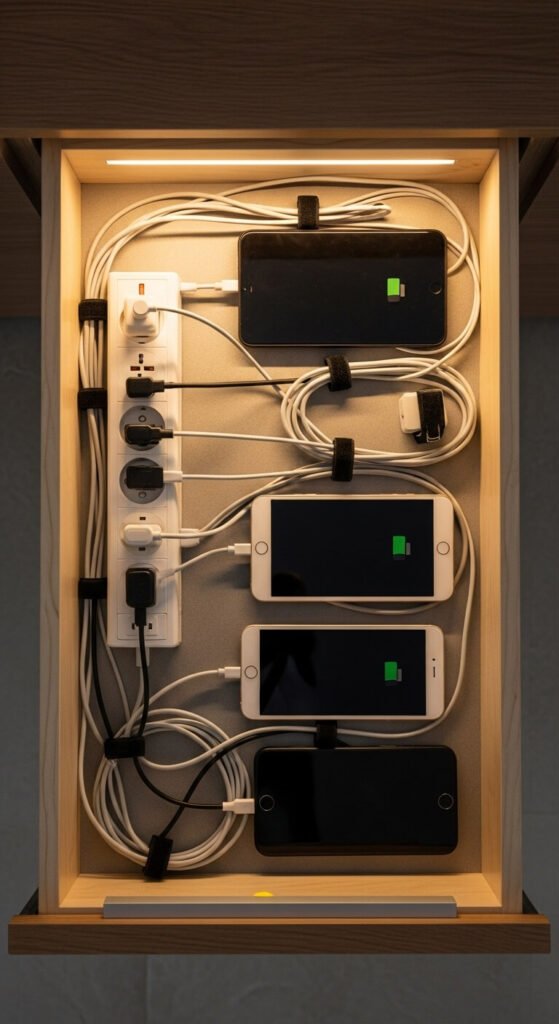
Hide charging cables and devices in a dedicated drawer near your command center.
Drill a hole in the back of a drawer for the power strip cord. Mount a power strip inside. Charge all devices overnight in one spot.
This prevents counter clutter and reduces screen time in common areas. Devices stay charged and ready for school days. Everyone knows where to find their tablet or phone.
Customized Command Cabinet
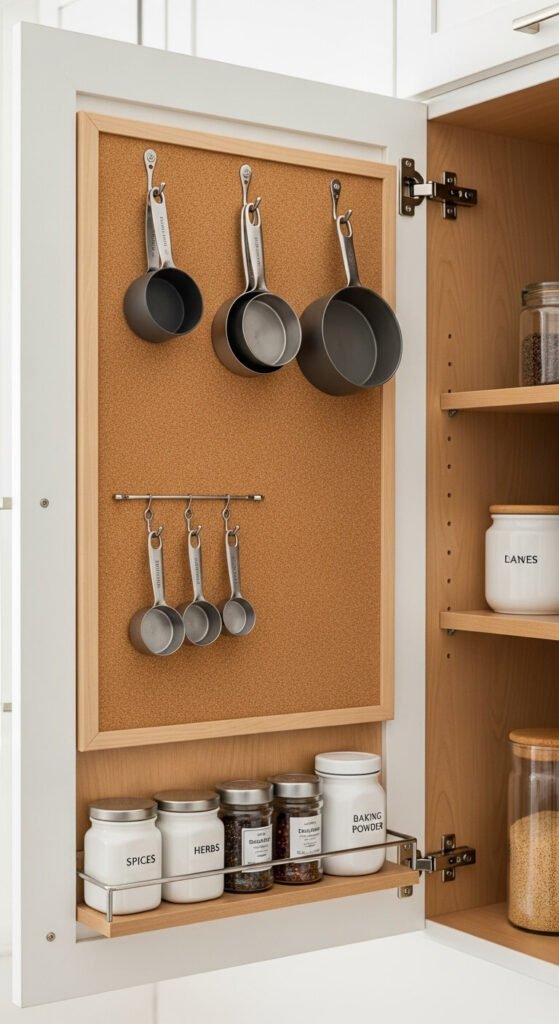
Transform the inside of a cabinet door into hidden organization.
Attach cork board or magnetic sheets to the inside of a kitchen cabinet door. Add hooks for measuring spoons or small tools. Mount a small basket for coupons.
This works perfectly for small kitchens without wall space. Materials cost under $15. Your command center disappears when the door closes. Everything stays accessible right where you cook and plan.
Labeled Bin Shelf
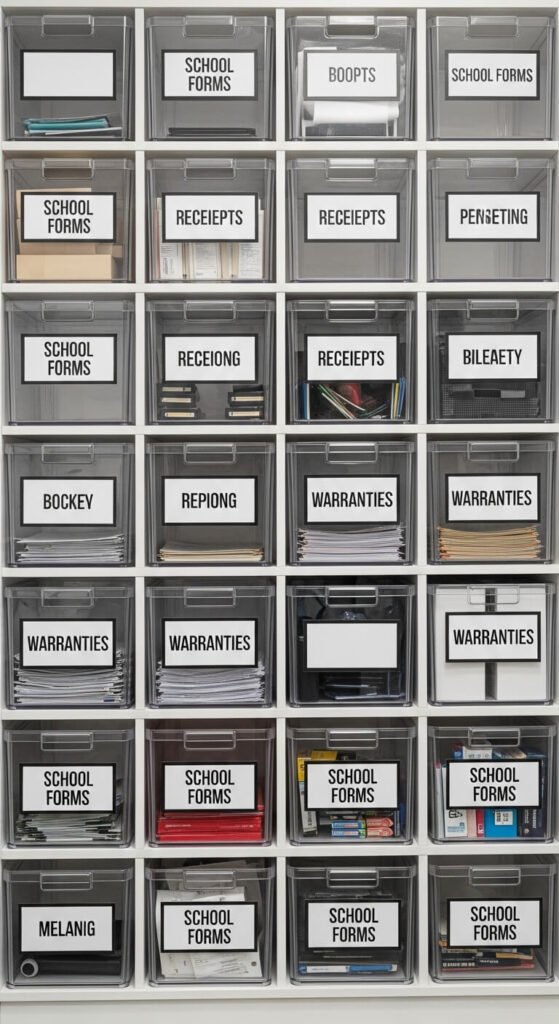
Clear bins with bold labels make finding papers effortless.
Stack labeled bins on an existing shelf or bookcase. Create categories that match your family’s paperwork. File items immediately into the correct bin.
Clear bins from dollar stores cost $1-3. Make labels with a label maker or hand-write them. See contents without pulling bins down. This system works for any age and skill level.
Cookbook Command Center
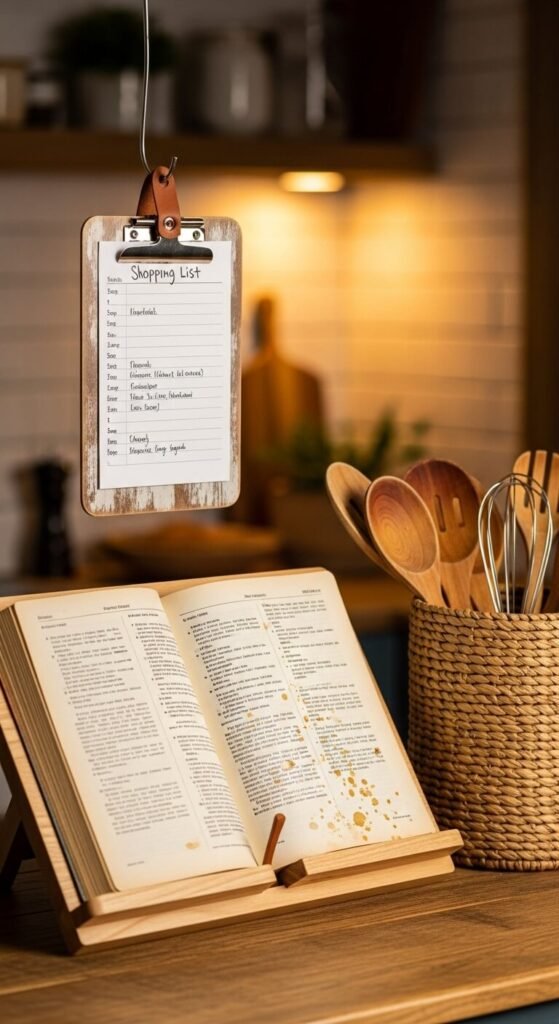
Combine meal planning with your command center setup.
Mount a cookbook holder or tablet stand on the wall. Add a clipboard for grocery lists. Keep favorite recipes visible for weekly planning.
This costs under $10 to create. Plan meals while looking at your calendar. Write ingredients directly on your shopping list. Cooking becomes less stressful when plans are visible.
Locker-Style Cubbies
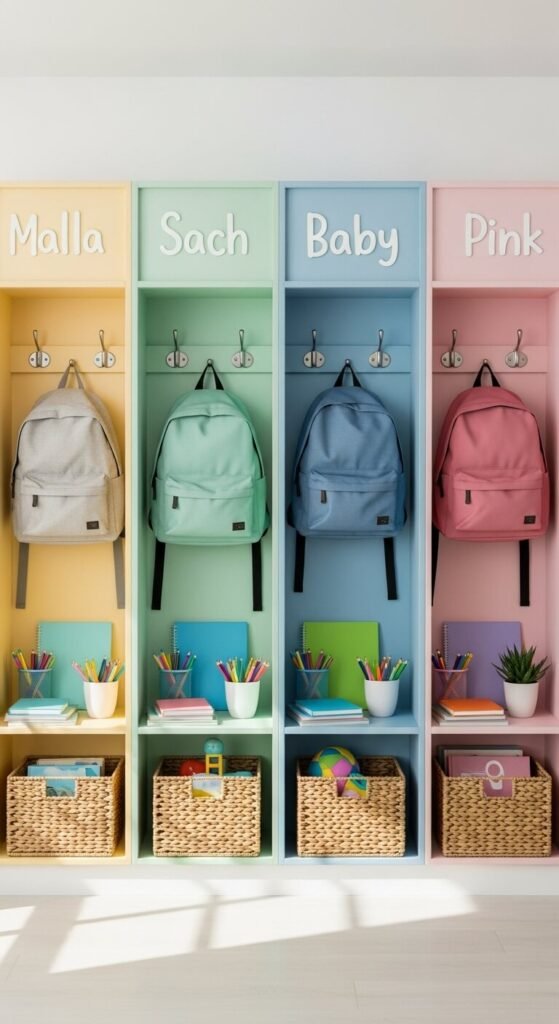
Give each family member their own vertical cubby space.
Build or buy narrow cubbies with hooks, shelves, and a basket. Each person stores their backpack, shoes, and daily items in their designated cubby.
Freestanding cubbies range from $50-150. Build your own with basic lumber for less. Kids learn responsibility for their belongings. Everything needed for school or activities lives in one vertical slice.
Rotating Seasonal Display
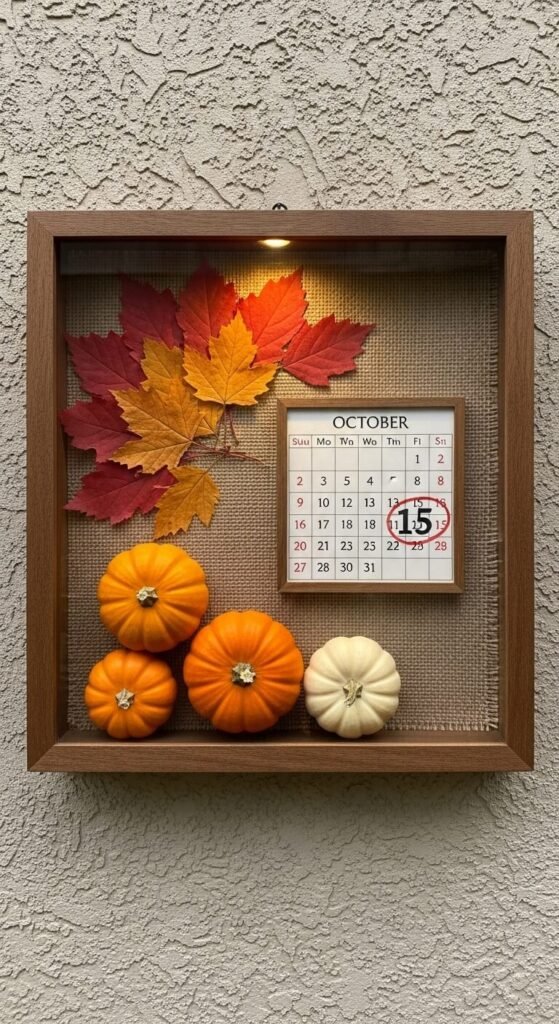
Combine function with seasonal decor in a shadow box frame.
Create monthly displays with calendars, reminders, and seasonal decorations. Swap contents every month or season to keep the space fresh.
Shadow boxes cost $10-20 at craft stores. This adds beauty to organization. Kids enjoy helping change monthly themes. Your command center becomes a focal point instead of an eyesore.
Conclusion
A command center doesn’t require expensive products or complicated systems. Start with one element that solves your biggest pain point—maybe a mail sorter or a shared calendar. Add pieces gradually as you discover what your family actually uses. The best command center is the one you’ll maintain. Choose supplies that match your space and lifestyle. Your organized home starts with this single dedicated spot where information and essentials live together.