Walking into a home and immediately tripping over a pile of shoes, coats draped over chairs, and backpacks scattered across the floor—sound familiar? Your entryway doesn’t have to be a dumping ground for everyday chaos. Even if you don’t have a dedicated mudroom, you can transform any entryway into an organized, functional space with a few simple DIY projects that won’t break the bank or require advanced carpentry skills.
Whether you’re working with a tiny apartment entrance or a narrow hallway, these practical DIY solutions will help you create the mudroom of your dreams—no contractors needed.
Assess Your Space and Plan Your Layout
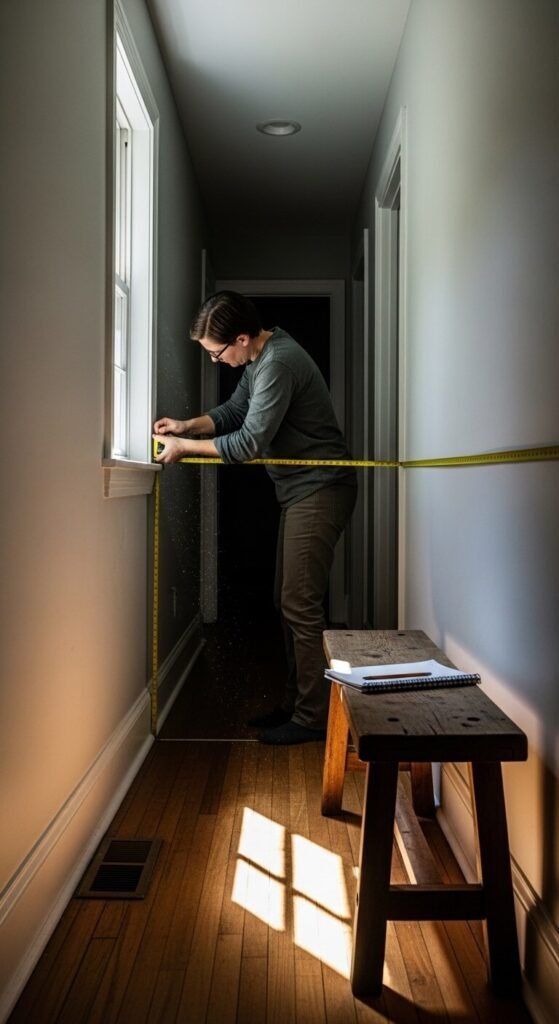
Before you pick up a single tool, take a good look at your entryway. Measure the width, height, and depth of your space. Even a wall that’s just three feet wide can accommodate functional mudroom elements.
Consider what your household actually needs. Do you have kids who need cubbies for school gear? Dog walkers who need leash storage? Athletes with bulky equipment? Make a list of must-haves versus nice-to-haves, and sketch out a rough plan that maximizes vertical space without overwhelming your entryway.
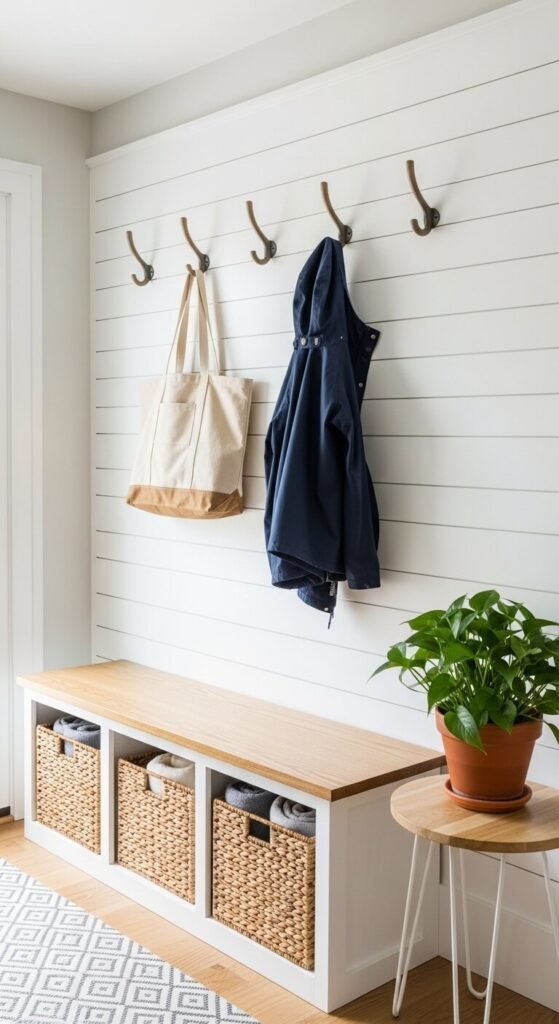
Build or Install a Storage Bench
A storage bench is the cornerstone of any great mudroom. You can build a simple bench using 2x4s and plywood, or hack an IKEA bookshelf by laying it on its side and adding cushions on top.
For a basic DIY bench:
- Cut two side panels from 3/4-inch plywood (about 18 inches tall and 16 inches deep)
- Add a front, back, and bottom panel to create a box
- Attach a hinged top for hidden storage, or leave it open with baskets
- Sand everything smooth and paint or stain to match your décor
- Add a cushion with fabric that can handle daily wear
The beauty of a storage bench is its dual purpose—seating for putting on shoes and hidden storage for seasonal items, pet supplies, or extra mittens.
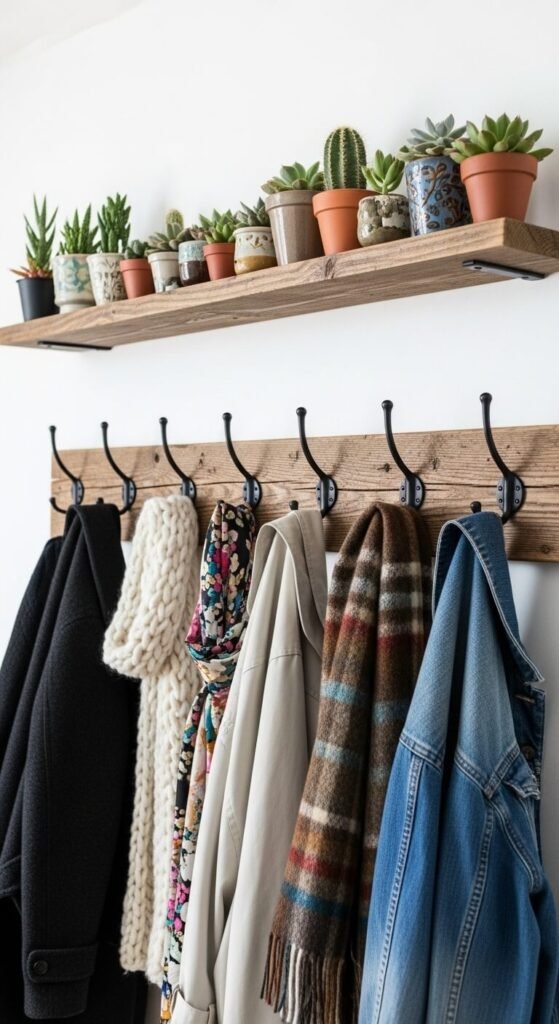
Create a Wall-Mounted Coat and Bag Station
Going vertical is your best friend in small spaces. A wall-mounted coat rack with hooks keeps outerwear off the floor and makes grabbing what you need effortless on busy mornings.
Install sturdy hooks or a peg rail about 5 feet high for adults and add a lower row at 3-4 feet for kids. Space hooks about 4-6 inches apart to prevent overcrowding. You can use:
- Simple decorative hooks from the hardware store
- A repurposed wooden board with vintage hooks attached
- A Shaker-style peg rail for a classic look
- Industrial pipe hooks for a modern farmhouse vibe
Mount everything directly into wall studs for maximum strength—trust me, you don’t want hooks ripping out of drywall mid-winter when they’re loaded with heavy coats.
Add Open Cubbies or Shelving Units
Open cubbies give everyone in your household a designated spot for their belongings. You can build simple cubbies using basic lumber, or purchase affordable cube storage units that can be customized with fabric bins.
For a DIY cubby unit:
- Stack and secure cube organizers or create compartments using vertical dividers
- Label each cubby with family member names or categories (sports gear, school bags, dog walking)
- Use baskets or bins to keep smaller items contained
- Include at least one cubby per person in your household
Position your cubbies at a height that’s accessible to everyone who’ll use them. Kids should be able to reach their own spaces without climbing.
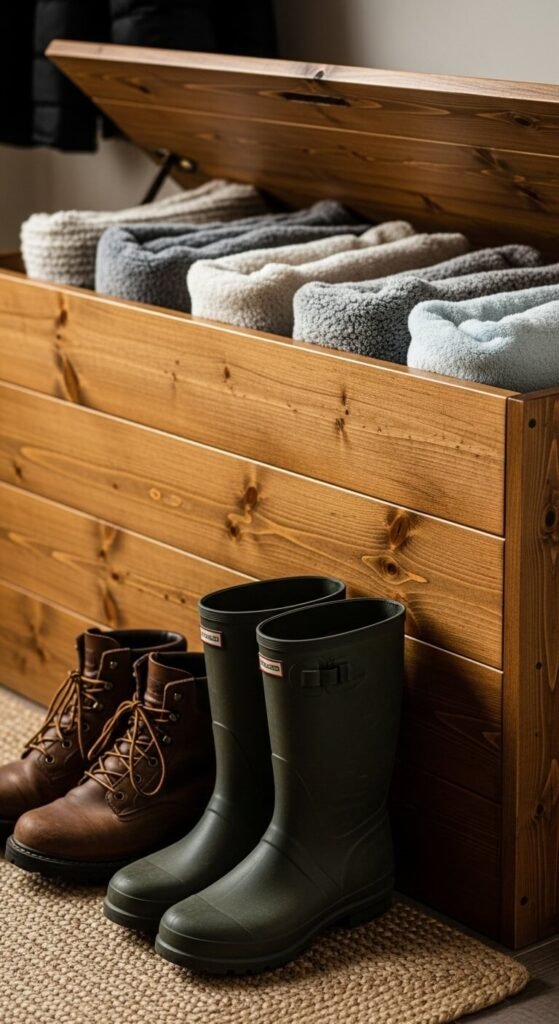
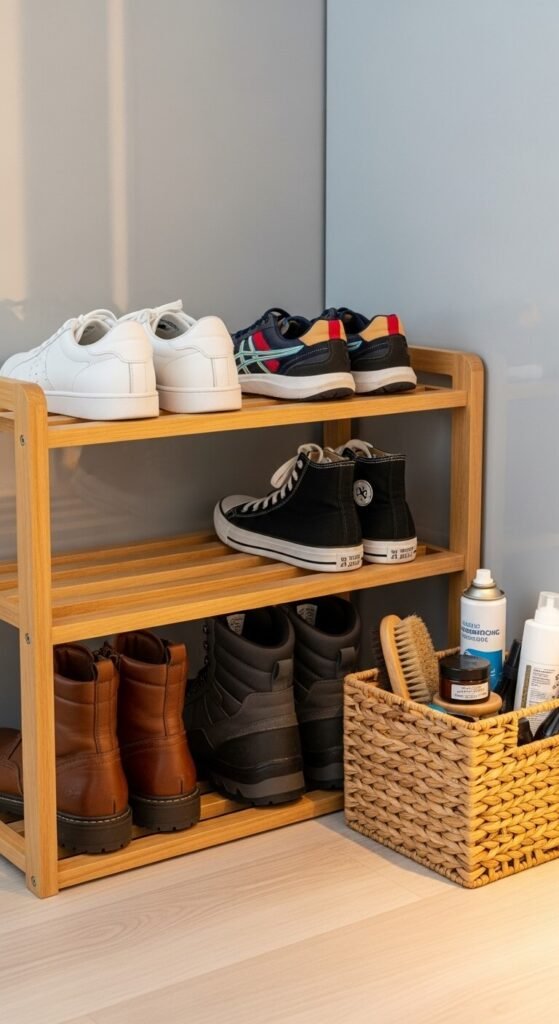
Install a Shoe Storage Solution
Shoes are the number one mudroom challenge. Create a system that actually works by combining open and closed storage.
Try these shoe storage ideas:
- A bottom shelf or tray beneath your bench for everyday shoes
- A tall narrow shoe cabinet that tucks against the wall
- Over-the-door organizers on a nearby closet
- Angled shoe shelves that make pairs easy to grab
Keep daily-wear shoes easily accessible and stash seasonal or special occasion shoes in closed storage to reduce visual clutter.
Finish With Personal Touches
Now for the fun part! Add elements that make your mudroom both beautiful and functional:
- A small mirror for last-minute appearance checks
- A catch-all tray or bowl for keys and sunglasses
- A chalkboard or dry-erase board for family messages
- Artwork or a welcome sign that reflects your style
- A small rug or mat that’s easy to clean
These finishing touches transform your DIY mudroom from purely practical to genuinely inviting.
Your Organized Entryway Awaits
Building a mudroom in any entryway doesn’t require a massive budget or professional skills—just a clear plan and a willingness to tackle a weekend project or two. Start with one element, like a bench or coat hooks, and build from there as your time and budget allow.
The best part? You’ll never again waste precious morning minutes searching for missing shoes or have guests navigate an obstacle course just to get through your front door. Save this guide and start planning your mudroom transformation today!