You know that frustrating moment when you’re digging through a pile of sweaters on your closet floor, wishing you had more storage space? Good news—you don’t need to hire a contractor or spend a fortune to transform your closet. With just a weekend, some basic tools, and a little DIY spirit, you can build custom shelves that’ll make your storage dreams come true.
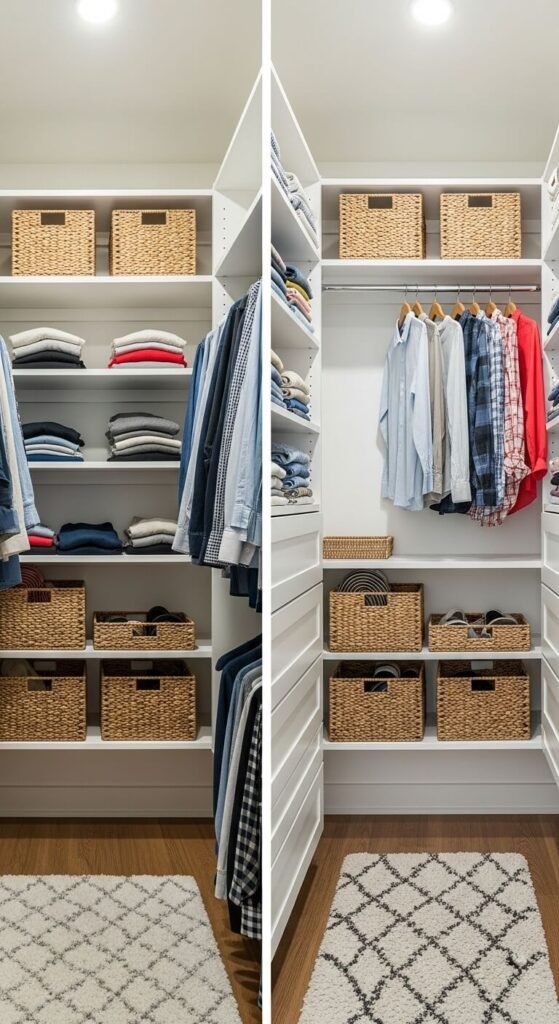
Building your own closet shelves isn’t just about saving money (though you’ll definitely do that). It’s about creating a storage solution that fits your exact needs. Ready to roll up your sleeves? Let’s dive in.
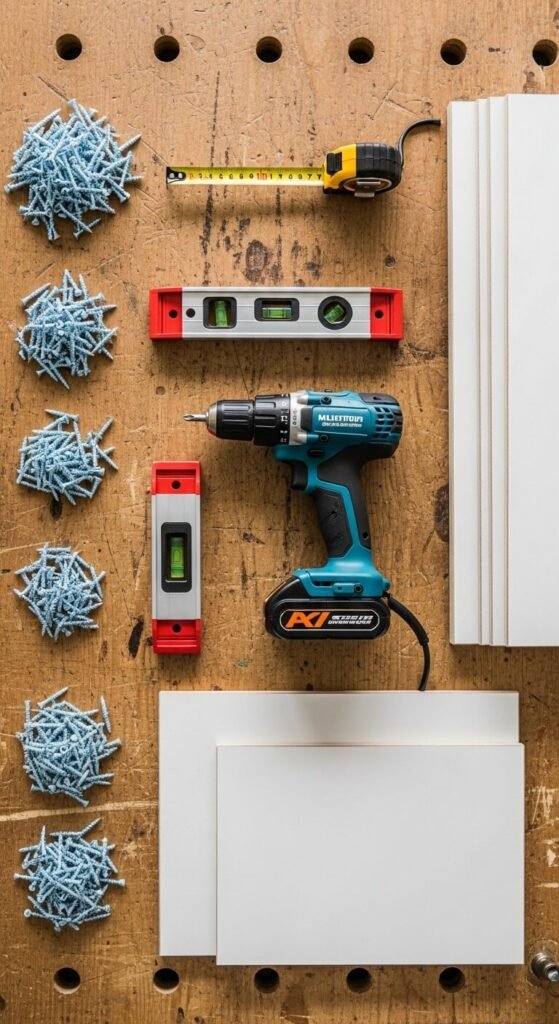
What You’ll Need to Get Started
Before you make your first cut, gather these essential materials and tools. Trust me, having everything ready saves you from those annoying mid-project hardware store runs.
Materials:
- ¾-inch plywood or melamine boards (measure your closet first!)
- 1×2 lumber for cleats (support strips)
- Wood screws (1¼-inch and 2½-inch)
- Wood glue
- Sandpaper (120-grit)
- Paint or wood stain (optional)
Tools:
- Circular saw or table saw
- Drill with bits
- Level (this is non-negotiable!)
- Tape measure
- Stud finder
- Pencil
- Safety glasses
Step 1: Measure Twice, Cut Once
This old carpenter’s wisdom exists for a reason. Start by measuring your closet’s width, depth, and height. Decide how many shelves you want and space them 12-16 inches apart for folded clothes, or 10-12 inches for shoes.
Sketch a simple diagram with your measurements. Mark where you want each shelf to sit. Use your stud finder to locate wall studs—you’ll want to anchor your support cleats into these for maximum strength.
Pro tip: If your walls aren’t perfectly square (and honestly, most aren’t), measure at multiple points and use the smallest measurement to avoid shelves that don’t fit.
Step 2: Cut Your Boards to Size
Now comes the satisfying part—cutting your lumber. Based on your measurements, cut your shelf boards and support cleats. Most closets are 24 inches deep, but yours might vary.
For the cleats (those are the strips that hold your shelves up), cut 1×2 boards to run along the back wall and side walls. These will create an “L” or “U” shaped support system depending on your closet configuration.
Safety first: Always wear safety glasses when cutting, and if you’re nervous about making cuts, many hardware stores will cut boards for you for free or a small fee.
[Image Prompt] A woman wearing safety glasses using a circular saw to cut a white melamine board on sawhorses in a garage workshop.
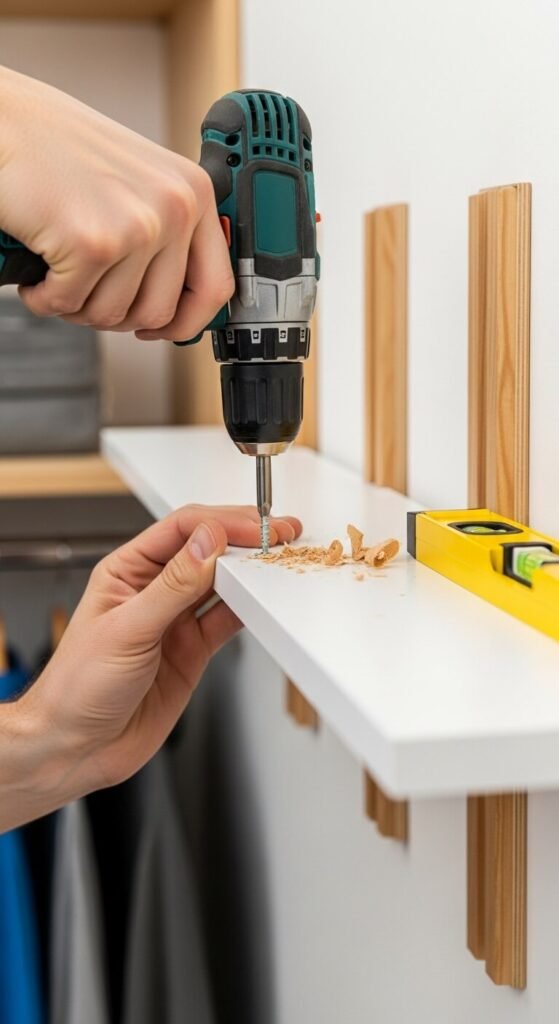
Step 3: Install the Support Cleats
This is where your project goes from “pile of wood” to “actual shelving system.” Start with the back wall. Hold your first cleat level (use that level!), mark where it hits the studs, and drill pilot holes. Then secure it with 2½-inch screws driven into the studs.
Repeat this process for your side wall cleats, making sure they’re at exactly the same height as your back cleat. The shelf will rest on these, so they need to be perfectly aligned.
Work your way up the wall, installing cleats at each shelf height. Double-check with your level at every single step—a shelf that’s off by even half an inch will drive you crazy later.
Step 4: Add and Secure the Shelves
Here’s where it all comes together! Slide your first shelf board onto the cleats. It should rest comfortably on the supports. Once it’s positioned, secure it from underneath by drilling 1¼-inch screws up through the cleats into the shelf.
For extra stability, add a dab of wood glue between the cleat and shelf before screwing. This prevents squeaking and adds strength.
Continue installing each shelf from bottom to top. Check that each one is level before moving to the next.
Step 5: Finishing Touches
Sand any rough edges with 120-grit sandpaper. If you’re using unfinished wood, now’s the time to paint or stain your shelves. White or light colors make closets feel bigger and brighter.
For melamine boards, you’re basically done—just wipe them clean and start organizing!
Consider adding shelf liner to prevent items from sliding around, or install closet rods beneath upper shelves for hanging clothes.
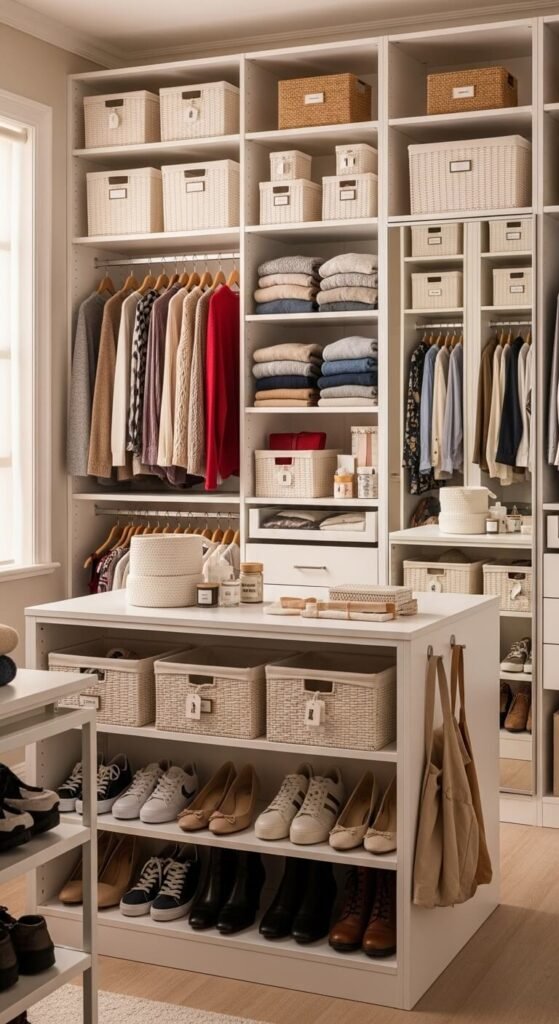
Your Weekend Warrior Victory
Congratulations—you just built custom closet shelves without spending hundreds on a contractor! Not only did you save money, but you also created storage that’s tailored exactly to your needs.
The best part? Once you’ve tackled one closet, you’ll have the confidence and skills to organize every closet in your home. So grab your tools, clear your weekend, and get building. Your future organized self will thank you!
Save this guide for your next DIY weekend project!