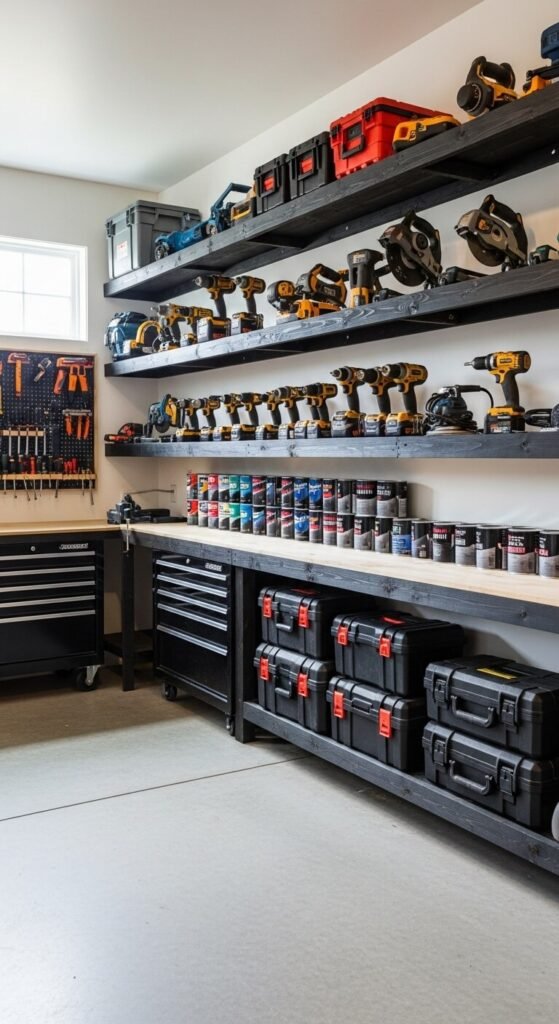
You know that feeling when you’re hunting for a socket wrench in a pile of tools scattered across your garage floor? Yeah, we’ve all been there. The truth is, most store-bought shelving units buckle under the weight of real workshop gear. But here’s the good news: building your own heavy-duty garage shelves isn’t just possible—it’s actually easier than you think, and they’ll outlast anything you can buy at the big box store.
Let me walk you through exactly how to create storage that can handle your heaviest equipment and stand strong for decades.
Why DIY Beats Store-Bought Every Time
Those flimsy metal shelves at the hardware store? They’re rated for maybe 200 pounds total. Your collection of power tools, paint cans, and workshop supplies? Probably closer to 500 pounds or more. Do the math—it’s a disaster waiting to happen.
When you build your own shelves using 2x4s and quality plywood, you’re creating a system that can easily support 100+ pounds per shelf. Plus, you get to customize the height, depth, and spacing for your exact needs.
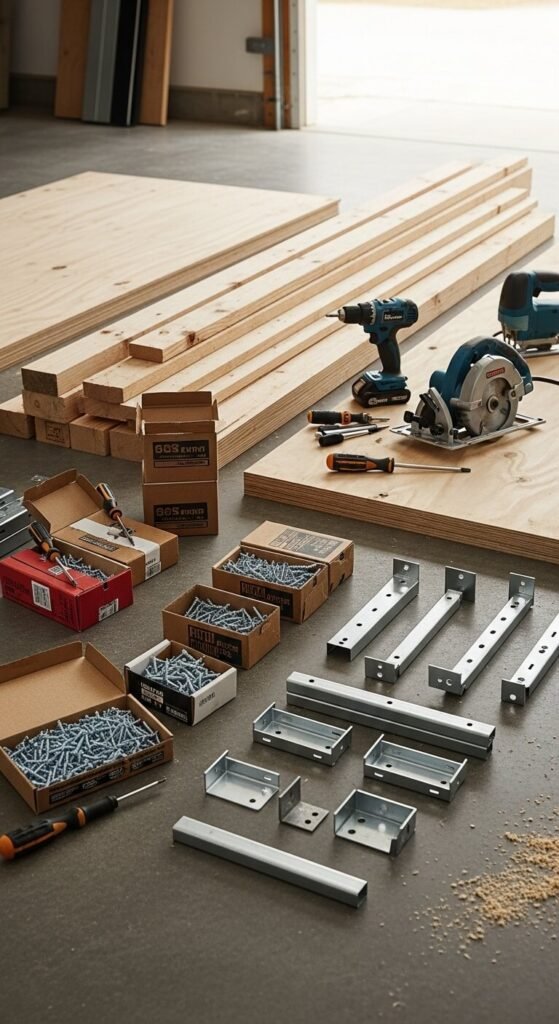
Materials You’ll Actually Need
Here’s your shopping list for a standard 8-foot shelf unit:
- Lumber: Eight 8-foot 2x4s (for the frame), four 4×8 sheets of 3/4-inch plywood (for shelving)
- Hardware: 3-inch wood screws, 1/4-inch lag bolts (at least 3 inches long), heavy-duty L-brackets
- Tools: Drill, level, stud finder, circular saw, tape measure
Don’t cheap out on the plywood. That particleboard stuff will sag under heavy weight. Go for actual plywood or even better, marine-grade if you want these shelves to truly last forever.
Step 1: Find Those Wall Studs
This is non-negotiable. Your shelves MUST attach to wall studs, not just drywall. Use a stud finder to locate them, then mark them clearly with a pencil. Standard stud spacing is 16 inches on center, so you should have plenty of anchor points.
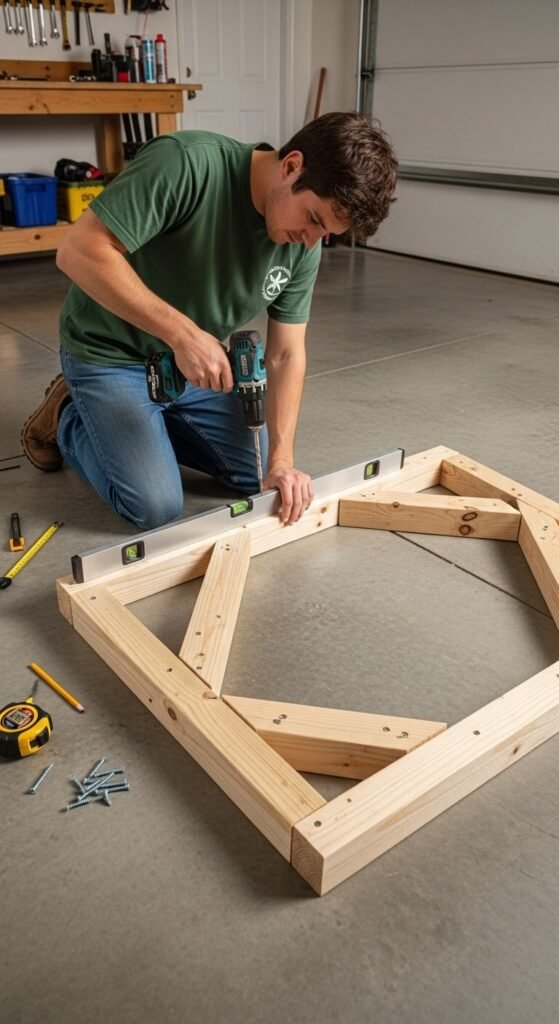
Step 2: Build Your Vertical Frame
Cut your 2x4s to your desired height (most people go with 6-8 feet). You’ll create a ladder-like structure that mounts directly to the wall. Space your vertical supports to hit at least three studs—this distributes the weight properly.
Pro tip: Assemble the frame on the ground first, then raise it into position. It’s way easier than trying to build it while holding pieces against the wall.
Step 3: Secure It Like You Mean It
This is where most DIYers mess up. Use those 1/4-inch lag bolts—not regular screws—to attach your frame to the studs. Drill pilot holes first to prevent splitting. You want at least two lag bolts per stud, staggered vertically.
Give it the “hang test”: literally grab the frame and try to pull it off the wall. If it budges even slightly, add more bolts.
Step 4: Add Your Shelf Supports
Cut 2×4 cross-pieces to create horizontal supports for each shelf level. Space them based on what you’re storing—16-20 inches works for most tool storage. Attach these supports to your vertical frame with 3-inch wood screws, using at least three screws per connection point.
Step 5: Install the Plywood Shelving
Cut your 3/4-inch plywood to size and lay it across the 2×4 supports. You can screw the plywood down if you want it permanent, or leave it unattached for flexibility. Each shelf should rest on at least three cross-supports to prevent sagging.

Make Them Last Forever
Want these shelves to outlive your house? Here’s how:
- Seal the wood: Apply a coat of polyurethane or exterior wood sealer to protect against moisture
- Mind the weight distribution: Spread heavy items across the shelf rather than concentrating them in one spot
- Check annually: Tighten any bolts that have loosened and look for signs of stress
- Avoid overloading: Even bomb-proof shelves have limits—respect them
The Bottom Line
Building garage shelves that can handle serious weight isn’t about following some complicated blueprint—it’s about using quality materials, proper anchoring, and a little common sense. Invest a weekend and a couple hundred bucks now, and you’ll have storage that serves you for the next 20+ years.