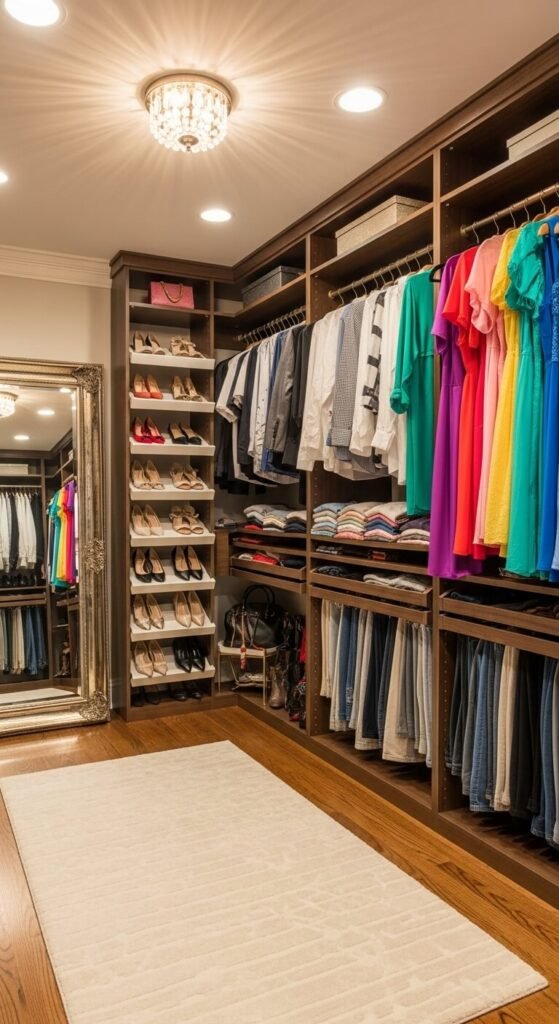
Ever opened your closet and felt like something was just… off? Maybe your dresses are dragging on the floor, or you’re doing weird acrobatics to reach your favorite sweater. Here’s the thing: most closet rods are installed at generic heights that don’t actually work for real people and their real clothes. But getting that rod at the perfect height? That’s the difference between a closet that frustrates you daily and one that makes getting dressed feel effortless.
Let’s fix your closet situation once and for all.
Why Closet Rod Height Actually Matters
Before we grab the drill, let’s talk about why this matters. The wrong height means:
- Your long coats and dresses end up crumpled on the closet floor
- You’re stretching on your tiptoes every morning (hello, coffee spills)
- You’re wasting precious vertical space that could hold more clothes
- Your clothes aren’t hanging properly, leading to wrinkles and wear
The right height transforms your closet from a storage nightmare into an organized dream. Trust me, this one measurement will change your mornings.
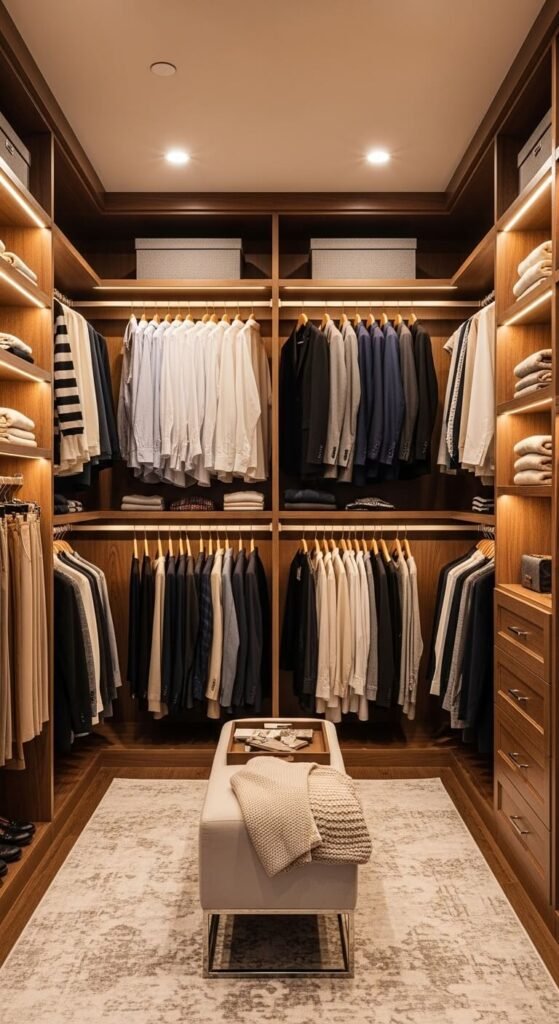
Measuring the Perfect Height for Your Wardrobe
Here’s where most people make their first mistake: they pick a random height or copy what they saw online. Your closet rod height should be based on your wardrobe, not someone else’s.
For single-rod closets:
- Long garments (dresses, coats, robes): 65-68 inches from the floor
- Standard hanging (shirts, blouses, folded pants): 60-65 inches from the floor
- Shorter items (shirts only): 48-54 inches from the floor
For double-rod systems:
- Top rod: 80-82 inches from the floor
- Bottom rod: 40-42 inches from the floor
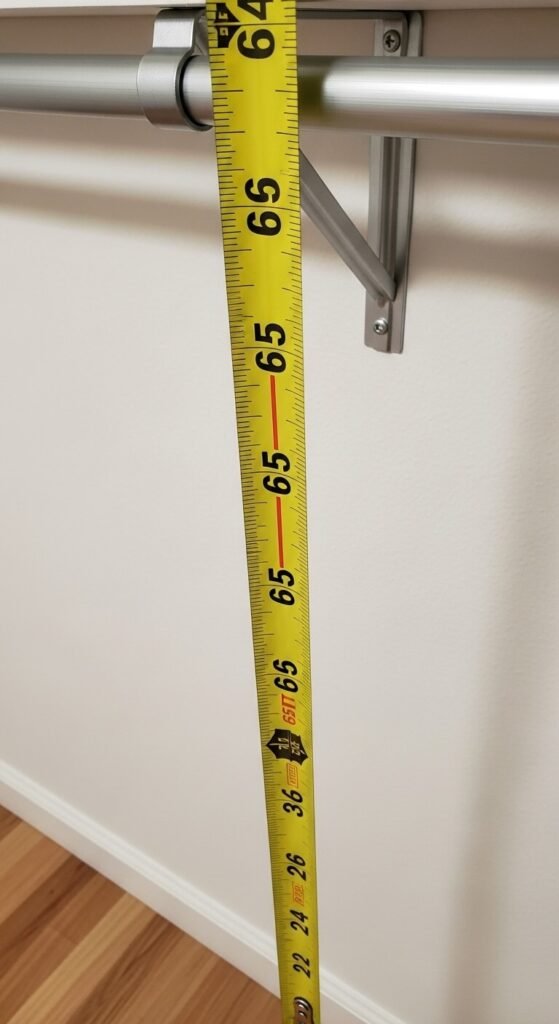
Here’s a pro tip: Lay out your longest items on your bed and measure them. Add 3-4 inches for hanger height and clearance. That’s your magic number.
Gathering Your Tools and Materials
You don’t need a contractor for this DIY project. Here’s your shopping list:
- Closet rod and flanges (measure your closet width first!)
- Stud finder
- Level (the bubble kind or a laser level)
- Drill with appropriate bits
- Screws (usually 2-3 inches for studs)
- Pencil
- Measuring tape
Most closet rod kits come with everything you need except the drill and stud finder. Budget around $20-40 for a basic setup, or splurge on a nicer rod if you’re feeling fancy.
Step-by-Step Installation Process
Step 1: Find Those Studs
Use your stud finder to locate the wall studs on both sides of your closet. Mark them with a pencil. Installing into studs is non-negotiable—drywall alone won’t support a full wardrobe’s weight.
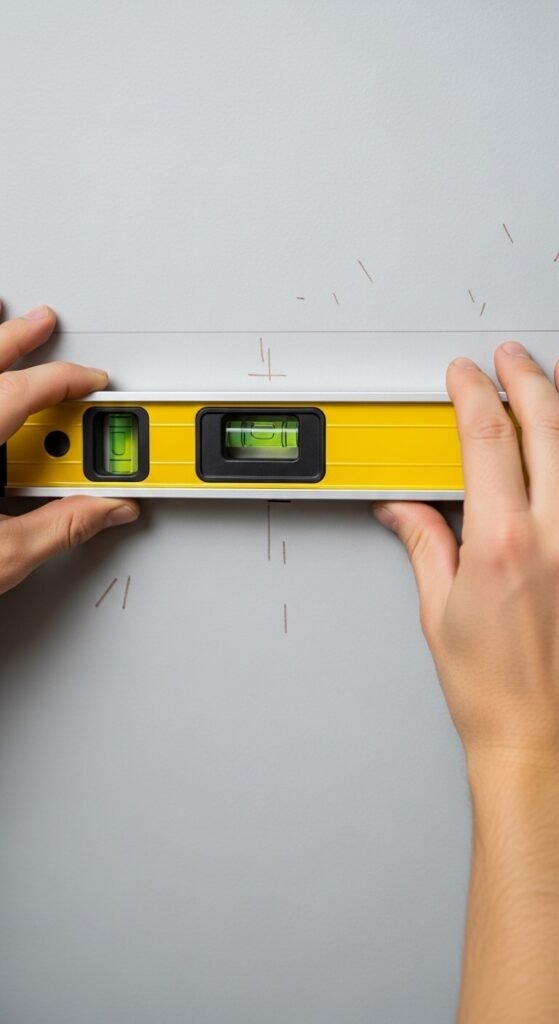
Step 2: Mark Your Height
Measure up from the floor to your chosen height on both walls. Use your level to draw a straight horizontal line connecting these points. Nothing screams “amateur” like a slanted closet rod.
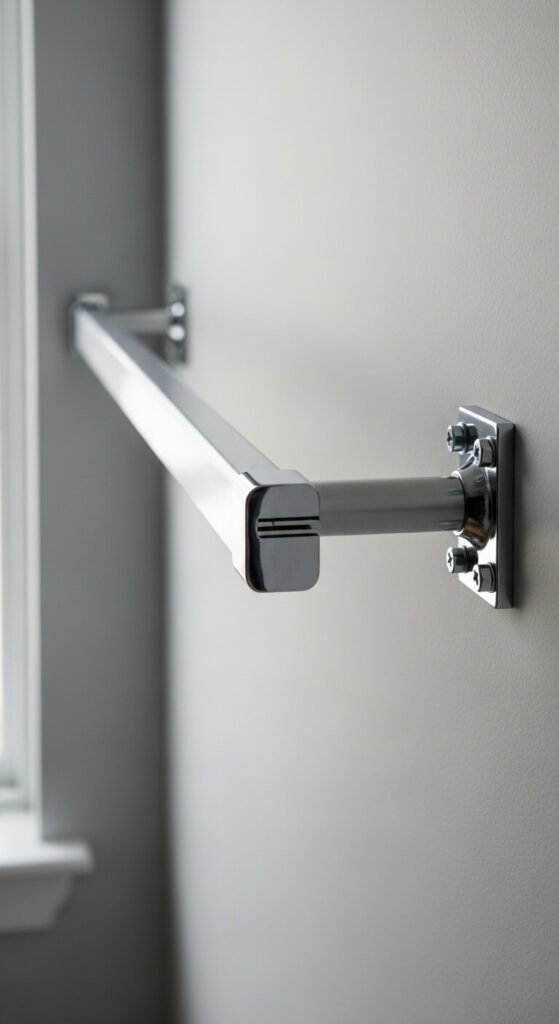
Step 3: Position the Flanges
Place your rod flanges on the marks, centered on the studs. Mark the screw holes with your pencil. Double-check with your level—seriously, check it twice.
Step 4: Drill and Mount
Drill pilot holes (smaller than your screws) to prevent wood splitting. Then screw your flanges firmly into the studs. They shouldn’t wiggle at all when you tug on them.
Step 5: Install the Rod
Slide your closet rod into the flanges and secure according to the manufacturer’s instructions. Most twist-lock or have set screws to hold them in place.
Common Mistakes to Avoid
Let me save you from the mistakes I’ve seen (and made):
- Skipping the stud finder: Your clothes will end up on the floor eventually
- Not measuring your longest items: Measure twice, install once
- Forgetting about the shelf above: Leave 12+ inches between rod and shelf
- Installing too close to the wall: You need 1.5-2 inches of breathing room
- Using the wrong screws: Go into studs with 2-3 inch screws minimum
Final Touches for Closet Perfection
Once your rod is installed, test it! Hang some of your heaviest items and check for sagging or wobbling. Everything should feel rock-solid.
Consider these finishing touches:
- Add shelf liner to prevent clothes from snagging
- Install LED closet lights to see your wardrobe better
- Use matching hangers for a cohesive, organized look
Your Turn to Transform Your Closet
Installing closet rods at the right height isn’t just about organization—it’s about making your daily routine smoother and keeping your clothes in better condition. With the right measurements and a couple hours on a weekend, you can create a closet that actually works for you instead of against you.
Ready to tackle this project? Save this guide for when you’re ready to drill! And don’t forget to measure those long dresses first—your future self will thank you every single morning.