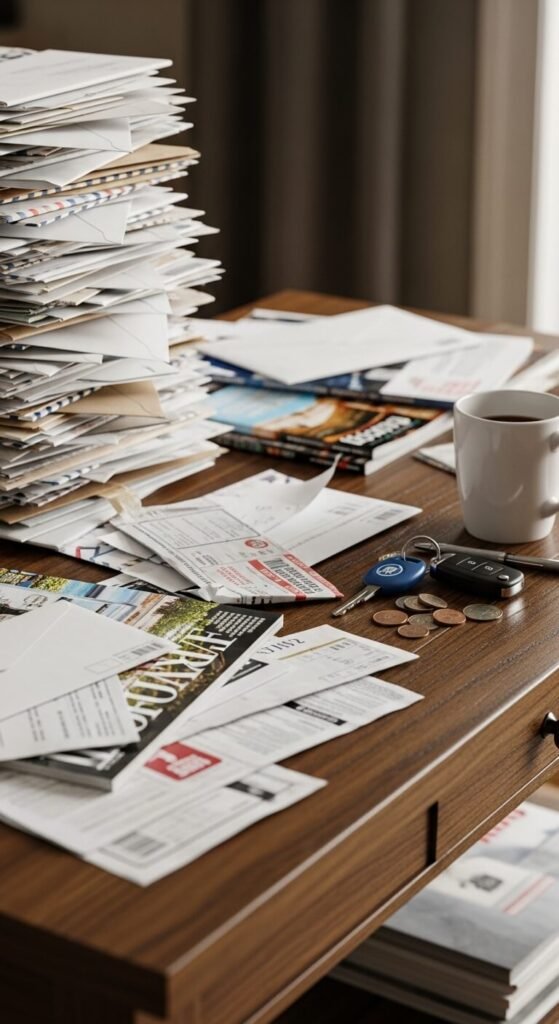
You know that feeling when you walk through the door, arms full of groceries, and toss the mail on the nearest surface? Fast forward two weeks, and you’re drowning in a sea of envelopes, flyers, and mysterious postcard offers. Sound familiar?
Here’s the truth: the battle against paper clutter is won or lost at your entryway. And the secret weapon? A DIY mail organizer that actually works with your lifestyle, not against it.
The good news? You don’t need fancy carpentry skills or an expensive trip to the container store. With a few simple materials and about an hour of your time, you can create a mail command center that stops clutter before it invades your home.
Why Your Entryway Needs a Mail Station
Think of your entryway as a filter. Without a proper system, everything that comes through your door spreads throughout your house like confetti. A dedicated mail organizer gives every piece of paper a temporary home and, more importantly, forces you to make quick decisions.
Keep this. Recycle that. File later. When you have designated spots for each category, you’re not just organizing mail—you’re preventing future mess.
What You’ll Need
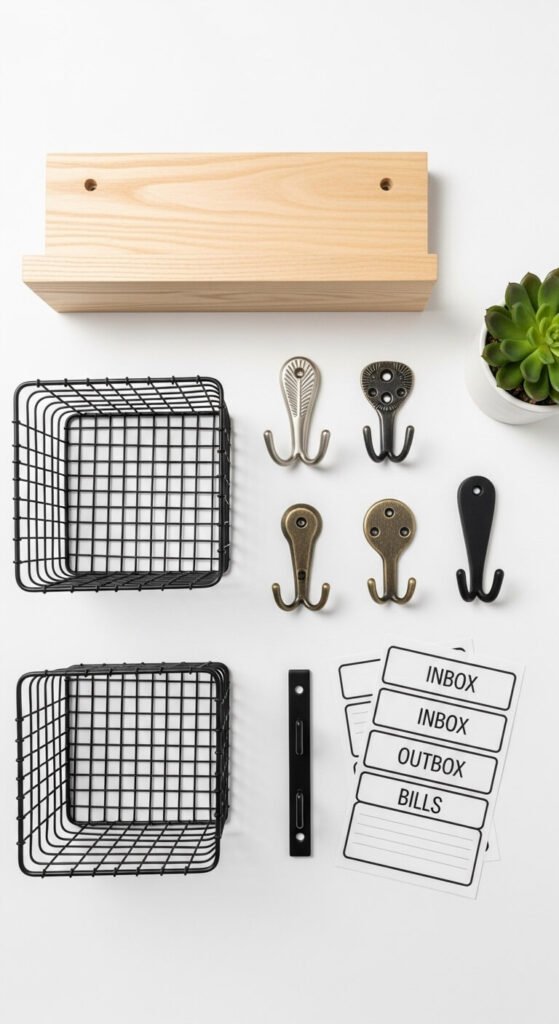
Gather these basic supplies before you start:
- Wooden wall-mounted shelf or repurposed picture frame (12-18 inches wide)
- Small baskets or metal file holders (2-3 pieces)
- Hooks for keys (optional but brilliant)
- Small trash bin or recycling basket
- Label maker or cute tags
- Command strips or wall anchors
- A pen holder and notepad for quick notes
Step 1: Choose Your Perfect Spot
Location matters more than you think. Your mail organizer should live exactly where you enter with the mail—not three rooms away.
Mount it at eye level (about 48-60 inches from the floor) in a spot that’s impossible to ignore. Near the front door, mudroom, or garage entrance works perfectly. You want it to be so convenient that tossing mail anywhere else feels like more work.
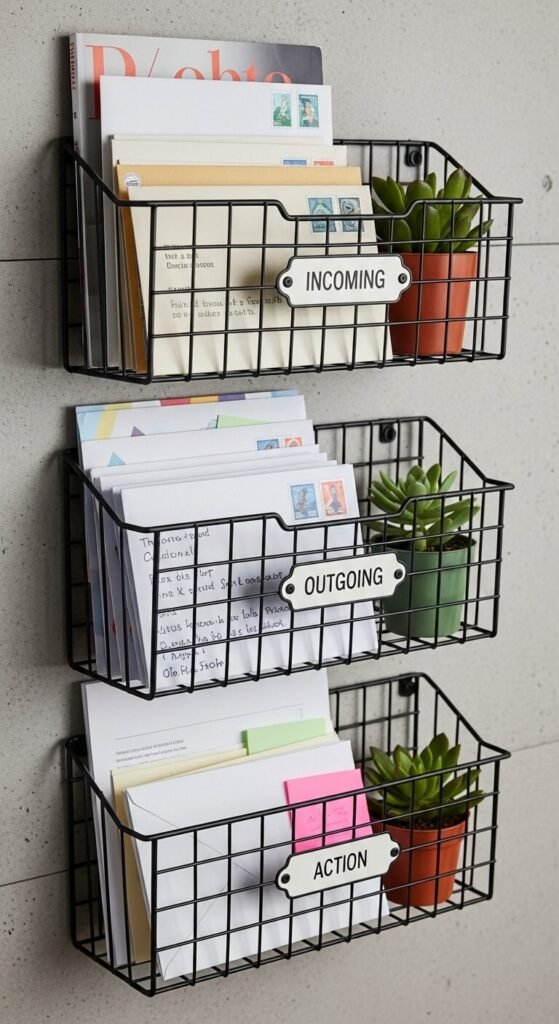
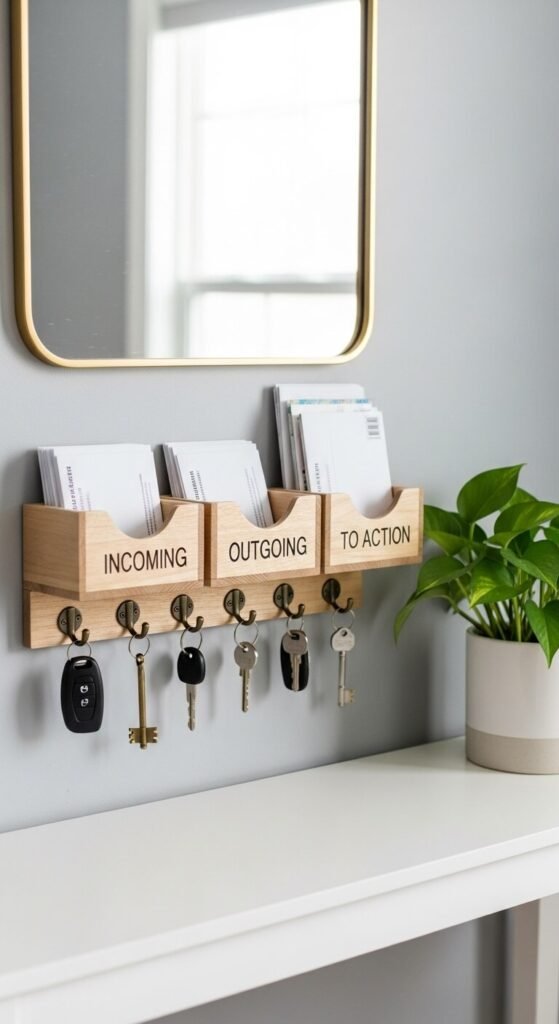
Step 2: Create Clear Categories
Here’s where most DIY mail stations fail: too many categories. Keep it simple with three core sections:
- Action Required – Bills, invitations, forms that need your signature
- To File – Important documents headed for your filing cabinet
- Recycle – Everything else (and this will be most of your mail)
Some people add a “To Read” basket for magazines, but be honest with yourself. If you haven’t read those cooking magazines in six months, you’re not starting now.
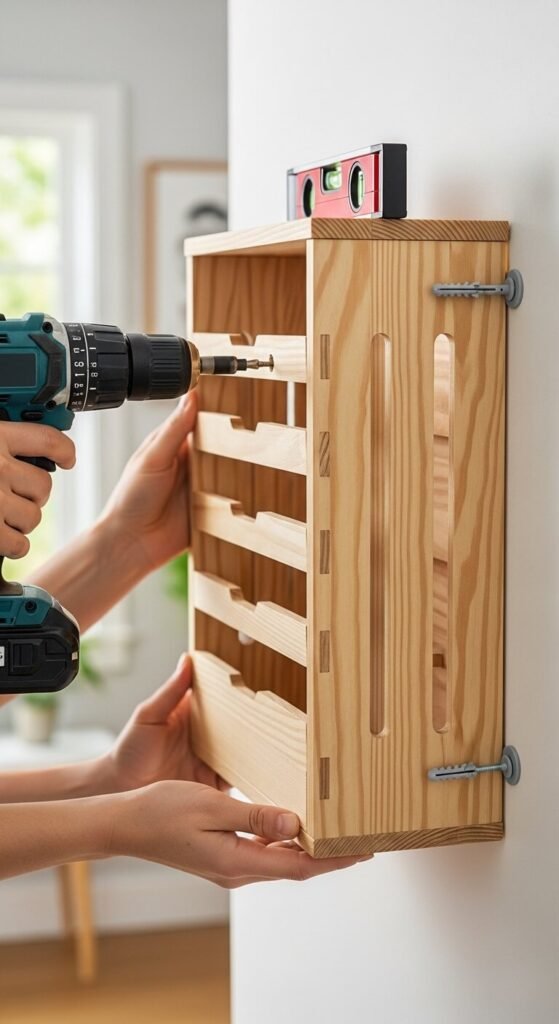
Step 3: Build and Install Your Organizer
If you’re using a shelf with baskets:
- Mount your shelf securely to the wall using appropriate anchors
- Arrange baskets or file holders on the shelf
- Add hooks underneath for keys, dog leashes, or reusable shopping bags
- Place a small trash bin or recycling basket directly below
If you’re repurposing a picture frame:
- Remove the glass and backing
- Attach small baskets or pouches with zip ties or wire
- Add cork board or chicken wire to the backing for pinning urgent items
- Hang using heavy-duty picture hangers
Step 4: Add the Secret Weapons
Now for the game-changers that make this system actually work:
The immediate recycle bin. Place it right below your organizer so junk mail never makes it past the entryway.
A pen on a string. Sounds silly, but when you need to jot a quick note or sign something, you’ll actually do it instead of tossing it in the “deal with later” pile.
Weekly deadline tags. Label items by when they need attention: “This Week” or “By Friday.” It creates urgency without overwhelming you.
Making It Stick (The Real Challenge)
Building the organizer is the easy part. Using it consistently? That’s where the magic happens.
Create a daily 2-minute routine: grab mail, sort immediately at the organizer, recycle junk on the spot. Don’t set it down “just for a second” anywhere else.
Set a weekly review alarm on your phone. Every Friday or Sunday, process everything in your Action Required basket. Empty. Done. Fresh start.
Your Clutter-Free Future Starts Here
A mail organizer isn’t just about looking organized—it’s about breaking the cycle of paper chaos that creeps into every room of your house. When you intercept clutter at the door, you protect your kitchen counters, dining table, and sanity.
The best part? Once you’ve built this system and used it for two weeks, it becomes automatic. You’ll wonder how you ever lived without it.
Ready to reclaim your entryway? Save this guide and tackle this project this weekend. Your future self (and everyone who lives with you) will thank you!