You know that feeling when you open a beautifully organized pantry and everything has matching, crisp labels? Or when you receive a handmade gift with a gorgeous custom sticker that makes it feel extra special? That polished, professional look doesn’t require expensive software or a design degree—and I’m going to show you exactly how to create it yourself.
Whether you’re organizing your home, launching a small business, or adding personal touches to gifts, professional-looking labels are completely achievable with free tools. Let’s dive into the step-by-step process that’ll have you designing like a pro in no time.
Choose Your Free Design Tool
The foundation of great label design starts with picking the right platform. Here are three fantastic free options:
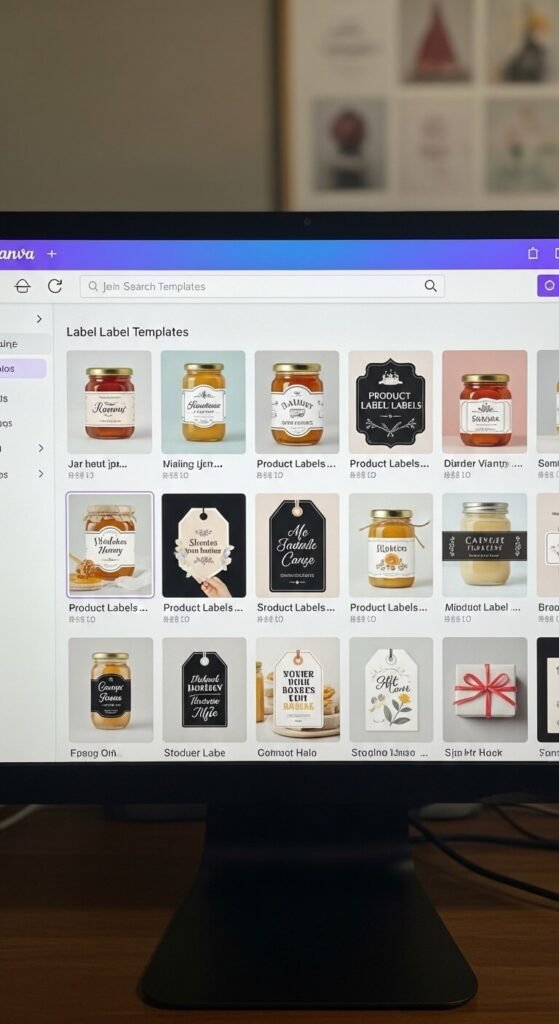
- Canva – Perfect for beginners with thousands of label templates and an intuitive drag-and-drop interface
- GIMP – A robust option if you want more advanced editing capabilities (think free Photoshop)
- Avery Design & Print – Ideal if you’re planning to print on Avery label sheets, with built-in sizing
For most people, Canva is the sweet spot. It’s free, user-friendly, and has everything you need to create stunning labels without any learning curve.
Start With the Right Dimensions
Before you get creative, you need to know your label size. Measure the surface where your label will go, or check the packaging of your label sheets if you’re printing at home.
Common label sizes include:
- 2″ x 2″ square (perfect for jars and containers)
- 2″ x 4″ rectangle (great for bottles)
- 2.625″ circle (standard mason jar lid size)
- 8.5″ x 11″ full sheet (for cutting custom shapes)
In Canva, simply click “Custom Size” and enter your exact measurements. This ensures your design will fit perfectly when printed.
Master the Elements of Professional Design
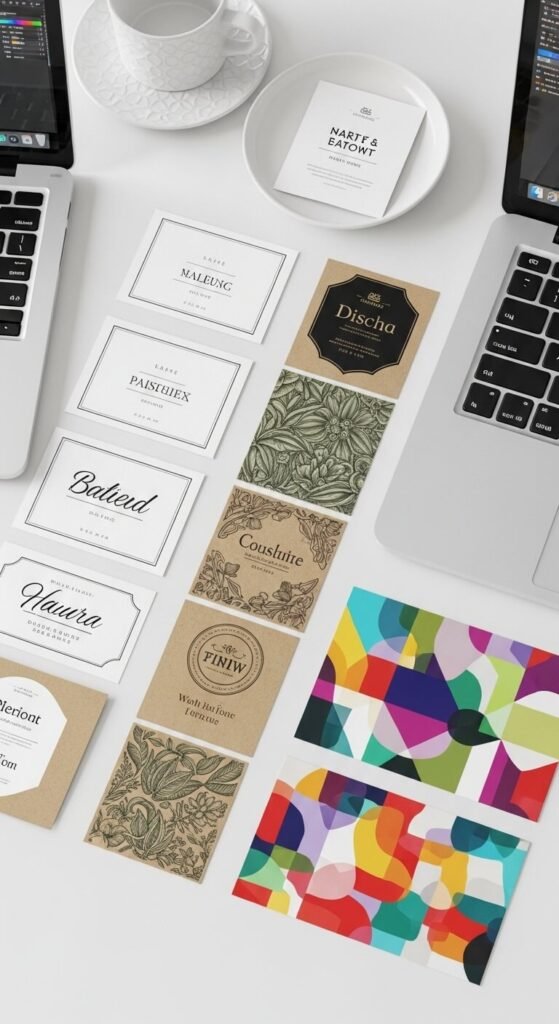
Here’s where the magic happens. Professional labels share a few key characteristics that you can easily replicate:
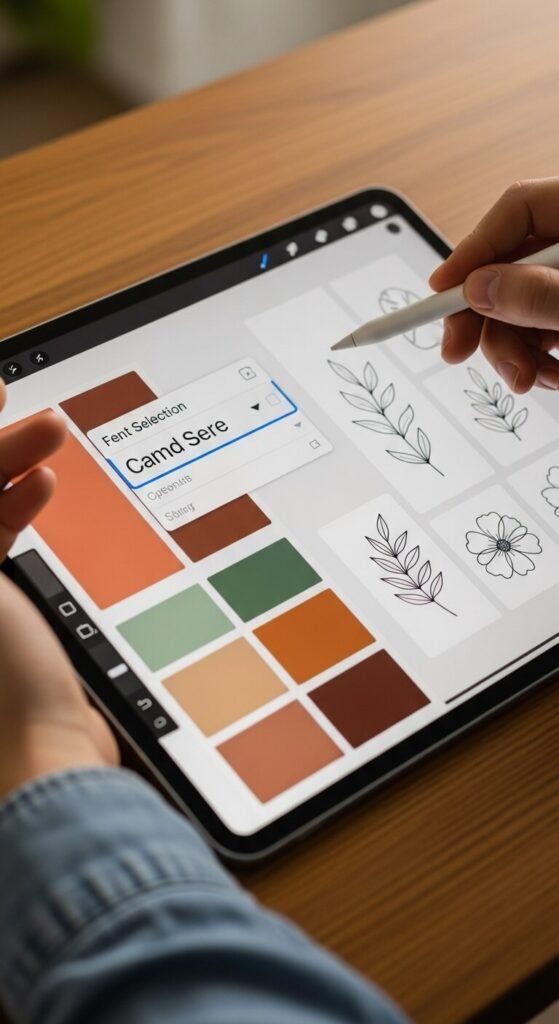
Keep it simple. The best labels have plenty of white space (or negative space). Don’t try to cram everything into one tiny label. Choose 1-2 fonts maximum and stick with a clear hierarchy—your main text should be the largest.
Choose cohesive colors. Pick 2-3 colors that complement each other. Canva’s color palette generator is brilliant for this. For a classic look, you can’t go wrong with black text on white or kraft backgrounds.
Use high-quality graphics. Canva’s free library includes millions of elements. Search for icons, illustrations, or borders that match your aesthetic—whether that’s rustic farmhouse, modern minimalist, or playful and colorful.
Add Text That Pops
Your text needs to be readable and eye-catching. Here’s the formula:
Start with your main information (product name, room label, or key detail) in a bold, clear font. Then add secondary information in a smaller, complementary font. Think: “Homemade Strawberry Jam” in a decorative script, with “Est. 2026” in a clean sans-serif underneath.
Pro tip: Increase the letter spacing slightly on your text for that elevated, designer feel. In Canva, this is the “Spacing” option in the text toolbar.
Perfect Your Print Settings
You’ve designed something beautiful—don’t let poor printing ruin it! Here’s how to nail the printing process:
Download your design as a high-resolution PDF or PNG (300 DPI minimum). If you’re using label sheets, do a test print on regular paper first to check alignment. Adjust if needed before committing to your label paper.
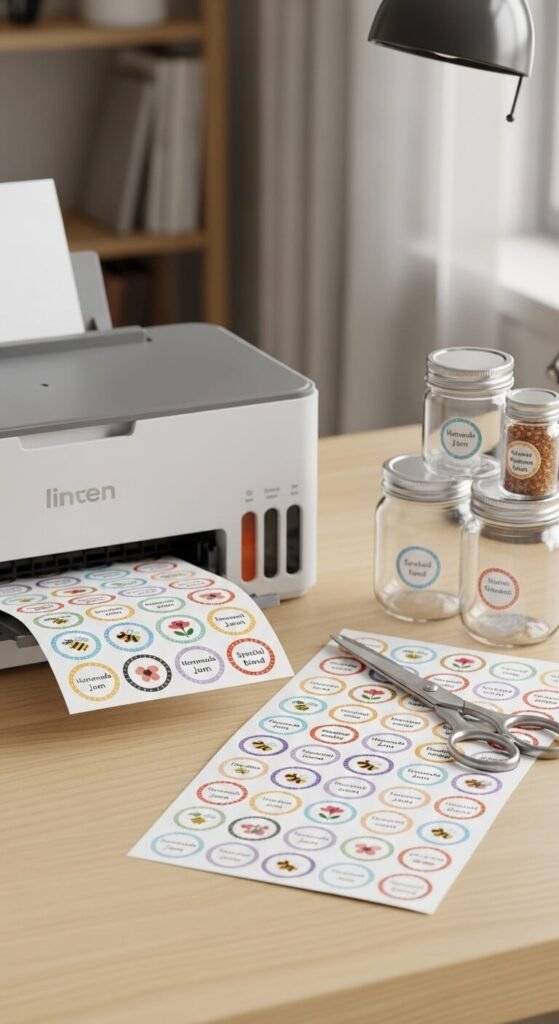
For the crispest results, use a laser printer if possible. If you only have an inkjet, let your labels dry completely before handling to prevent smudging.
Finishing Touches That Elevate Everything
Want to take your labels from good to absolutely stunning? Try these finishing techniques:
- Apply labels to clean, dry surfaces for better adhesion
- Use a bone folder or credit card to smooth out any air bubbles
- Add a coat of Mod Podge over paper labels for water resistance
- Consider laminating stickers for outdoor or frequently handled items
Your Labels, Your Way
Creating professional-looking labels with free tools isn’t just possible—it’s actually fun and incredibly rewarding. Whether you’re organizing your entire home, building your brand, or making heartfelt gifts, you now have everything you need to design labels that look like they came from a high-end boutique.
The best part? Once you’ve created one design you love, you can save it as a template and customize it for future projects in minutes. Before you know it, you’ll have a signature style that’s uniquely yours.
Ready to start designing? Save this guide and create your first professional label today. You’ll wonder why you ever paid for custom labels in the first place!