Let’s be honest—finding storage bins that actually look good with your carefully curated home aesthetic feels impossible. You’ve spent hours choosing the perfect throw pillows and wall art, only to shove everything into mismatched plastic tubs that scream “I gave up.” But what if I told you that creating custom storage bins that blend seamlessly with your decor is easier (and cheaper!) than you think?
Whether you’re working with a minimalist vibe, boho chic, or modern farmhouse style, custom storage bins can elevate your space from cluttered to curated. Let’s dive into how you can make storage solutions that are as pretty as they are practical.
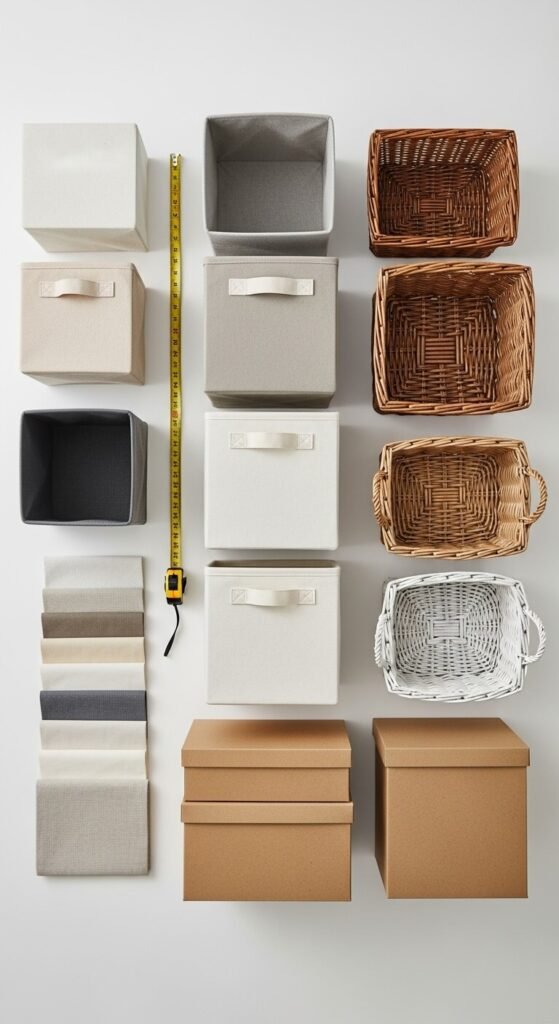
Choose Your Base Bins Wisely
Before you start decorating, you need the right foundation. Head to your local dollar store, thrift shop, or home goods store and look for:
- Cardboard boxes (perfect for fabric wrapping)
- Plain canvas bins (ideal for painting or stenciling)
- Wicker baskets (great for spray painting)
- Plastic storage containers (surprisingly versatile with contact paper)
Pro tip: Measure your spaces first! Nothing’s worse than creating gorgeous bins that don’t fit on your shelves.
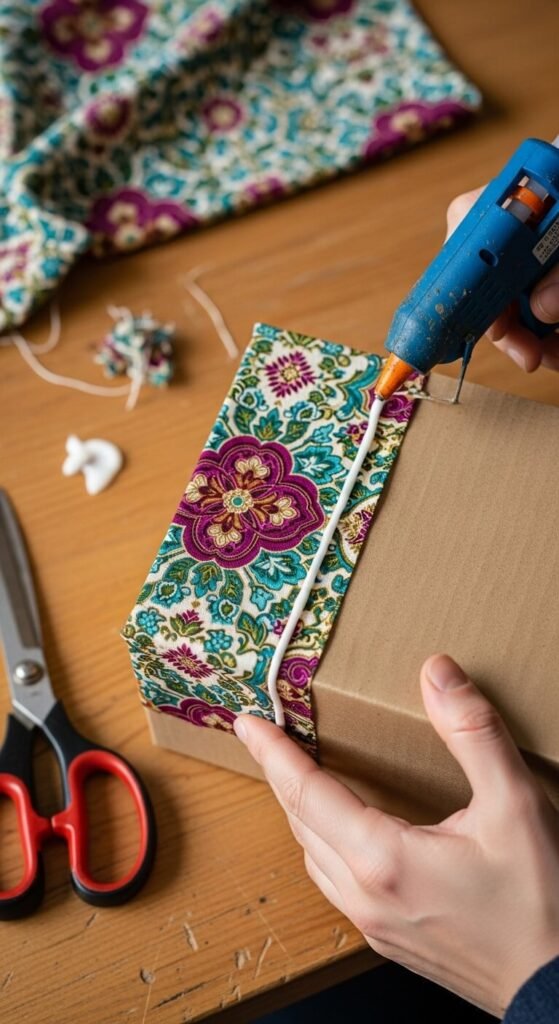
Fabric-Wrapped Perfection
This is hands-down the easiest way to achieve that high-end, cohesive look. Here’s how:
What you’ll need:
- Fabric that matches your room’s color palette
- Fabric glue or a hot glue gun
- Scissors
- Optional: ribbon or trim for finishing touches
The process:
- Measure your bin’s surfaces and cut fabric pieces with 1-2 inches of overhang
- Apply glue to one section at a time, smoothing out bubbles as you go
- Fold excess fabric inside the bin for clean edges
- Add decorative ribbon along the top edge if desired
The best part? You can use leftover fabric from curtains or throw pillows for that perfectly matched look.
Paint and Stencil Magic
If you’ve got plain canvas or wicker bins, a little paint can transform them completely.
For canvas bins:
- Use fabric paint or acrylic paint mixed with fabric medium
- Try ombre effects, geometric patterns, or simple solid colors
- Add stenciled designs using painter’s tape as guides
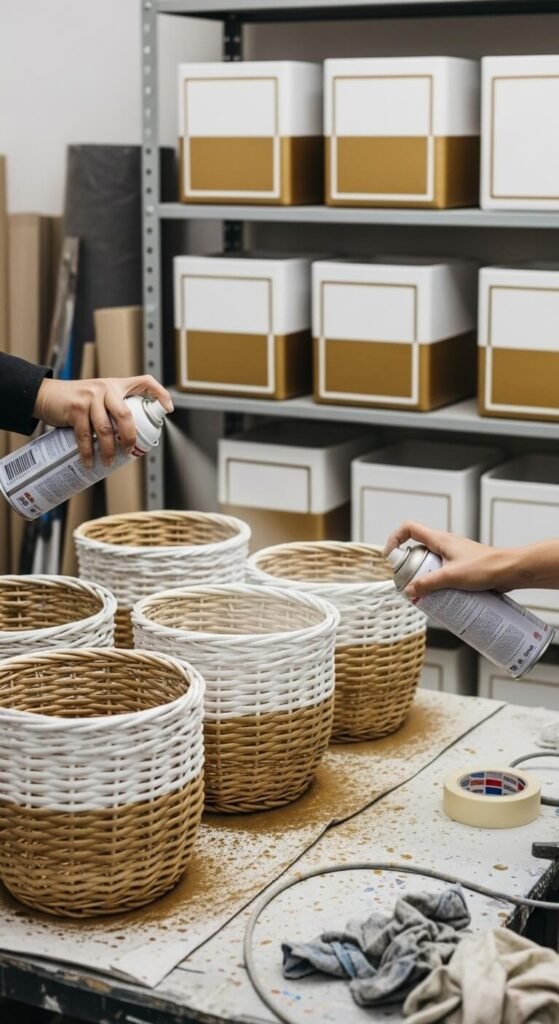
For wicker baskets:
- Spray paint is your best friend here
- White, black, or metallics work beautifully
- Two light coats beat one heavy coat every time
Let everything dry for 24 hours before using—patience is key!
Contact Paper Quick Fix
This is the secret weapon for renters or commitment-phobes. Peel-and-stick contact paper comes in hundreds of patterns and textures.
Application tips:
- Clean your bins thoroughly first
- Measure twice, cut once
- Use a credit card to smooth out bubbles
- Marble, wood grain, and geometric prints are trending right now
Best part? It’s completely removable when you’re ready for a refresh.
Add Finishing Touches
The details make all the difference:
- Leather or rope handles instantly upgrade any bin
- Label holders (the kind you can slip paper into) keep things organized
- Tassel or pom-pom trim adds personality
- Metal corner brackets give an industrial edge
Mix and match these elements based on your style. Boho? Go for macramé and tassels. Minimalist? Stick with leather tags and clean lines.
Make It Last
A few care tips to keep your custom bins looking fresh:
- Spot clean fabric-wrapped bins with a damp cloth
- Avoid overloading—respect weight limits
- Store seasonal bins in dry areas
- Refresh paint or fabric every year or two as needed
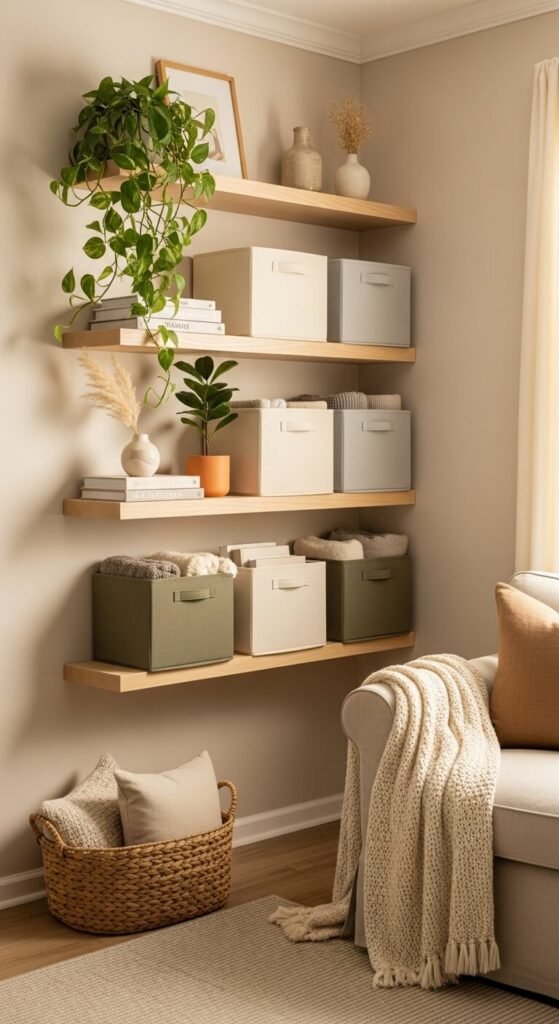
Your Perfectly Styled Space Awaits
Creating storage bins that match your home decor isn’t just about aesthetics—it’s about making your space feel intentional and complete. When every element works together, your home transforms from just a place you live into a space that truly reflects who you are.
Ready to ditch those eyesore storage solutions? Pick one technique from this guide and start with just a few bins. You’ll be amazed at the difference it makes.
Save this guide for your next organizing project—your future self will thank you!