Let’s be honest: you’ve probably bought craft supplies with the best intentions, only to watch them disappear into the abyss of that one closet you’re afraid to open. Sound familiar? You’re not alone. The difference between crafters who create regularly and those who just collect supplies isn’t talent—it’s organization.
When your materials are visible, accessible, and sorted in a way that actually makes sense, suddenly that “someday project” becomes today’s reality. Here’s how to organize your craft supplies so they inspire you instead of intimidating you.
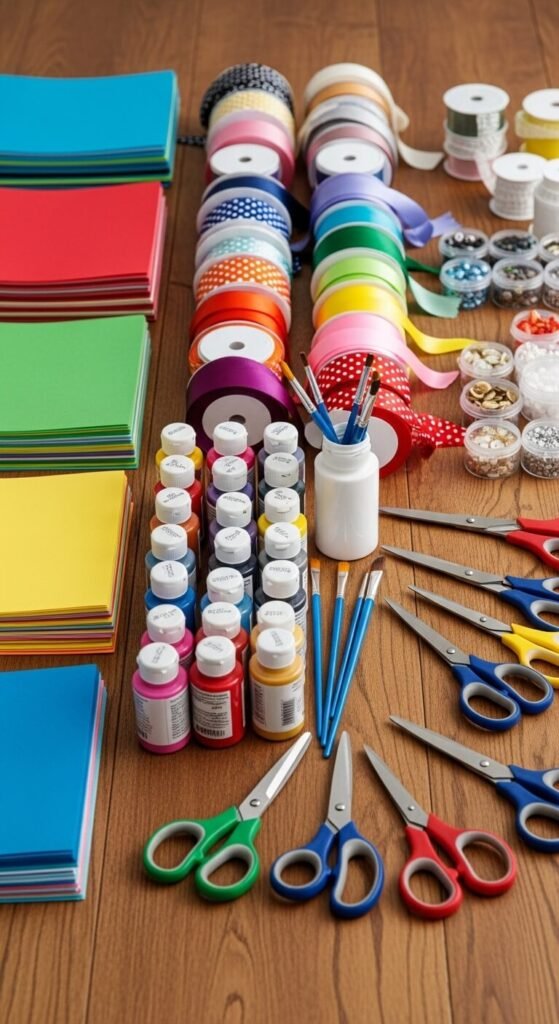
Sort Everything First (Yes, Everything)
Before you buy a single organizing bin, you need to know what you’re working with. Pull out every craft supply from every drawer, closet, and forgotten corner of your home. Spread it all out on a large table or clean floor space.
Group similar items together: all paper in one pile, ribbons in another, paints together, and so on. This is when you’ll discover you own seven bottles of Mod Podge or twenty spools of the exact same ribbon. Be ruthless about letting go of dried-up markers, ancient glue sticks, and projects you know you’ll never finish.
Ask yourself these questions:
- Have I used this in the past year?
- Is it still in good condition?
- Do I have a specific project in mind for it?
If the answer is no to all three, it’s time to donate or toss it.
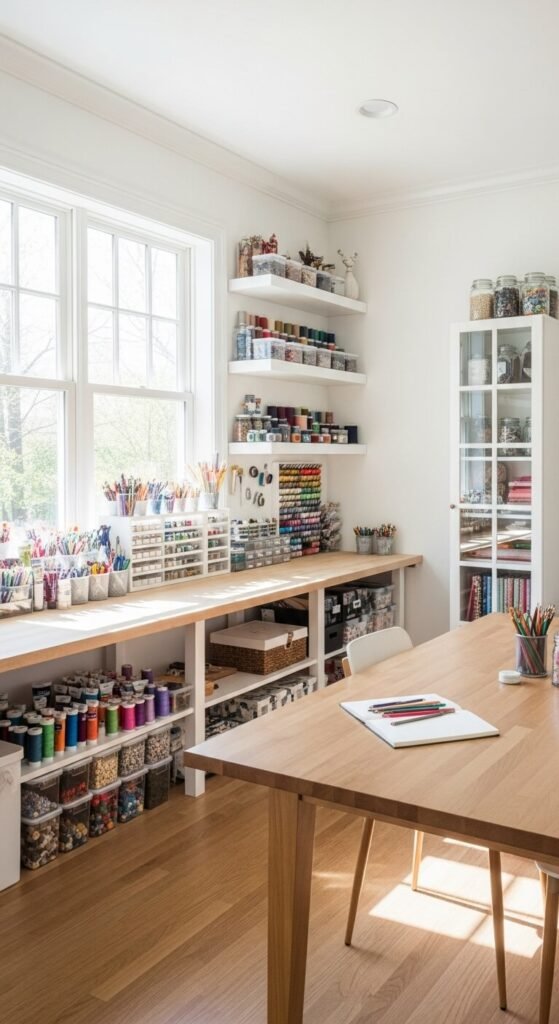
Choose Storage That Shows What You Have
The biggest mistake crafters make? Hiding everything in opaque bins and drawers. Out of sight truly means out of mind when it comes to creative supplies.
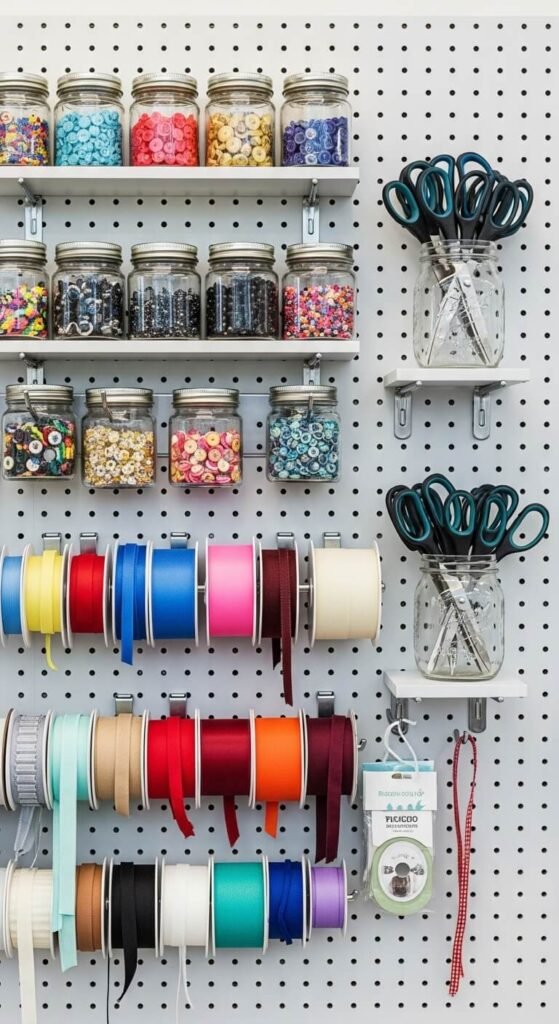
Clear containers are your best friend. When you can see your ribbon collection at a glance or spot that perfect shade of cardstock without digging, you’re far more likely to actually use it. Mason jars work beautifully for smaller items like buttons, beads, or paint brushes. Clear plastic drawers are perfect for paper, fabric scraps, and embellishments.
Label everything—even if you think you’ll remember what’s inside. Future you will thank present you when you’re hunting for that specific washi tape at midnight before a birthday party.
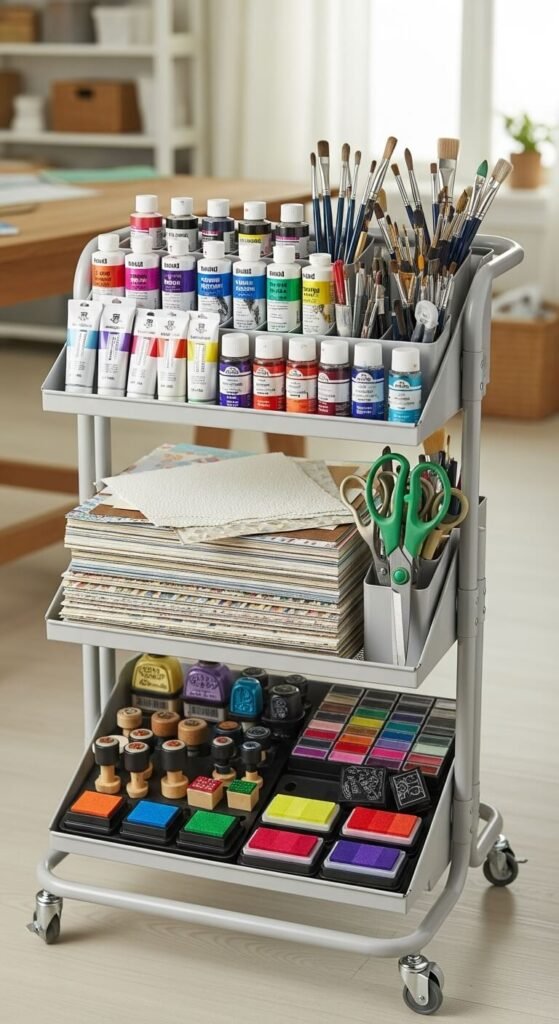
Create Zones Based on How You Craft
Think about your actual crafting habits. Do you scrapbook at the dining table? Paint in the garage? Work on multiple projects simultaneously?
Organize your supplies into zones or portable caddies based on these activities:
Project-based zones might include:
- Paper crafting station (cardstock, punches, adhesives)
- Painting area (brushes, paints, canvases, palettes)
- Sewing corner (threads, needles, fabrics, patterns)
- Kids’ craft zone (washable supplies, safety scissors, glue sticks)
If you craft in different rooms, invest in a rolling cart or portable caddy that you can easily move. Keep your most-used supplies in the most accessible spots—that prime real estate at eye level shouldn’t be wasted on that random bag of pom-poms you bought three years ago.
Make It Pretty Enough to Keep Organized
Here’s a secret: if your organizational system isn’t aesthetically pleasing, you won’t maintain it. Your craft space should spark joy and creativity, not look like a utilitarian storage unit.
Use matching containers when possible. Decant supplies into coordinating jars or bins. Add labels with pretty fonts. Install a pegboard and arrange it like a Pinterest dream. When your supplies look beautiful, you’ll want to keep them that way.
Consider displaying some of your prettiest supplies as décor. A vase of colorful markers, a bowl of vibrant yarn, or ribbons hanging from decorative hooks can be both functional and inspiring.
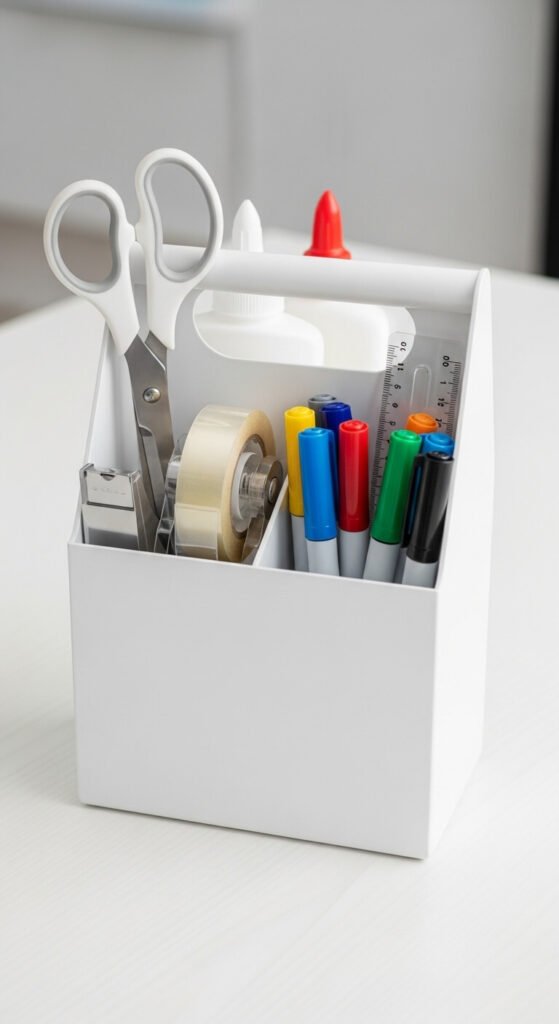
Keep a “First Aid Kit” for Quick Projects
Create a portable container with your absolute essentials—the supplies you reach for most often. Think scissors, tape, glue stick, ruler, and your favorite pens or markers. Keep this kit somewhere super accessible so you can grab it for quick projects without excavating your entire craft stash.
This is especially helpful for those spontaneous moments when inspiration strikes or when your kid announces they need something for school tomorrow.
The Secret to Maintaining Your System
The best organizational system in the world won’t work if you don’t put things back. Make it a rule: before you start a new project, put away the supplies from your last one. Spend five minutes at the end of each crafting session returning items to their homes.
It’s much easier to maintain order than to recreate it from chaos every few months.
Your craft supplies should work for you, not against you. When everything has a place and you can see what you own, crafting becomes less about hunting for materials and more about creating. So grab those clear bins, sort those supplies, and transform your craft chaos into an organized space that actually inspires you to make something beautiful.
Ready to tackle that craft closet? Pin this for later and start with just one category today!