You open your cabinet to grab a mixing bowl, and three plastic containers tumble out. Sound familiar? If your kitchen cabinets look like they’ve survived a small earthquake every time you cook, you’re not alone. But here’s the good news: professional chefs don’t have magical organizational superpowers—they just follow a few smart systems that make everything faster, cleaner, and so much easier.
In just three hours this weekend, you can transform your chaotic cabinets into a streamlined, chef-worthy space where every pot, plate, and spice has its perfect place. Let’s dive in!

Step 1: Empty Everything Out (Yes, Everything!)
The biggest mistake people make? Trying to organize around the mess. Professional chefs know you need to start with a completely blank slate.
Here’s what to do:
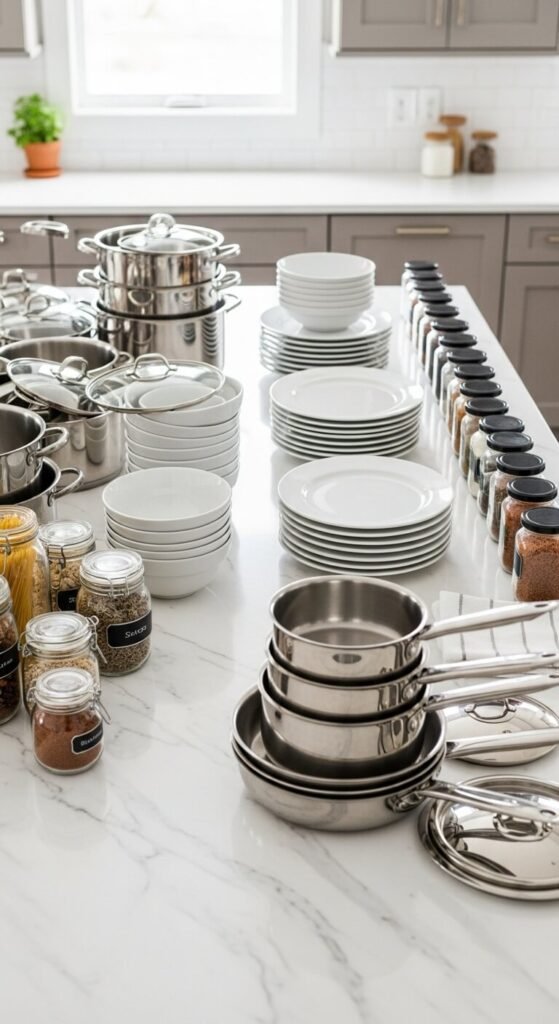
- Pull every single item out of your cabinets and place them on your counters or kitchen table
- Give each shelf a quick wipe-down with warm soapy water
- Check expiration dates as you go—you’d be surprised what’s been hiding in there
- Group similar items together: baking supplies, pots and pans, dishes, glasses, food storage containers
This step alone takes about 45 minutes, but it’s the foundation of everything that follows. Plus, you’ll finally discover where that missing lid went!
Step 2: Apply the Chef’s Golden Rule—Zone Your Kitchen
Professional chefs organize by zones, not just by “stuff that fits.” This simple principle will change how you cook forever.
Create these essential zones:
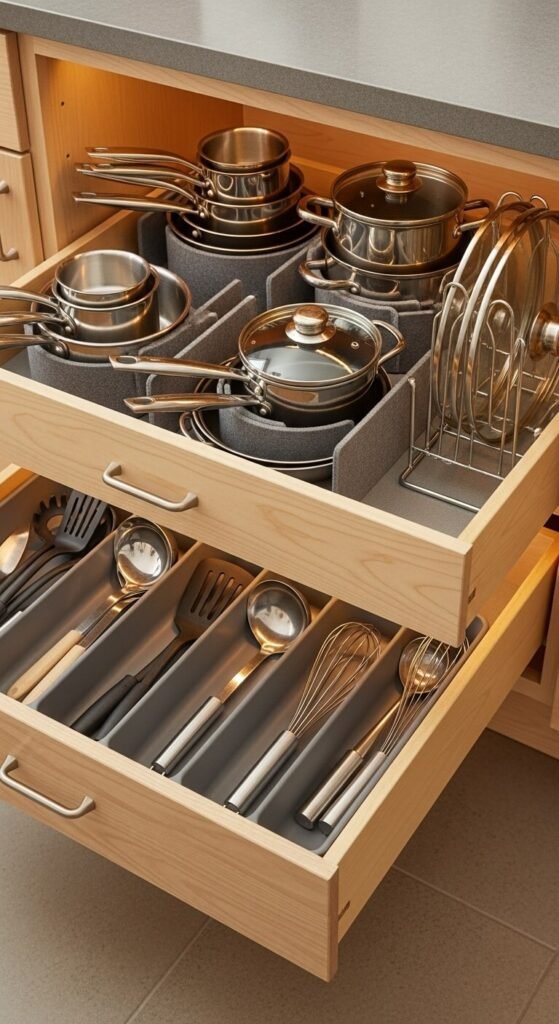
- Cooking Zone: Near the stove—oils, spices, utensils, pots and pans
- Prep Zone: Near your main counter space—cutting boards, knives, mixing bowls
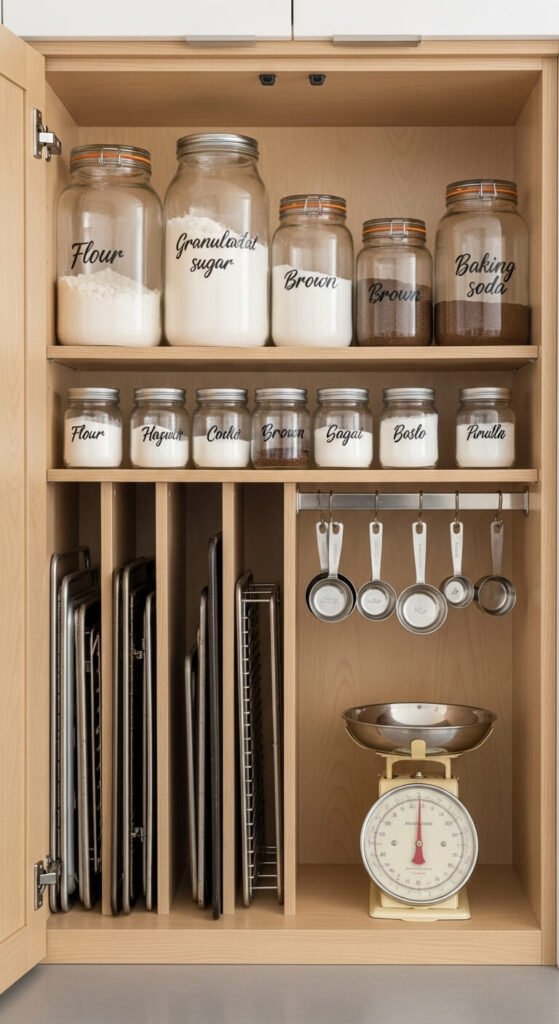
- Baking Zone: All baking supplies together—flour, sugar, measuring cups, baking sheets
- Serving Zone: Near the dining area—plates, bowls, serving platters
- Food Storage Zone: Pantry staples, containers, wraps
The magic happens when everything you need for a task lives in the same place. No more running back and forth across the kitchen while your onions burn!
Step 3: Use Vertical Space Like a Pro
Chefs maximize every inch of cabinet space, and you should too. Most of us only use about 60% of our vertical space—that’s like throwing away free storage!
Smart vertical solutions:
- Stack plates with shelf risers to double your space
- Store baking sheets and cutting boards vertically with tension dividers
- Use stackable can organizers for canned goods
- Install under-shelf baskets for mugs or small items
- Add hooks inside cabinet doors for measuring spoons and pot holders
This is where the real transformation happens. Suddenly, you’ll wonder how you ever lived with flat, wasted space.
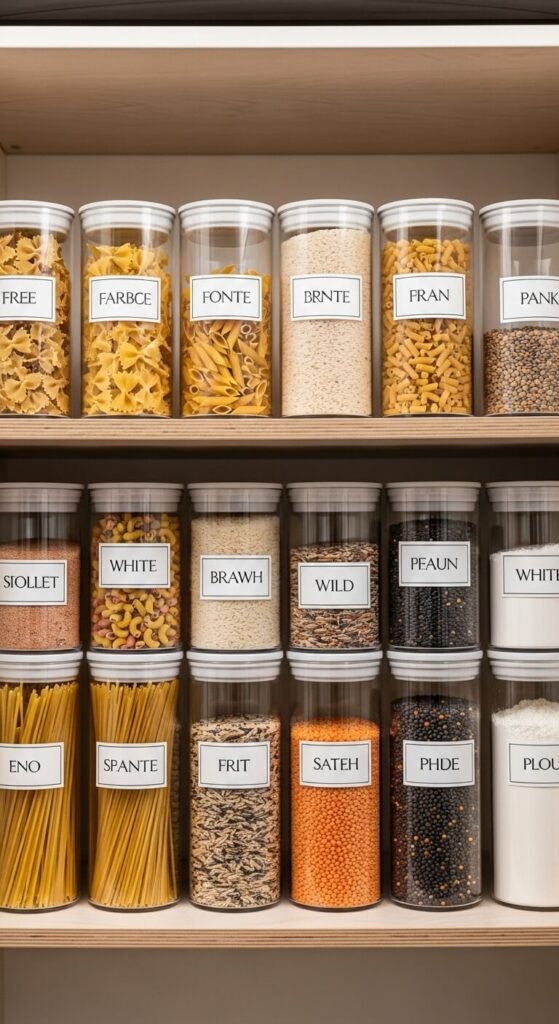
Step 4: Containerize and Label Everything
Walk into any professional kitchen and you’ll see clear containers everywhere. There’s a reason for this—it keeps food fresh, prevents spills, and makes inventory instantly visible.
What to containerize:
- Dry goods like flour, sugar, rice, and pasta
- Snacks and cereals
- Baking supplies like chocolate chips and sprinkles
- Spices (transfer to matching jars for a uniform look)
Use a label maker or simple masking tape to mark everything. Your future self will thank you when you’re frantically searching for baking powder at 9 PM.
Step 5: Make It Maintainable
The difference between a system that lasts and one that falls apart in two weeks? Maintenance habits.
Chef-approved maintenance tips:
- Do a quick 5-minute reset every evening—put things back where they belong
- Review and purge expired items once a month
- Keep a “donate” box for dishes and gadgets you never use
- Resist the urge to buy duplicates—if you have three spatulas, you don’t need a fourth
- Take a photo of your organized cabinets to remind yourself what it should look like
Ready to Cook in Your Dream Kitchen?
Three hours. That’s all it takes to go from cabinet chaos to professional-level organization. You’ll cook faster, waste less food, and actually enjoy spending time in your kitchen again.
The best part? Once your cabinets are organized like a chef’s, cooking becomes easier and more enjoyable. You’ll spend less time searching and more time creating delicious meals.
Save this guide and tackle one zone at a time if three hours feels overwhelming. Your organized kitchen is waiting—let’s make it happen! 📌