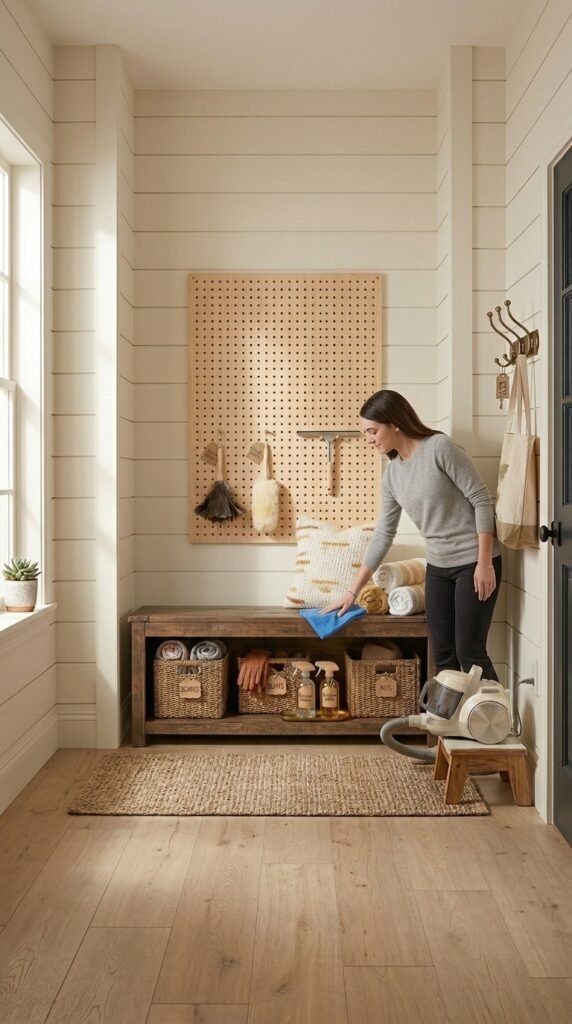
Your entryway sets the tone for your entire home — and right now, it might be doing you dirty. Shoes everywhere, bags piled on the floor, no place to sit while you tie your laces. A DIY storage bench with hidden compartments is the game-changer you didn’t know you needed. It’s functional, gorgeous, and secretly hides all the chaos underneath. Best of all? You can build it yourself — even if you’re a beginner.
Why a Hidden Compartment Bench Is Worth the Build
Sure, you could buy a bench at a big-box store. But a DIY version gives you:
- Custom sizing to fit your exact entryway width
- Hidden lift-top or pull-out compartments no store bench offers
- A fraction of the cost — most builds run $50–$120 in materials
- The satisfaction of saying “I built that” every single day
This isn’t just furniture. It’s smart storage disguised as a design statement.
Materials and Tools You’ll Need
Before you hit the lumber yard, gather everything so the build goes smoothly.
Materials:
- 1×12 pine boards (for the sides, top, and bottom)
- 1×4 pine boards (for the face frame)
- ½-inch plywood sheet (for the base panel)
- Piano hinge or soft-close lid hinges
- Wood glue, pocket screws (1¼” and 2″)
- Sandpaper (120-grit and 220-grit)
- Paint or stain of your choice
- Furniture legs or hairpin legs (optional, for a modern look)
Tools:
- Miter saw or circular saw
- Drill + pocket hole jig (a Kreg jig is ideal)
- Measuring tape and square
- Clamps
- Paintbrush or foam roller

Step 1 — Cut Your Pieces to Size
A standard entryway bench is about 48 inches wide, 18 inches deep, and 18 inches tall. Adjust to your space.
Cut your pieces:
- 2 side panels: 18″ × 17.5″
- 1 bottom panel: 48″ × 18″ (plywood)
- 1 top panel (the lid): 48″ × 18″
- 1 back panel: 48″ × 17.5″ (optional, for a cleaner look)
- Face frame pieces: cut to fit the front opening
Pro tip: Label every piece with painter’s tape as you cut. It saves a ton of confusion during assembly.
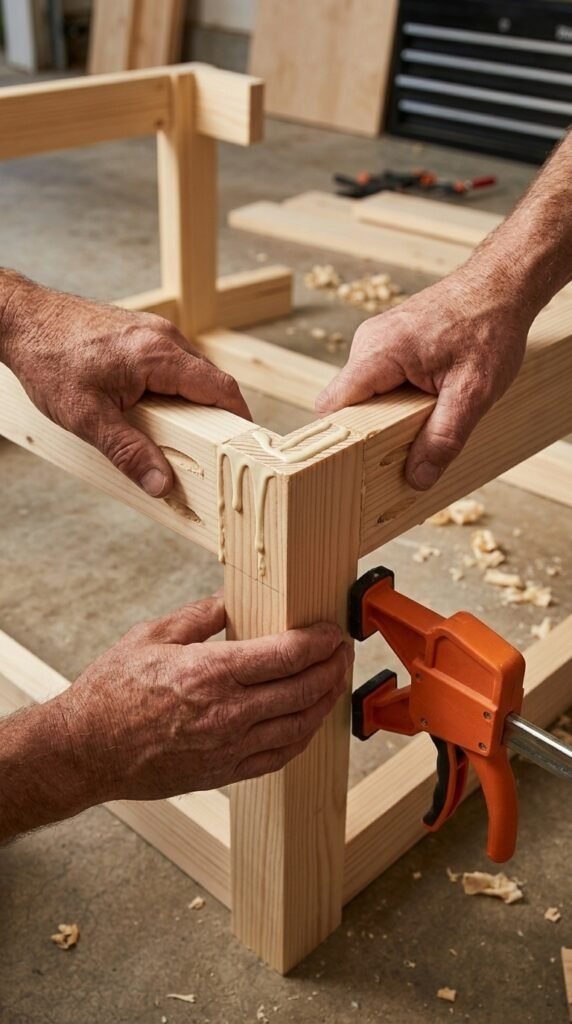
Step 2 — Assemble the Box
This is where your bench starts to take shape.
- Use your pocket hole jig to drill pocket holes along the inside edges of the side panels.
- Apply wood glue to all joining edges before screwing together — this makes the joint incredibly strong.
- Attach the side panels to the bottom panel first, then add the back panel.
- Square up the box with your carpenter’s square before the glue sets. A twisted box means a lid that won’t close properly.
Let it dry for at least an hour before moving on.
Step 3 — Build and Attach the Hidden Compartment Lid
Here’s where the magic happens. The “hidden” element comes from a flush-mounted lift-top lid — it looks like a solid bench top but opens to reveal generous storage below.
- Sand your lid panel to 220-grit smoothness on all edges.
- Attach a piano hinge along the full back edge of the lid and the back of the bench box. A piano hinge distributes weight evenly so the lid won’t sag over time.
- Want it truly hidden? Add a finger-pull routed into the underside of the lid front edge instead of a visible handle. Run a router with a finger-pull bit about 1 inch from the front edge — guests will never guess it opens.
- Optional: Add a soft-close lid support on each side so the lid doesn’t slam down on little fingers.
Step 4 — Add the Face Frame and Sand Everything
A face frame gives your bench that polished, furniture-store finish.
- Cut 1×4 boards to frame the front opening.
- Attach with glue and brad nails.
- Fill all nail holes with wood filler, let dry, then sand flush.
- Do a final sand of the entire bench with 220-grit for a silky-smooth surface ready for paint or stain.
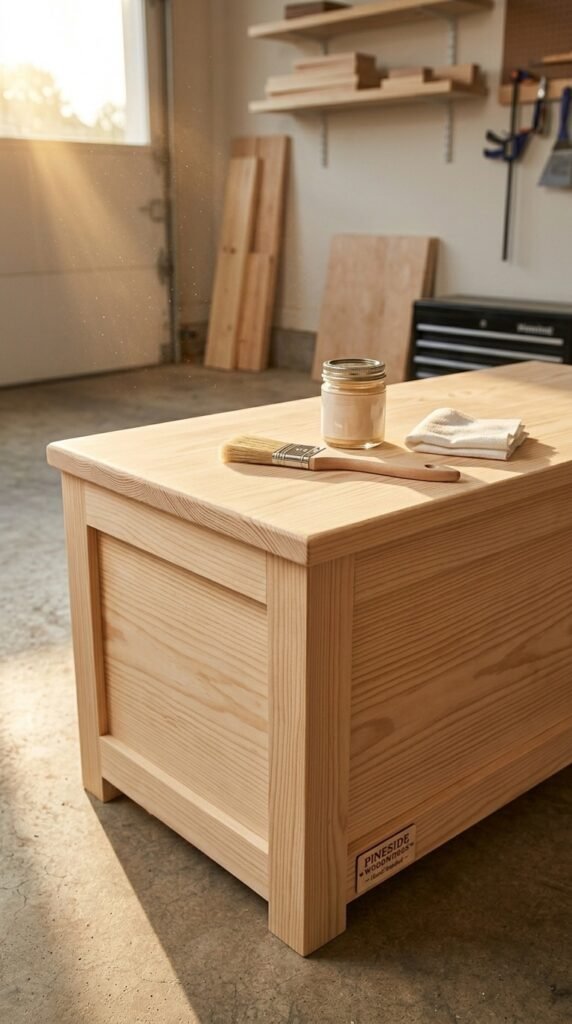
Step 5 — Finish and Style Your Bench
Now for the fun part.
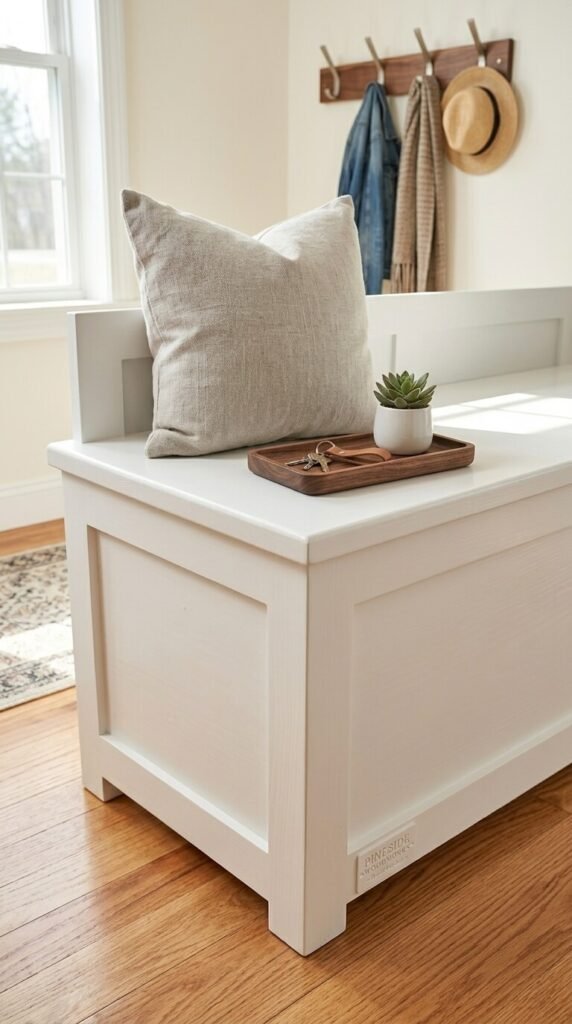
- Paint: A crisp white or soft black gives a clean, modern look. Use a satin finish for easy cleaning.
- Stain: A warm walnut or honey oak stain highlights the wood grain beautifully for a farmhouse vibe.
- Add legs: Screw in hairpin legs or tapered furniture legs for a mid-century modern touch — or skip them and keep it grounded for a chunkier, traditional look.
- Line the inside: Add a piece of decorative contact paper or thin cedar lining to the bottom of the compartment for a polished interior and cedar’s natural pest-repelling bonus.
Style the top with a cozy throw pillow and a small tray for keys, and you’re done.
Your Entryway Deserves This
Building a storage bench with hidden compartments is one of those weekend projects that pays off every single day — in tidiness, in style, and in that quiet pride every time someone asks, “Where did you get that?”
Save this tutorial, pin it for your next weekend project, and tag us when you build yours! Whether you go rustic, modern, or somewhere in between, your entryway is about to get a serious upgrade.