You open the utility closet door, something falls out, and suddenly you’re playing a dangerous game of Jenga with a mop, three extension cords, and a mysterious bag you haven’t touched since 2021. Sound familiar? A disorganized utility closet isn’t just frustrating — it wastes your time every single day. The good news? With a little planning and the right systems, this hardest-working closet in your home can become one of the most satisfying spaces you own.
Step 1: Pull Everything Out First
Before you can organize, you need a clean slate. Yes — everything out.
Lay it all on the floor or a nearby table and sort into three piles:
- Keep – things you actually use
- Donate/Toss – duplicates, broken items, or things you haven’t touched in a year
- Relocate – items that belong somewhere else in the house
This step usually takes 20–30 minutes but makes the entire process smoother. You’ll also be surprised how many half-empty cleaning bottles you’ve been hoarding.
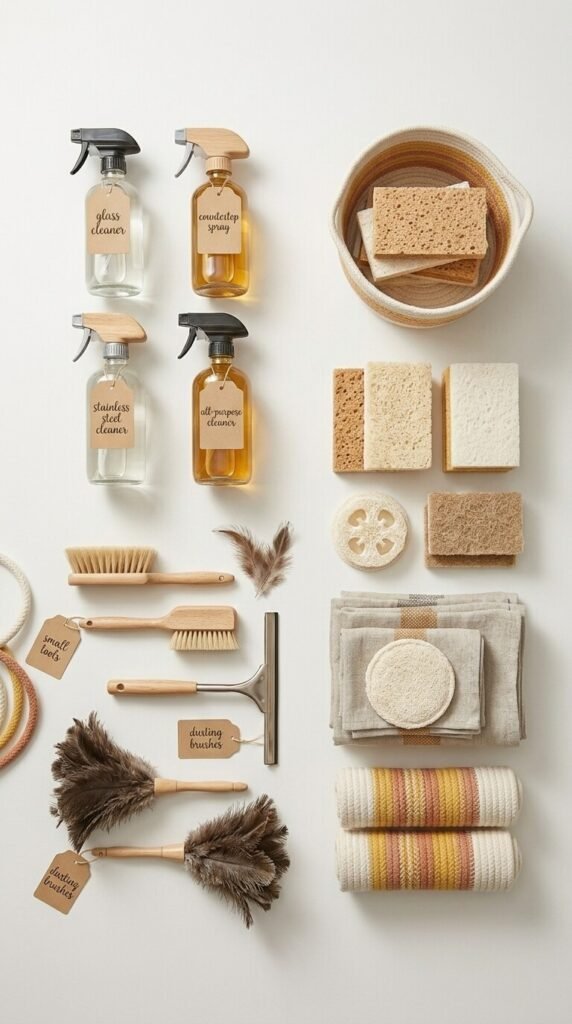
Step 2: Group Items by Category
Once you know what you’re keeping, group like with like. Common categories for a utility closet include:
- Cleaning supplies (sprays, sponges, scrubbers)
- Mops, brooms, and vacuums
- Paper goods (paper towels, toilet paper backup)
- Tools and hardware
- Light bulbs and batteries
- Pet supplies (if applicable)
This grouping becomes the blueprint for how you’ll arrange everything back inside.
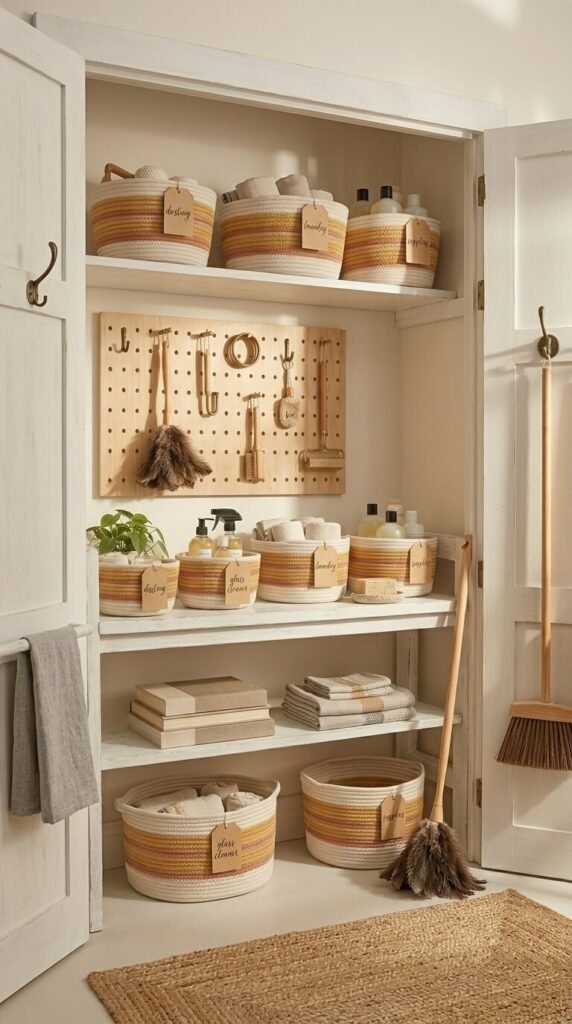
Step 3: Use Vertical Space Wisely
Most utility closets are tall but narrow, which means vertical space is your best friend. Don’t just stack things on the floor — think in zones from top to bottom:
- Top shelves: Rarely used items like seasonal supplies or backup stock
- Eye-level shelves: Daily-use cleaning products and supplies
- Lower shelves: Heavier items like bulk paper goods or tool boxes
- Floor space: Reserve for large equipment (vacuum, mop bucket)
Add a pegboard on the back wall to hang tools, small baskets, and hooks for brooms and dustpans. It’s a game-changer for keeping the floor clear.

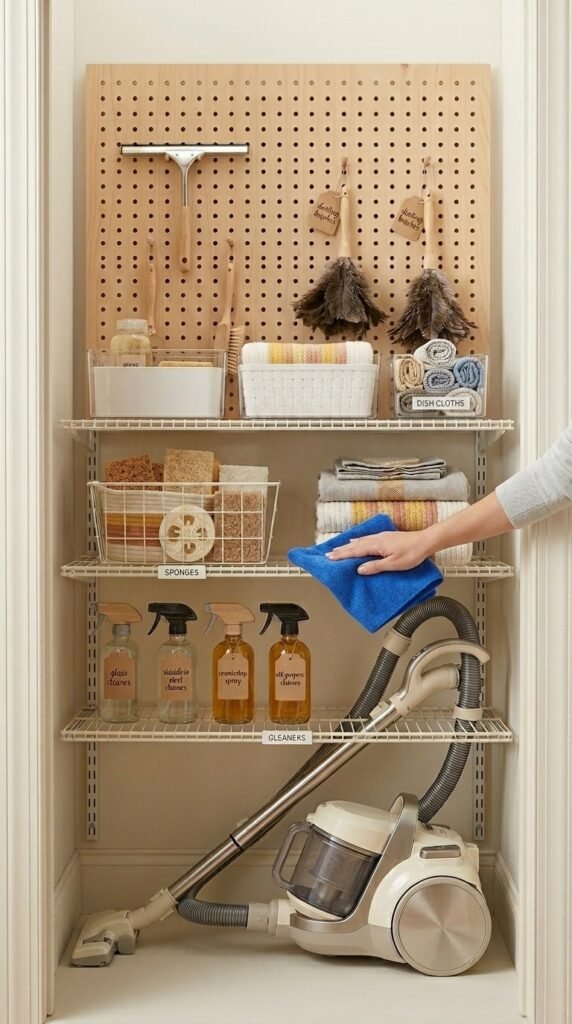
Step 4: Invest in the Right Storage Solutions
You don’t need to spend a fortune, but a few targeted products will make a huge difference:
- Over-the-door organizers for spray bottles, gloves, and small tools
- Clear stackable bins so you can see what’s inside without digging
- A broom/mop wall mount to keep long-handled items off the floor
- Lazy Susans on shelves for easy access to bottles in the back
- Label everything — even if you think you’ll remember, you won’t
Consistent containers (same brand, same color) create a cohesive look that feels calming rather than chaotic.
Step 5: Set a Maintenance Routine
Here’s the truth: organizing once isn’t enough. Life happens, things get tossed back in quickly, and before you know it, you’re back to the avalanche situation.
Keep it tidy with a simple routine:
- Weekly: Put stray items back in their designated spot
- Monthly: Wipe down shelves and toss empty bottles
- Every 6 months: Do a full reset and declutter
The key is building in the habit before it gets out of control again. Once everything has a home, maintaining it takes less than five minutes a week.
Your Utility Closet Can Work For You
An organized utility closet isn’t just about aesthetics — it saves you time, reduces stress, and means you’ll actually find the batteries when you need them. Start with the empty-out, build your zones, and invest in a few smart storage pieces. You’ll wonder how you ever lived without it.
Save this post and come back to it on your next organizing day — your future self will thank you!