Most homes are hiding a secret storage goldmine — and it’s been right in front of you the whole time. Literally. The back of every door in your house is prime, completely untapped real estate. No drilling, no renovation, no extra square footage needed. Whether your bathroom counter is drowning in hair tools, your closet floor has become a shoe graveyard, or your pantry door is just a blank slab of wasted space, a custom over-the-door organizer solves all of it. And the best part? You can build one yourself for a fraction of the cost of store-bought versions — in exactly the size, style, and configuration your space actually needs.
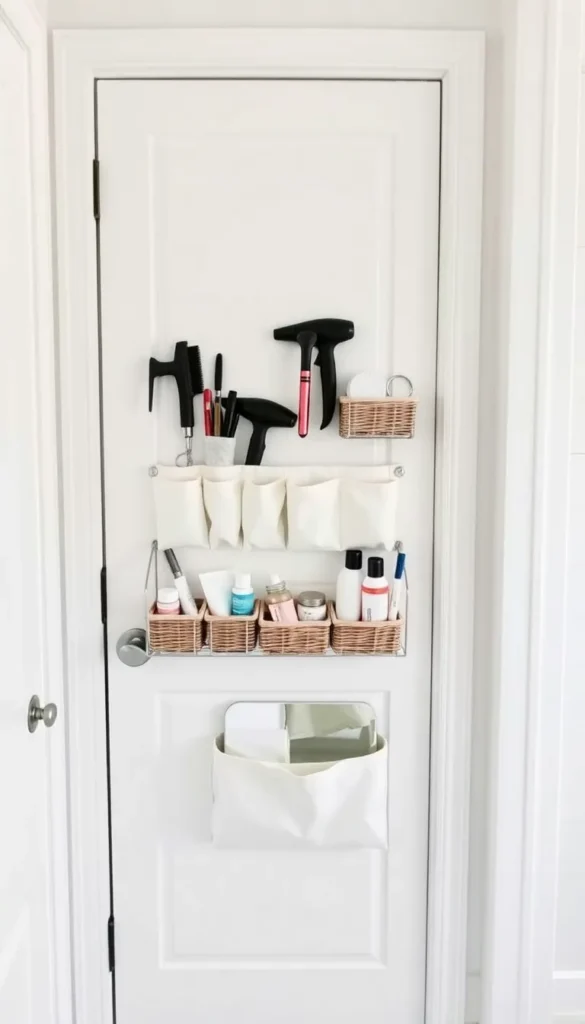
Figure Out What You’re Solving First
Before you buy a single supply, spend two minutes asking: what problem is this organizer actually fixing? The answer shapes every decision that follows — how many pockets, what sizes, what material, how heavy it needs to be.
Common over-the-door needs by room:
- Bathroom: Hair dryer, flat iron, curling wand, styling products, small toiletries, spare towels
- Bedroom closet: Shoes, scarves, belts, small bags, jewelry, folded accessories
- Pantry door: Spice packets, snack bags, foil and wrap boxes, small jars
- Kids room: Art supplies, small toys, books, charging cables, hair accessories
- Laundry room: Dryer sheets, stain sticks, lint rollers, small tools
Write down the three to five things you most need to corral. That list becomes your blueprint for how many pockets to make, how deep they need to be, and how much weight your hanging system needs to support.
Choose Your Material and Method
There are two main approaches to a DIY over-the-door organizer, and the right one depends on your comfort level with crafting and the look you’re going for.
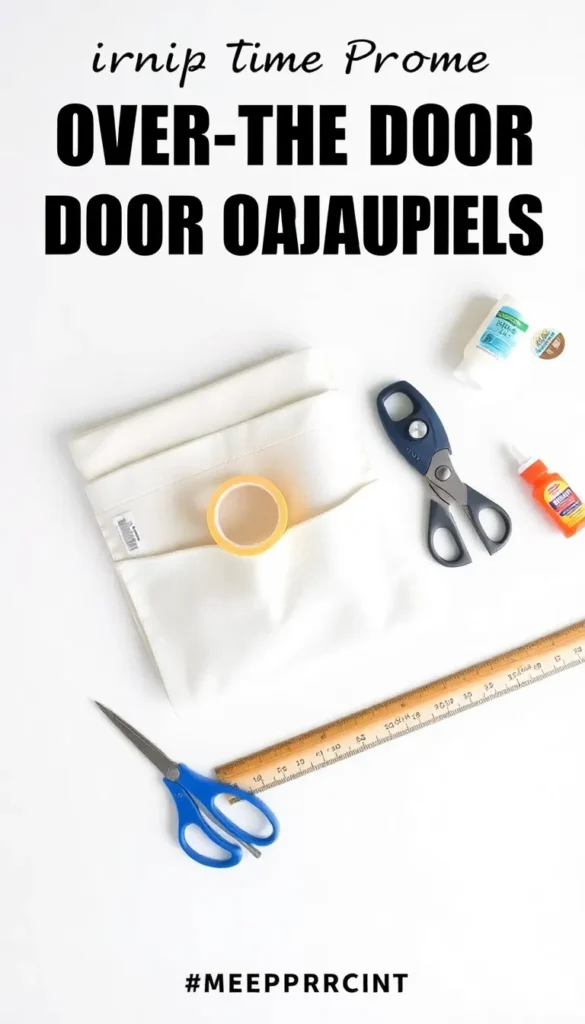
Option A — No-sew fabric organizer (beginner-friendly):
The easiest version uses a long canvas drop cloth, heavy-duty felt, or pre-hemmed fabric panels — no sewing machine required. Pockets are created by folding sections of fabric and securing them with fabric glue or iron-on hem tape. Hang the whole panel from a wooden dowel or tension rod slipped over the top of the door.
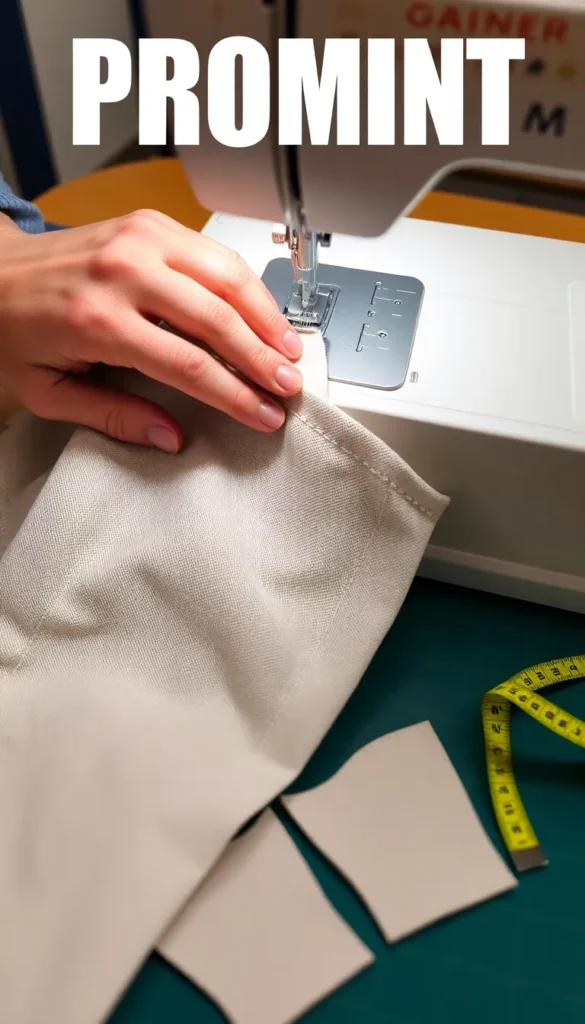
Option B — Sewn fabric organizer (more durable, more polished):
If you have a sewing machine or basic hand-sewing skills, a stitched organizer lasts significantly longer and can handle heavier items. Pocket edges are reinforced, straps are stronger, and the whole thing holds its shape beautifully even when fully loaded.
Other material options worth knowing:
- Clear vinyl or PVC fabric: Great for pantry or bathroom doors — you can see contents without opening each pocket
- Canvas drop cloth: Inexpensive, durable, takes paint or fabric markers beautifully for a custom look
- Repurposed fabric: An old shower curtain, canvas tote bags cut apart, or heavy denim from jeans all work surprisingly well
Cut and Assemble Your Pockets
This is the heart of the build. The basic construction is the same whether you’re sewing or gluing: you’re creating a long backing panel with individual pockets attached at regular intervals down its length.
Step-by-step pocket construction:
- Cut your backing panel to the height of your door minus 4 inches (to clear the floor) and whatever width works for your door — typically 12 to 18 inches
- Cut pocket pieces — each pocket is a rectangle roughly 1.5× the finished pocket depth so you have fabric to fold and secure at the top
- Fold the top edge of each pocket down about an inch and glue or stitch it flat — this creates a clean finished edge that won’t fray
- Position your pockets on the backing panel, spacing them 1 to 2 inches apart vertically
- Glue or stitch the bottom and side edges of each pocket to the backing — leave the top open, obviously
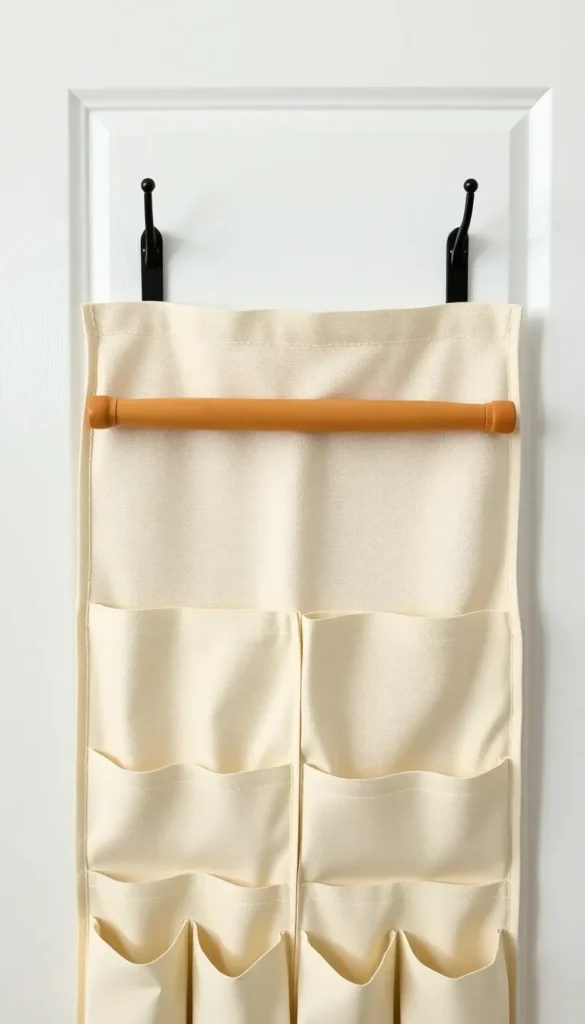
- Add a hanging sleeve at the top of the backing panel — this is where your dowel, curtain rod, or over-the-door hooks will slide through
For a no-sew version, binder clips can temporarily hold everything in place while the fabric glue fully cures — usually about 24 hours for maximum hold.
Customize Pocket Sizes for What You’re Storing
One-size pockets work fine for small, uniform items. But a truly functional over-the-door organizer has varied pocket depths and widths matched to what’s actually going inside.
Smart sizing guidelines:
- Slim pockets (2–3 inches deep): Flat iron, straightener, spice packets, mail, small notebooks
- Medium pockets (4–5 inches deep): Hair dryer, water bottles, rolled scarves, snack bags
- Deep pockets (6+ inches deep): Shoes, folded towels, spray bottles, bulky accessories
- Wide single pockets: Cutting boards, baking sheets, large bags, yoga mats rolled
Sketch out your pocket layout on paper before cutting anything. A simple grid with rough dimensions saves enormous frustration at the assembly stage and ensures everything actually fits once the organizer is hanging.
Hang It Without Damaging Your Door
The hanging method matters as much as the organizer itself. Choose the wrong one and the whole thing will sag, swing, or scratch your door.
Best hanging options:
- Wooden dowel + over-the-door hooks: The most stable option — the dowel sits in a fabric sleeve at the top and rests on two sturdy over-the-door hooks. No damage, completely removable
- Tension rod: Slim and invisible, works beautifully for lightweight organizers
- Command strips: For very lightweight versions only — great for renters
- Grommets and S-hooks: Add metal grommets to the top of the panel and hang on S-hooks looped over the door — a more industrial, modern look
Test the weight before you fully load the organizer. A door-mounted system should feel stable when the door opens and closes — if it swings significantly, add a second hook point lower on the door for stability.
Your Doors Were Always Storage — You Just Didn’t Know It Yet
Every door in your home has been quietly offering you free storage space, and now you know exactly how to use it. One afternoon, a few yards of fabric, and a wooden dowel — and you’ve added functional, beautiful organization to a room without taking up a single inch of floor or counter space.
Start with the door that frustrates you most. Build one organizer, load it up, and watch how differently that room feels within a week.
Save this article to your DIY organization board and share it with anyone whose bathroom counter desperately needs a break — that’s basically all of us! 🚪