If you’ve ever found yourself elbow-deep in cookie dough, desperately rummaging through a chaotic cabinet for the vanilla extract, you know the struggle is very real. A disorganized baking station doesn’t just slow you down — it kills your momentum and makes the whole experience feel more stressful than joyful. The good news? A little intentional organization can completely transform the way you bake. Let’s set up your kitchen so everything you need is exactly where you need it, exactly when you need it.
Start with a Full Pantry Audit
Before you buy a single basket or label, pull everything out. Yes, everything.
- Toss expired ingredients (that baking powder from 2021 is not your friend)
- Group similar items together: flours, sugars, leaveners, extracts, chocolates, spices
- Note what you use most often — these are your “prime real estate” items
- Identify what’s bulky and needs lower cabinet space vs. what’s small enough for a drawer
This step gives you a clear picture of what you’re actually working with before you commit to any system.
Zone Your Baking Station
Think of your baking supplies in three zones based on how often you use them:
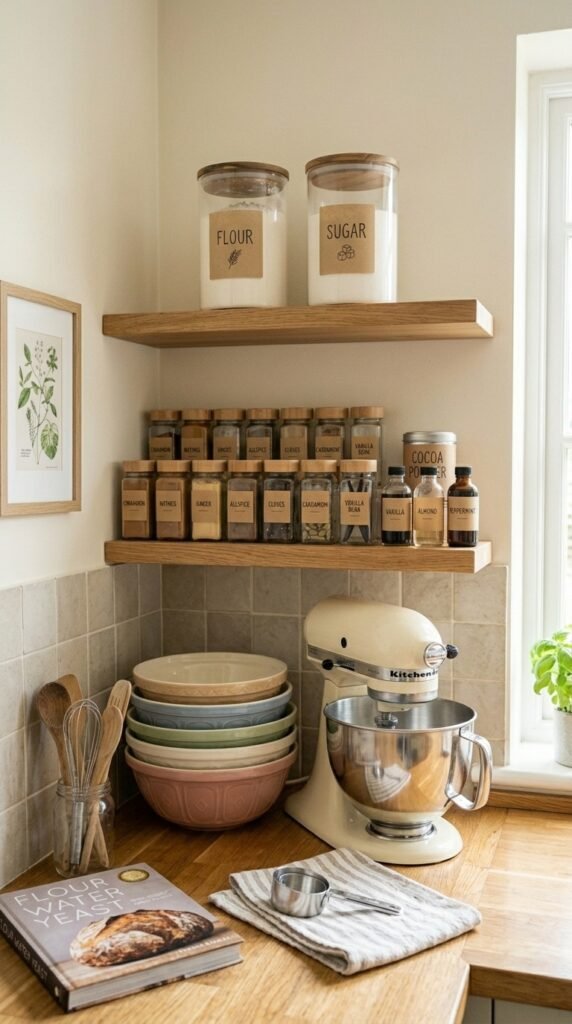
Zone 1 – Daily Drivers (countertop or top shelf) All-purpose flour, granulated sugar, baking powder, baking soda, salt, and vanilla extract. These are your ride-or-dies. Keep them closest.
Zone 2 – Regular Rotation (mid-shelf or nearby drawer) Brown sugar, powdered sugar, cocoa powder, cornstarch, extracts, food coloring. You reach for these often, just not every single bake.
Zone 3 – Specialty Supplies (back of the cabinet or a dedicated bin) Almond flour, cream of tartar, specialty chocolates, decorating sugars, edible glitter. These live further back — out of the way but still findable.
Use the Right Containers
Switching from original packaging to uniform containers is a game-changer for accessibility.
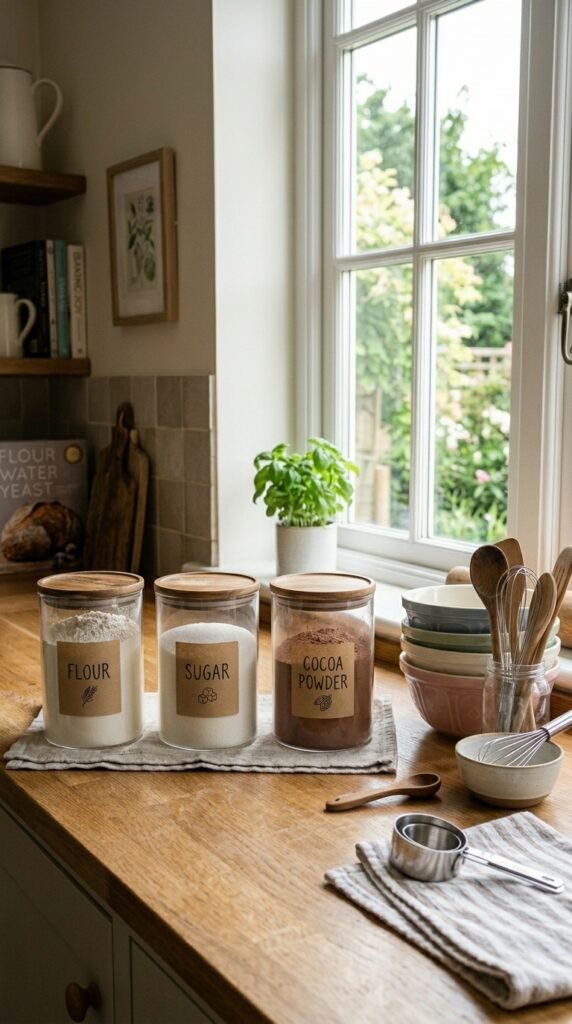
- Clear airtight canisters for flour, sugar, and cocoa — you can see at a glance when you’re running low
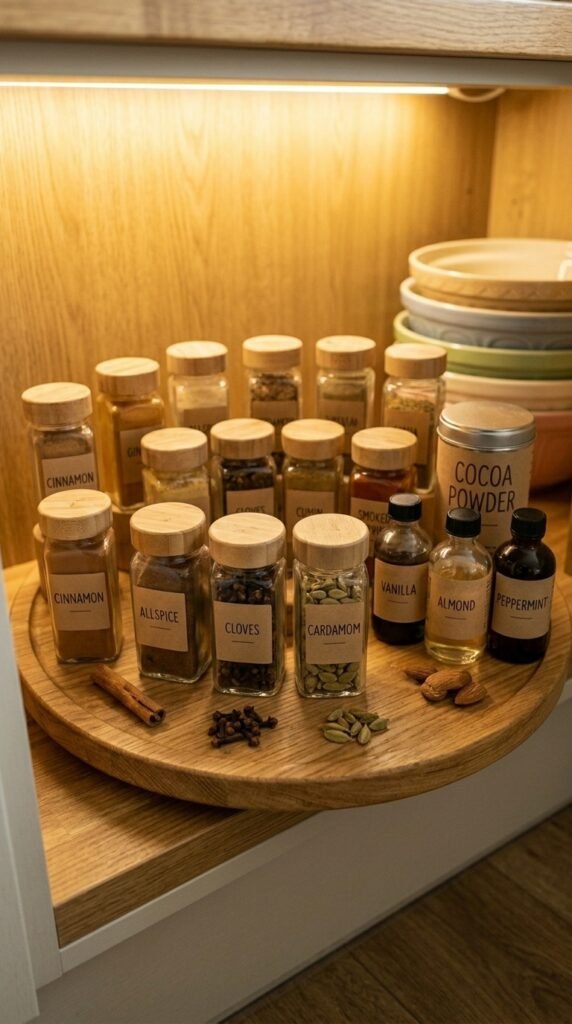
- Small glass jars for spices and extracts — uniform height makes a shelf look clean and browsable
- Stackable bins for packets (yeast, gelatin, cream of tartar) that get lost easily
- Lazy Susans inside deep cabinets so nothing disappears into the back corner
Label everything — even if you think you’ll remember. Future-you, mid-recipe, will be very grateful.
Wrangle Your Tools and Equipment
Ingredients are only half the battle. Your tools need a home too.
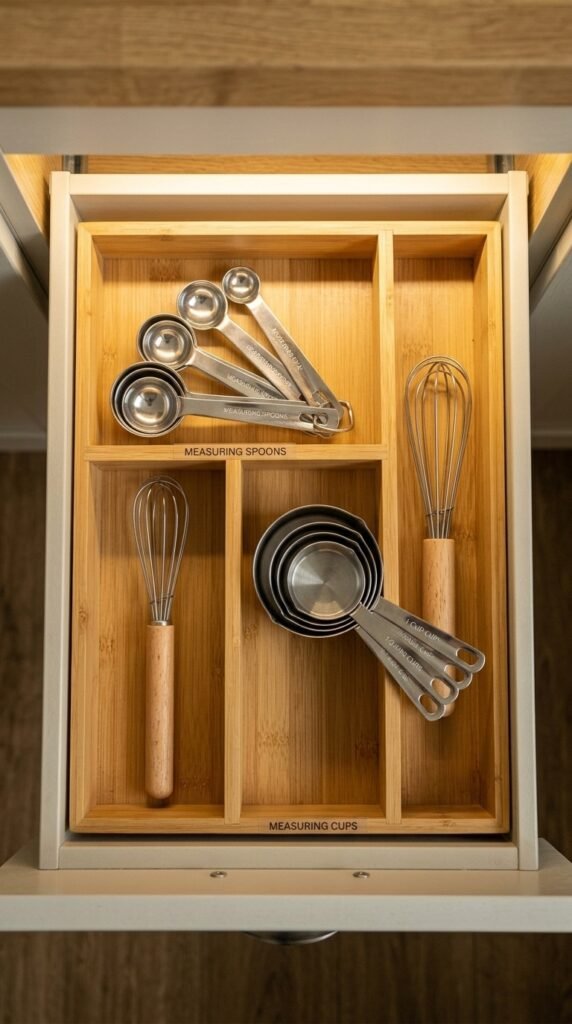
- Store measuring cups and spoons together on a hook or in a dedicated drawer section
- Keep a small crock or utensil jar on the counter with your most-used tools: spatulas, whisks, wooden spoon
- Nest mixing bowls by size with the lids (if any) tucked inside or stacked separately
- Use a baking sheet organizer (a vertical file organizer works perfectly) for sheet pans, cutting boards, and cooling racks
The goal: when a recipe says “grab a medium mixing bowl,” you reach in and it’s right there. No digging.
Maintain the System (So It Actually Lasts)
The best organization system is the one you’ll actually keep up.
- Put things back immediately after each baking session — don’t let it pile up
- Do a quick monthly check to restock, toss anything expired, and wipe down shelves
- Keep a running grocery list (on your phone or a notepad in the kitchen) so you know when you’re low on staples
- Reorganize seasonally — holiday baking season means different supplies move to the front
The Payoff Is Real
Once your baking station is dialed in, the whole experience shifts. You’ll move faster, waste less time, and enjoy the process so much more. No more mid-recipe panic. No more mystery bags at the back of the cabinet. Just you, your ingredients, and a kitchen that works with you.
Save this article for your next kitchen refresh — and share it with any baker who deserves a more organized kitchen! 🍪