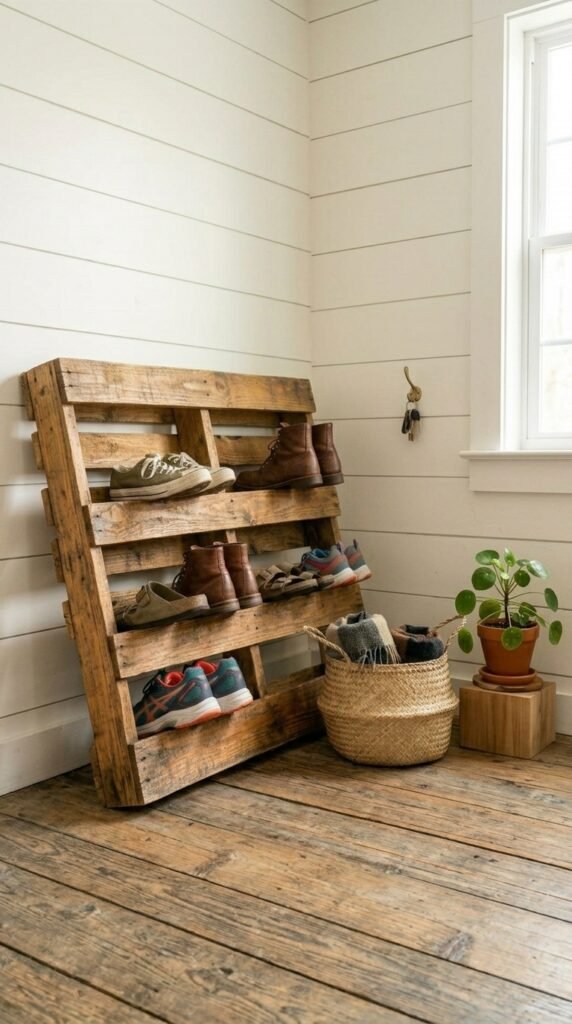
What if the answer to your entryway chaos was sitting behind a warehouse or grocery store, completely free? Wood pallets are one of the most underrated DIY materials around — sturdy, characterful, and practically begging to be repurposed. With a little sanding, some basic tools, and a free afternoon, you can turn a single pallet into a gorgeous rustic shoe rack that looks like it came straight from a farmhouse décor shop. Here’s exactly how to do it.
Step 1: Find and Choose the Right Pallet
Not all pallets are created equal. Before you start building, you need the right kind of pallet — both for safety and structure.
Look for pallets stamped with “HT” (heat treated). This means they were treated with heat rather than chemicals, making them safe for indoor use. Avoid any stamped “MB” (methyl bromide) — those were treated with a pesticide you don’t want in your home.
Great places to find free pallets:
- Behind grocery stores or supermarkets
- Hardware and home improvement stores
- Garden centers and nurseries
- Local Facebook Marketplace or Craigslist (free section)
Choose a pallet that’s:
- Structurally solid with no broken slats
- Relatively clean and dry
- Standard size (approximately 40″ x 48″) for the best shoe storage layout
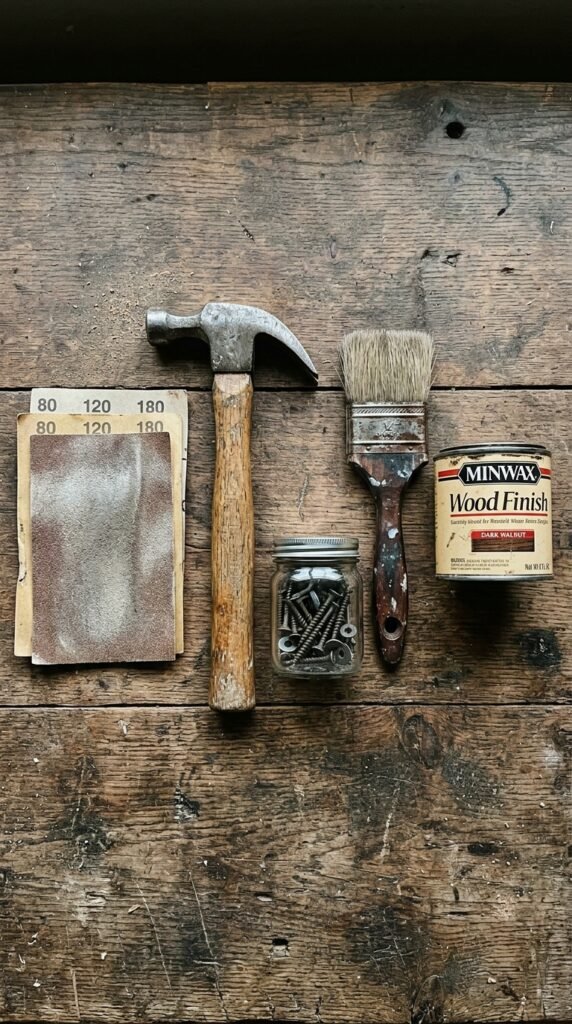
Step 2: Gather Your Tools and Supplies
This project is genuinely beginner-friendly. You don’t need a workshop full of equipment — just a handful of basics.
What you’ll need:
- 1–2 wood pallets (depending on your design)
- Sandpaper (80-grit and 120-grit)
- A sander or sanding block
- Hammer and nails, or a drill and screws
- Wood stain, paint, or sealant (optional but recommended)
- Paintbrush or foam roller
- Measuring tape
- Safety gloves and goggles
If you want a leaning shoe rack, one pallet is enough. For a stacked or tiered version, grab two.
Step 3: Sand It Down Thoroughly
This step makes the biggest difference between a rough pallet and a finished piece of furniture. Don’t skip it.
- Start with 80-grit sandpaper to remove splinters, rough patches, and any old dirt
- Follow with 120-grit to smooth the surface to a clean, touchable finish
- Sand with the grain of the wood, not against it
- Pay extra attention to the top edges of the slats — these are where shoes (and hands) make contact most often
Wipe the entire pallet down with a damp cloth after sanding to remove all dust before moving on.
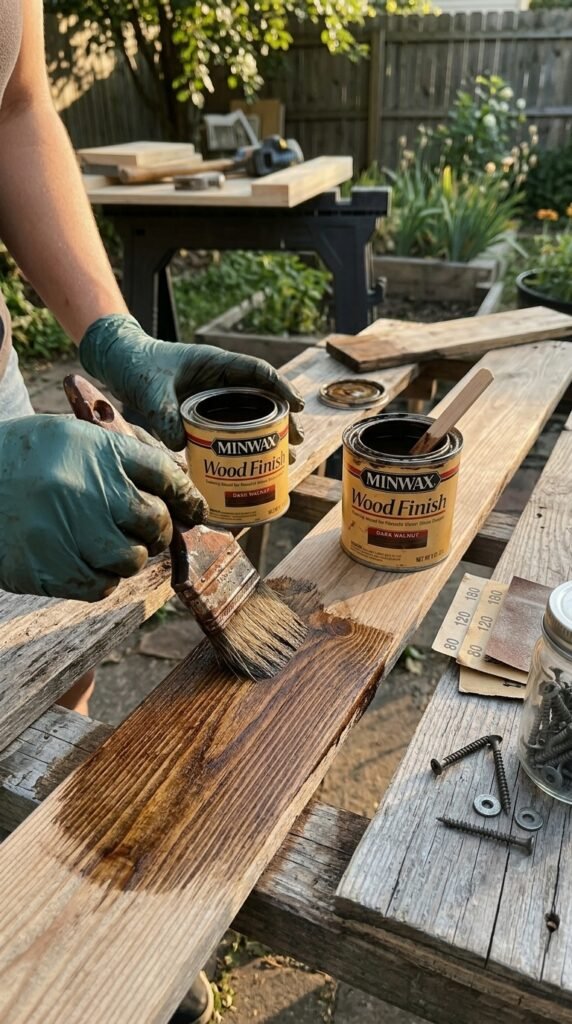
Step 4: Stain, Paint, or Seal (Your Choice)
This is where your shoe rack gets its personality. You have three great options:
- Natural wood stain — enhances the grain and gives a warm, rustic finish. Dark walnut and ebony are especially popular.
- Paint — white, black, or a bold color can modernize the look and tie it to your entryway palette
- Clear sealant only — if you love the raw, weathered look of the pallet as-is, a clear coat protects it without changing the color
Apply two thin coats, letting each dry completely before adding the next. Thin coats prevent dripping and give a more even finish.
Step 5: Set Up Your Shoe Rack Design
Once your pallet is dry, it’s time to set it up. Here are the most popular configurations:
Leaning rack — Simply lean the finished pallet vertically against the wall. Shoes slide between the slats horizontally. No additional construction needed — this is the easiest version.
Angled slat rack — Add angled wooden supports to the back so the pallet leans at approximately 15–20 degrees. This keeps shoes from sliding off and looks polished.
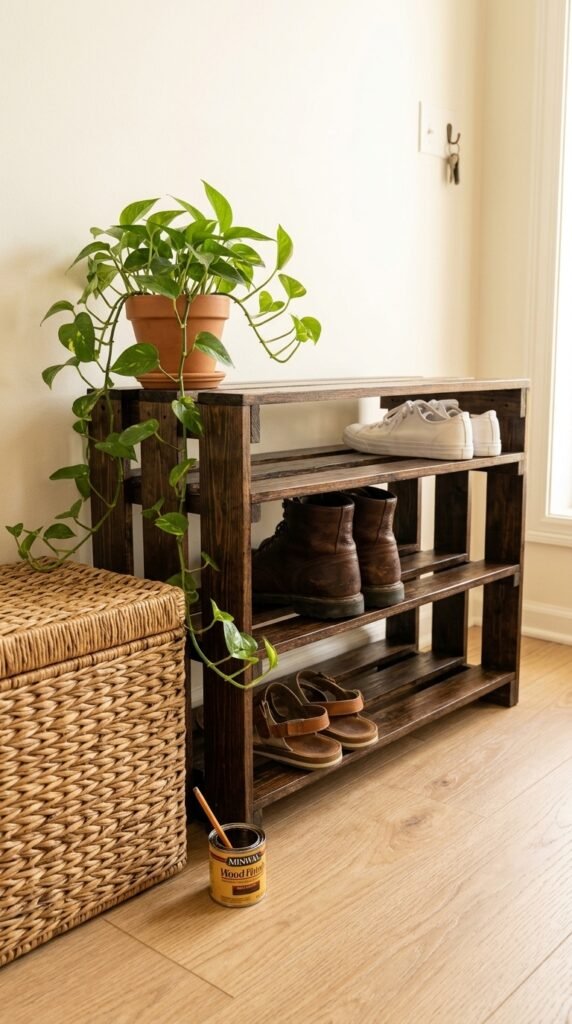
Stacked double-tier — Stack two pallets and secure them together with screws for double the storage. Great for larger families or mudroom use.
For a leaning rack, you can optionally add rubber feet to the base to protect your flooring and prevent slipping.
Step 6: Style and Place It
Now comes the rewarding part. Place your finished rack in your entryway, mudroom, closet, or even on a covered porch.
Style it up with:
- A small potted plant or a bundle of dried eucalyptus on top
- A woven basket beside it for dog leashes or umbrellas
- A wall hook mounted above it for bags and coats
Your Entryway Deserves This Upgrade
This is one of those projects that costs almost nothing but looks like it cost plenty. A few hours, a free pallet, and some sanding later — you’ve got a storage piece with real character that no flat-pack shelf can replicate.
Save this guide and make it your next weekend project. Once you see how easy it is, you’ll start eyeing every pallet you pass with entirely new eyes.