Somewhere in your home, there are probably boxes of photographs that haven’t seen daylight in years. Loose prints from the nineties, disposable camera shots from a forgotten vacation, school portraits with the wrong year on the back. And on your phone right now, thousands of digital photos sitting in a camera roll that nobody will ever meaningfully sort through. Memories are only as lasting as the systems that protect them — and most of us don’t have one. This is your gentle push to build it. Here’s how to organize your photos and memories in a way that will genuinely matter to the people who come after you.
Step 1: Gather Everything Into One Place
Start by collecting every photograph and memory-related item in your home — physical and digital. This step is more ambitious than it sounds, but it’s the only way to understand the full scope of what you’re working with.
Physical items to gather:
- Loose prints from drawers, boxes, and envelopes
- Existing photo albums (even disorganized ones)
- Shoeboxes of miscellaneous photos
- Polaroids, film strips, and slides
- School portraits, wedding photos, and event prints
- Printed cards, letters, and other paper memories
Digital sources to identify:
- Your phone’s camera roll
- Old phones or tablets with photos still on them
- Computer folders and desktop screenshots
- External hard drives and USB sticks
- Cloud services — iCloud, Google Photos, Dropbox, Facebook
- Email attachments with photos you’ve never saved elsewhere
You don’t need to organize everything today. You just need to know where it all lives. This inventory step is the foundation everything else builds on.
Step 2: Choose a Sorting System That Makes Sense for Your Family
There’s no single right way to organize memories — but there are several approaches that work well depending on your family structure and how you want future generations to experience the collection.
The most effective sorting methods:
- Chronological — the most universally intuitive; organize by year or decade and let the story unfold naturally
- By person or family branch — works beautifully for large extended families; each person or household gets their own album or folder
- By milestone and event — weddings, births, holidays, graduations, vacations each get a dedicated album
- Hybrid approach — chronological as the main structure, with milestone albums pulled out as standalone collections
For most families, a chronological backbone with milestone highlights is the most navigable system — both for you now and for family members decades from now.
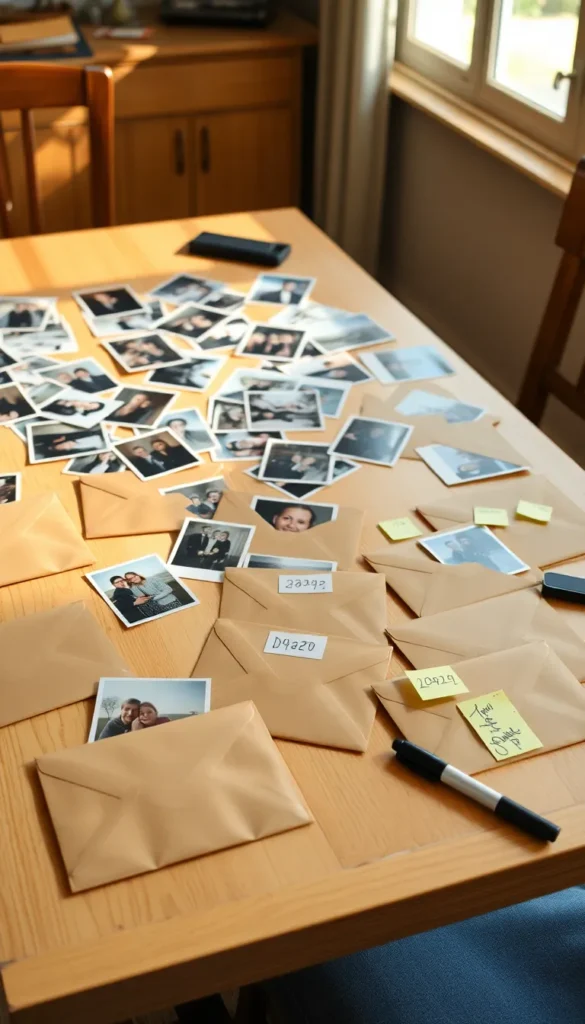
Step 3: Digitize Your Physical Photos
Physical photographs are fragile. They fade, yellow, get damaged by moisture, and can be lost in a fire or flood. Digitizing them creates a backup that lasts indefinitely and can be shared across your entire family.
The best digitizing options:
- A flatbed scanner — the highest quality option for important or large prints; many are affordable for home use
- A scanning app — Google PhotoScan, Microsoft Lens, and Apple’s built-in document scanner all do a surprisingly good job on smartphones
- A professional scanning service — companies like ScanMyPhotos or Legacybox handle bulk scanning if you have hundreds or thousands of prints
- Your local library or print shop — many offer scanning services for a small per-page fee
As you scan, name files descriptively rather than leaving them as IMG_4872.jpg. Something like 1987_Christmas_GrandmaHouse takes five seconds to write and saves enormous confusion later.
Step 4: Organize Digital Photos With a Clear Folder Structure
A disorganized digital collection is almost as inaccessible as a box of unsorted prints. Building a simple folder structure is what makes digital memories actually findable.
A folder structure that works:
Family Photos
  → 1970s
  → 1980s
  → 1990s
  → 2000s
     → 2003_Italy_Vacation
     → 2005_Mom_Wedding
  → 2010s
  → 2020s
     → 2022_Christmas
     → 2024_Graduation
Within each folder, keep only the best version of each moment. Duplicates, blurry shots, and fifteen near-identical photos of the same sunset don’t serve future generations — ruthless curation does.
Back up your digital archive in at least two separate locations — an external hard drive and a cloud service. The general rule in archival work is the 3-2-1 rule: three copies, in two formats, with one stored offsite.

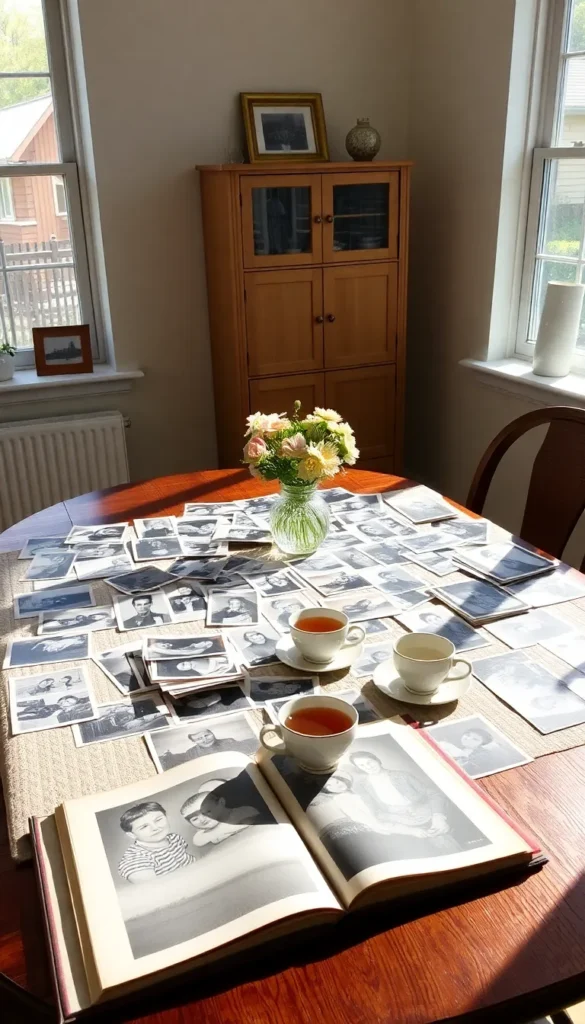
Step 5: Create Physical Albums Worth Keeping
Even in a digital age, a physical album has a presence and a permanence that a phone screen simply cannot replicate. Sitting down with a real album — turning pages, seeing handwriting, touching something that has history — is a completely different experience.
How to build albums that last:
- Use acid-free, archival-quality albums — standard magnetic albums actually damage photos over time through chemical off-gassing
- Choose photo-safe adhesive or corner mounts rather than sticky pages
- Print photos at a quality print service rather than on a home inkjet printer for longer-lasting color
- Write on every photo or caption page — names, dates, locations, and a brief note about what was happening; future generations will treasure this context more than the photo itself
- Keep albums stored flat in a cool, dry location away from direct sunlight
One beautifully curated album per decade is worth infinitely more than twenty disorganized ones.
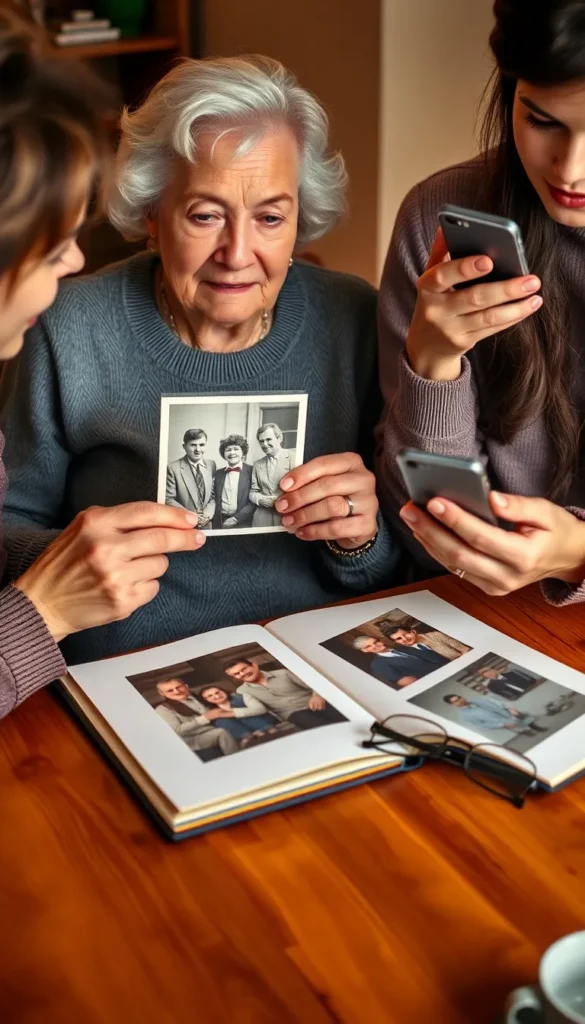
Step 6: Add Context and Stories — Not Just Images
Photographs capture a moment. Stories give that moment meaning. The most precious family archives aren’t just collections of images — they’re collections of context.
Simple ways to add narrative to your memories:
- Write brief captions directly on album pages or in digital photo descriptions
- Record short voice or video notes on your phone describing old photos — hearing your voice telling the story is irreplaceable
- Create a simple one-page family timeline to tuck into each decade’s album
- Ask older family members to sit with photos and record what they remember — even a 15-minute conversation captured on a phone is an extraordinary gift to future generations
Start Small, But Start Today
You don’t need to organize every photo this weekend. You just need to start. Sort one box. Scan one envelope. Create one folder. The project builds momentum quickly once you begin — and the feeling of watching chaotic memories transform into an organized legacy is genuinely one of the most satisfying things you can do for your family.
Save this guide and commit to one hour this week. The memories you preserve now are the stories your grandchildren will tell.