If you’ve ever spent ten minutes searching for a book you know you own, only to find it wedged between a cookbook and a thriller with no logic whatsoever — this one’s for you. A personal library should feel like a resource, not a puzzle. Bookshelf dividers are the simple, satisfying solution that transforms a chaotic wall of spines into a genuinely browsable collection. The best part? You can make them yourself, customize them to your exact categories, and have them looking beautiful in a single afternoon. Here’s everything you need to know.

Step 1: Decide How You Want to Categorize Your Books
Before making a single divider, you need to know what categories you’re dividing into. This is the most personal step — and the one most worth thinking through carefully, because the right system is the one that matches how you actually think about your books.
Popular categorization methods:
- By genre — fiction, non-fiction, mystery, fantasy, biography, self-help, poetry
- By subject — history, science, philosophy, art, cooking, travel, psychology
- By reading status — read, unread, re-read, lending library
- By author alphabetically — works beautifully for large single-genre collections
- By mood or vibe — light reads, heavy reads, comfort books, books to impress guests (we don’t judge)
- By physical format — hardcovers, paperbacks, large format, reference
Many home libraries work best with a hybrid approach — broad genre categories at the top level, then alphabetical by author within each section. Write your final category list before you start building. This becomes your label guide.
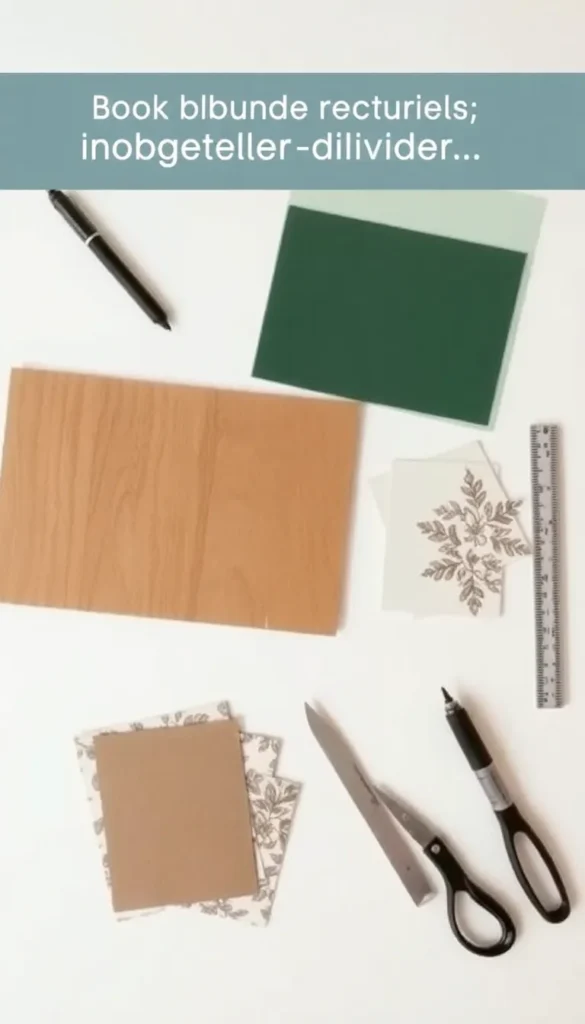
Step 2: Choose Your Divider Material
The material you choose shapes the look, durability, and difficulty level of your project. Here are the most popular options and what each delivers:
Chipboard or heavy cardstock:
- Easiest to cut and decorate
- Lightweight enough not to disturb book arrangement
- Best for lighter collections on standard shelves
- Available at any craft store for minimal cost
Craft wood or thin plywood:
- More substantial and durable
- Can be stained, painted, or wood-burned for a beautiful finish
- Requires basic cutting tools but looks genuinely professional
- Ideal for permanent, display-worthy collections
Acrylic sheets:
- Sleek, modern, and nearly invisible on the shelf
- Requires scoring and snapping or a craft knife for cutting
- Labels applied with vinyl lettering look incredibly clean
- Perfect for minimalist or contemporary interiors
Repurposed materials:
- Cereal box cardboard covered in decorative paper
- Old book covers with tabs added
- Cork sheet cut into divider shapes
Step 3: Cut Your Dividers to the Right Size
The ideal bookshelf divider is tall enough to be visible above the books but narrow enough not to overwhelm the shelf. Here’s a sizing guide that works for most standard bookshelves:
Recommended dimensions:
- Height: 1 to 2 inches taller than your average book height — enough to be clearly visible
- Width: 4 to 6 inches — wide enough to be stable and readable without taking up too much shelf space
- Tab height: An additional 1 to 1.5 inches above the main body — this is where your label lives
The tab can be centered, left-aligned, or right-aligned depending on your preference. Alternating tab positions (left, center, right) makes it even easier to scan across a long shelf — exactly the way filing cabinet tabs work.
For cutting cleanly:
- Use a metal ruler and craft knife for straight lines on cardboard and acrylic
- Use a scroll saw or jigsaw for wood if you want curves or shaped tops
- Score and snap acrylic rather than trying to cut through it in one pass
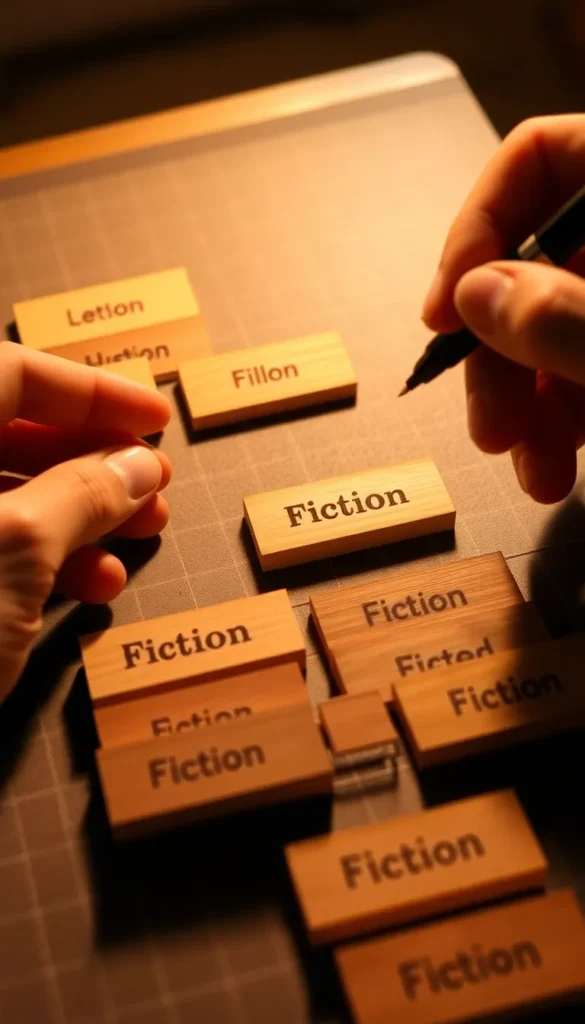
Step 4: Add Your Labels
This is the step that transforms functional dividers into something genuinely beautiful. How you label depends on your material and the aesthetic of your reading space.
Labeling options:
- Hand lettering with a paint pen — warm, personal, and charming on wood or cardstock
- Vinyl lettering from a Cricut — crisp, professional, and perfect for acrylic or painted surfaces
- Printed and decoupaged labels — design in Canva, print, cut, and Mod Podge onto your divider for a polished result
- Rubber stamps — quick, consistent, and great for a vintage or library aesthetic
- Wood burning — on wooden dividers, burned lettering looks stunning and lasts forever
- Washi tape with handwritten labels — the fastest option for a casual, colorful look
Whatever method you choose, keep the font simple and large enough to read at a glance. You’ll be scanning these quickly while looking for a book — clarity is everything.
Step 5: Finish and Protect Your Dividers
If you want your dividers to last for years and hold up to being moved around regularly, a protective finish makes a real difference.
- For wood: Apply a coat of clear matte varnish, furniture wax, or Mod Podge to seal the surface and protect any painted or burned labels
- For cardstock and chipboard: A layer of Mod Podge over the entire piece stiffens it, prevents scuffing, and makes labels more permanent
- For acrylic: No finishing needed — just make sure vinyl labels are pressed down firmly with no air bubbles
Let everything cure fully — at least a few hours, ideally overnight — before placing dividers among your books.
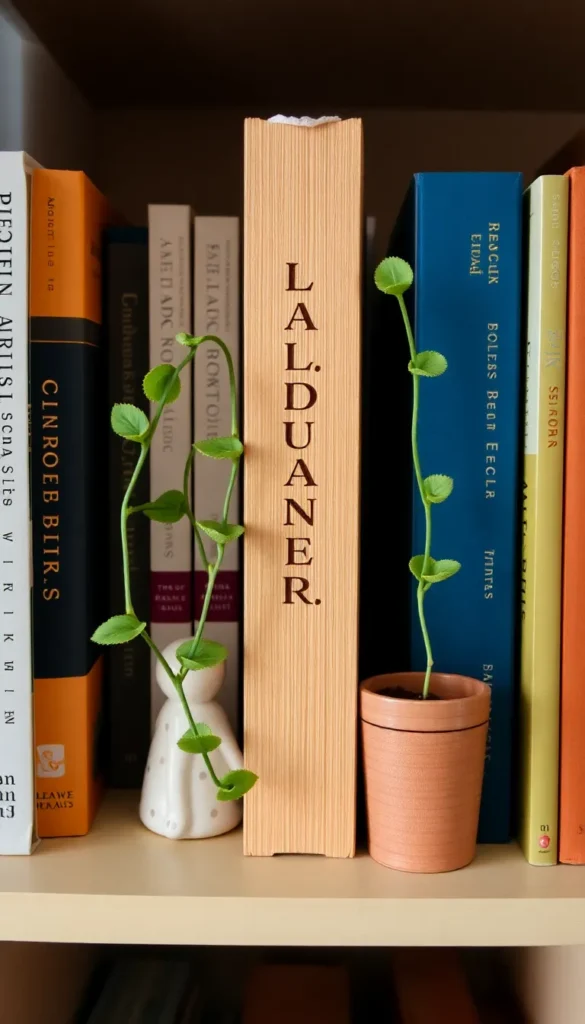
Step 6: Install and Organize Your Collection
Now comes the most rewarding part. Place your dividers on the shelf at the boundary of each category, then organize your books behind them.
A few finishing tips that elevate the whole system:
- Face the labels outward consistently — all tabs to the left, or alternating, but never random
- Don’t overfill sections — books should slide out easily; overcrowding is what makes systems frustrating
- Add a small decorative object at the front of each section — a tiny plant, a candle, a small figurine — to break up the visual rhythm and make the shelves feel curated
- Include an “Unread” or “TBR” (to be read) section — one of the most practically useful categories any book lover can have
Your Library Deserves a System This Good
A categorized bookshelf isn’t just more organized — it’s more enjoyable. Browsing becomes pleasurable. Finding the right book for your mood takes seconds instead of minutes. And the whole wall looks more intentional, more beautiful, and more like the personal library you always wanted.
Save this guide and spend one creative afternoon making your dividers. Your book collection — and every future reading session — will be better for it.