If you’ve ever opened a cabinet and had a avalanche of plastic lids tumble onto your feet, this one’s for you. Mismatched food containers are one of those small daily frustrations that somehow feel deeply personal — like your kitchen is conspiring against you. The good news? A little system goes a long way. Here’s exactly how to organize your food containers and lids so you can actually find a matching set on the first try.
Step 1: Pull Everything Out and Do a Ruthless Edit
Before you can organize, you need to know what you’re actually working with.
Take every single container and lid out of the cabinet. Yes, all of them. Lay them on the counter and start matching. For every container, find its lid. If either piece is:
- Cracked, warped, or stained beyond saving
- Orphaned with no match in sight
- A duplicate you genuinely don’t need
Toss it. Don’t hold onto lids “just in case.” The just-in-case lid is the enemy of an organized cabinet.
Aim to keep only what you actually use. For most households, that’s around 10–15 containers in a variety of sizes.

Step 2: Group by Size and Shape
Once you have your matched pairs, sort them into categories:
- Small (½ to 1 cup) — great for sauces, dressings, snacks
- Medium (2 to 4 cups) — leftovers, meal prep
- Large (6+ cups) — soups, big batch cooking
Within each size, group by shape — round with round, rectangular with rectangular. This makes stacking cleaner and makes it way easier to grab the right lid without hunting.
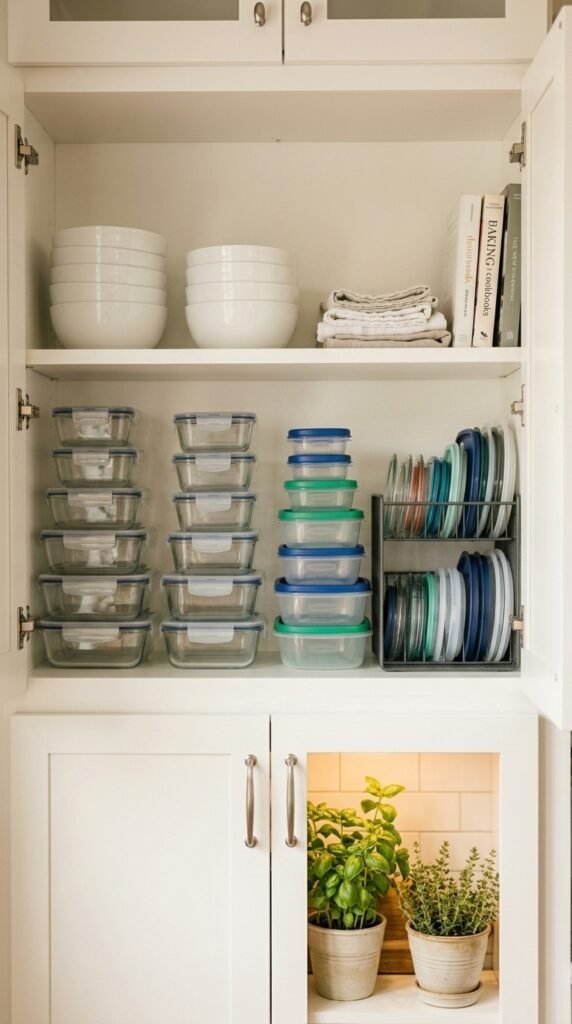
If you have both glass and plastic containers, store them separately. Glass is heavier and benefits from a dedicated lower shelf.
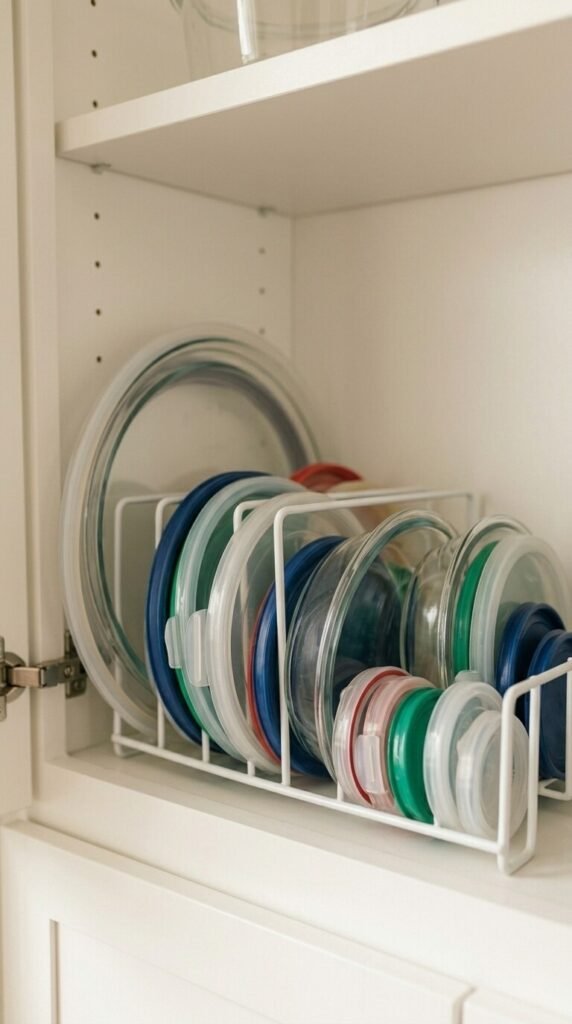
Step 3: Store Lids Vertically — This Is the Game Changer
Stacking lids flat inside containers looks tidy for about 48 hours, then it turns into chaos. The real secret? Store lids upright and separate from the containers.
Here’s how to do it:
- Use a small tension rod mounted inside the cabinet door to slot lids vertically
- Grab a lid organizer rack (a simple, cheap find at any home goods store)
- Repurpose a magazine file or dish drying rack as a lid holder on the shelf
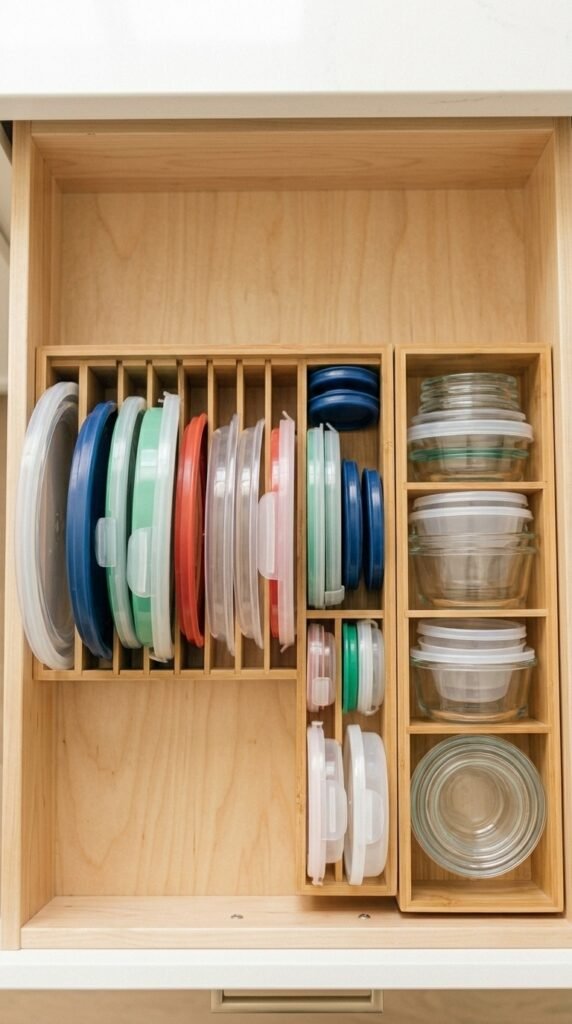
- Use a deep drawer with dividers if your kitchen layout allows it
Upright lids are visible, grabbable, and they stop the cascade effect entirely.
Step 4: Nest Containers the Smart Way
For the containers themselves, nesting is your best friend — but only when done right.
- Stack same-size containers inside each other
- Keep stacks to 3–4 containers max so you’re not unloading the whole tower to get to the bottom one
- Place the most-used sizes at the front, less-used ones toward the back
- If cabinet space is tight, consider storing a few large containers on a pantry shelf instead
A lazy Susan in a deep corner cabinet is also a fantastic upgrade here — spin it to access containers in the back without the usual archaeological dig.
Step 5: Keep It Matched with a Simple Rule Going Forward
The system only works if you maintain it. Set one rule: lids always go back in the rack, containers always get nested. That’s it.
A few habits that help long-term:
- When you buy new containers, immediately toss the old set it’s replacing
- Use a marker to dot matching containers and lids with the same color if you have many similar sizes
- Once a month, do a 5-minute check to pull out any lids or containers that have lost their match
The Takeaway
An organized food container cabinet isn’t about perfection — it’s about creating a system simple enough that you’ll actually stick to it. Purge the orphans, store lids upright, and nest containers by size. That’s truly all it takes to go from cabinet chaos to a setup that works every single time you reach for a lid.
Save this article and pin it for your next kitchen refresh — your future self will thank you!