You know that sinking feeling — a birthday pops up tomorrow and you’re scrambling to find something to write on a piece of paper torn from a notebook. We’ve all been there. The good news? A little upfront organization means you’ll never be caught empty-handed again. Whether you’re a casual card-sender or a stationery enthusiast with a growing collection, here’s how to build a greeting card system that actually works.
Step 1: Gather Everything in One Place
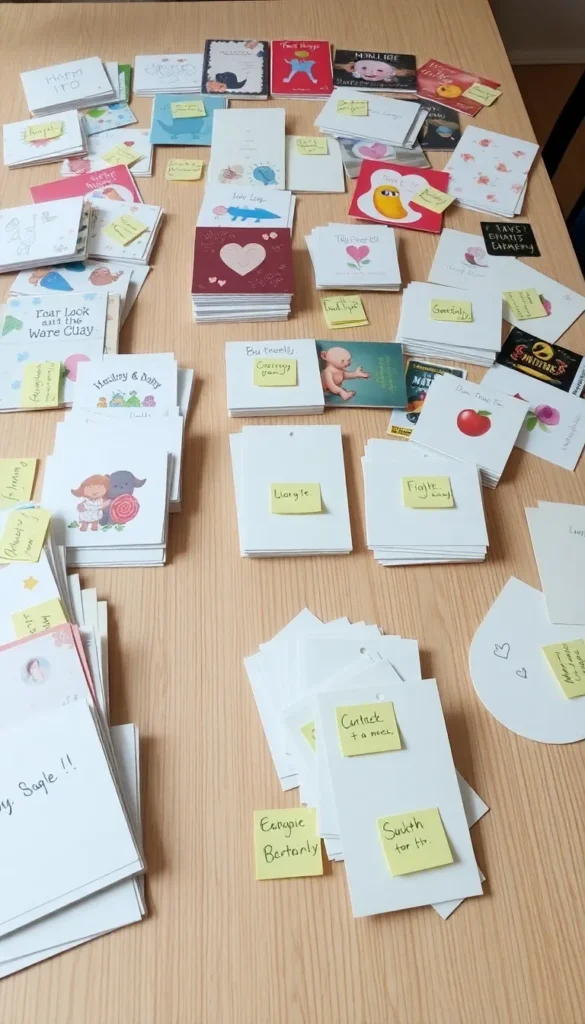
Before you organize, you need to know what you’re working with. Pull out every card you own — the ones stuffed in junk drawers, hiding in gift bags, stacked on shelves. Lay them all out on a flat surface.
As you sort, toss anything that’s:
- Already been written in (yes, let it go)
- Damaged, yellowed, or just plain ugly
- So niche you’ll realistically never use it
What’s left is your working collection — and now the real fun begins.
Step 2: Sort by Occasion (Not by Aesthetics)
It’s tempting to organize by color or design, but sorting by occasion is what makes the system functional. Create categories that match your actual life, such as:
- Birthdays (the biggest category for most people)
- Thank You
- Sympathy & Get Well
- Holidays (Christmas, Eid, Diwali, etc.)
- Congratulations / Milestones
- Just Because / Blank
- Kids’ Cards
Don’t overthink the categories. Five to seven works well for most households.
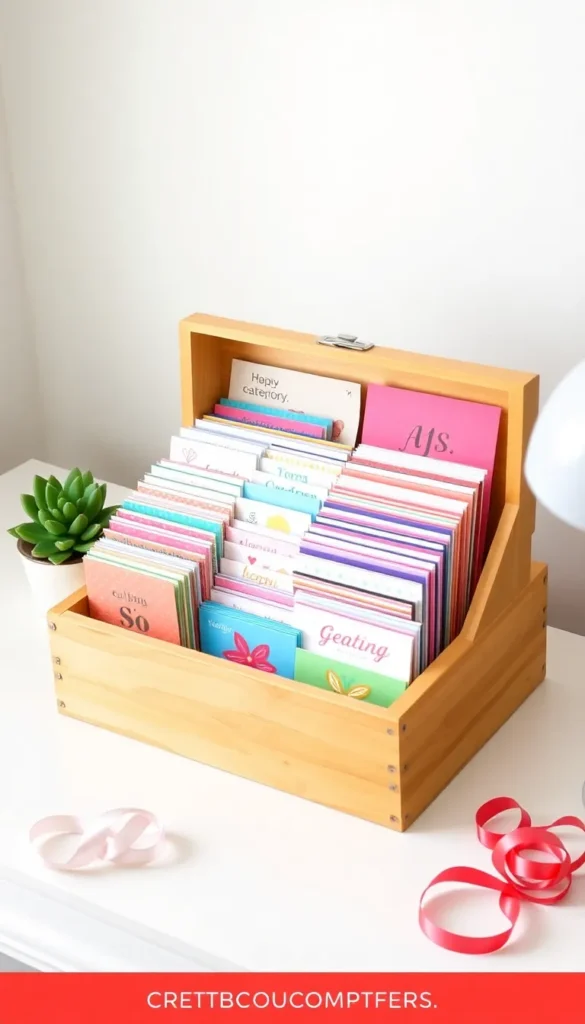
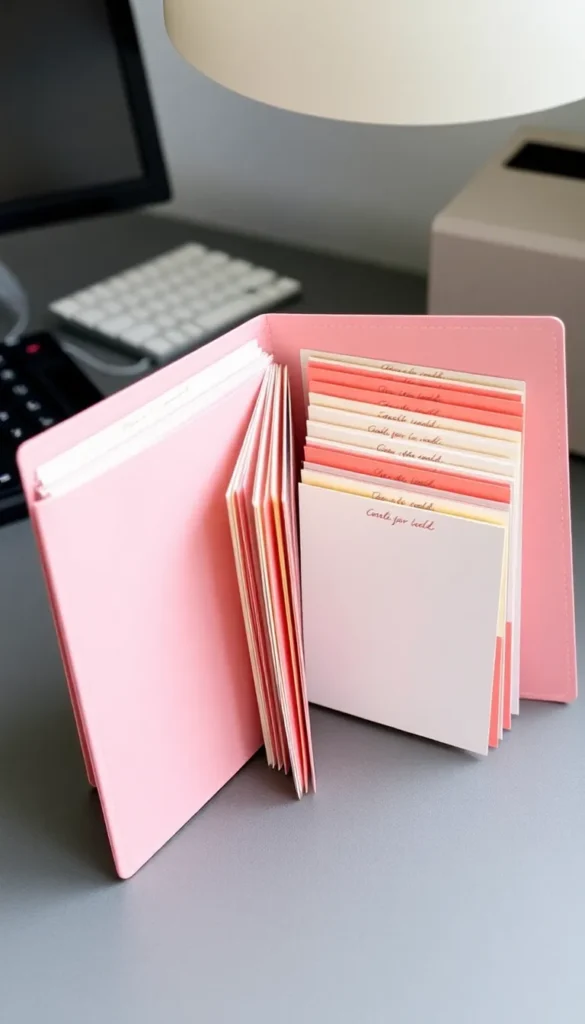
Step 3: Choose Your Storage Solution
Now that your cards are sorted, you need a home for them. The right storage depends on your collection size and how much space you have.
For small collections (under 30 cards):
- A small decorative box with tabbed dividers
- A recipe card box with index dividers
- A pretty fabric bin on a shelf
For larger collections:
- An accordion file folder (cheap, practical, and portable)
- A dedicated drawer with vertical dividers
- A binder with clear plastic sleeves
The key is easy access. If pulling out a card feels like a project, you won’t use the system.
Step 4: Stock the Gaps Strategically
Once your current stash is organized, you’ll notice the holes. Maybe you have ten birthday cards but zero sympathy cards. This is your shopping list.
A well-stocked collection should include:
- At least 3–5 birthday cards in a range of styles (funny, heartfelt, elegant)
- 2–3 thank-you cards — you’ll use these more than you think
- 1–2 sympathy cards (so you’re not scrambling during an already hard time)
- A few blank cards for the occasions that don’t fit a label
Shop sales after major holidays to grab cards at half price. Even dollar stores often carry genuinely lovely options.
Step 5: Build In a Simple Restocking Habit
The best system collapses without a little maintenance. The trick is making restocking automatic rather than reactive.
Try one of these approaches:
- The “one in, one out” rule — when you use a card, add replacing it to your shopping list immediately
- A quarterly card haul — every three months, scan your collection and grab what’s running low
- Birthday prep sessions — at the start of each month, check upcoming birthdays and confirm you have something ready
Step 6: Keep Supplies Together
Cards without envelopes, stamps, or a working pen are useless in a pinch. Store these basics right alongside your cards:
- A small stash of stamps
- Extra envelopes in standard sizes
- A good pen (gel pens write beautifully on card stock)
- Return address labels or a simple stamp
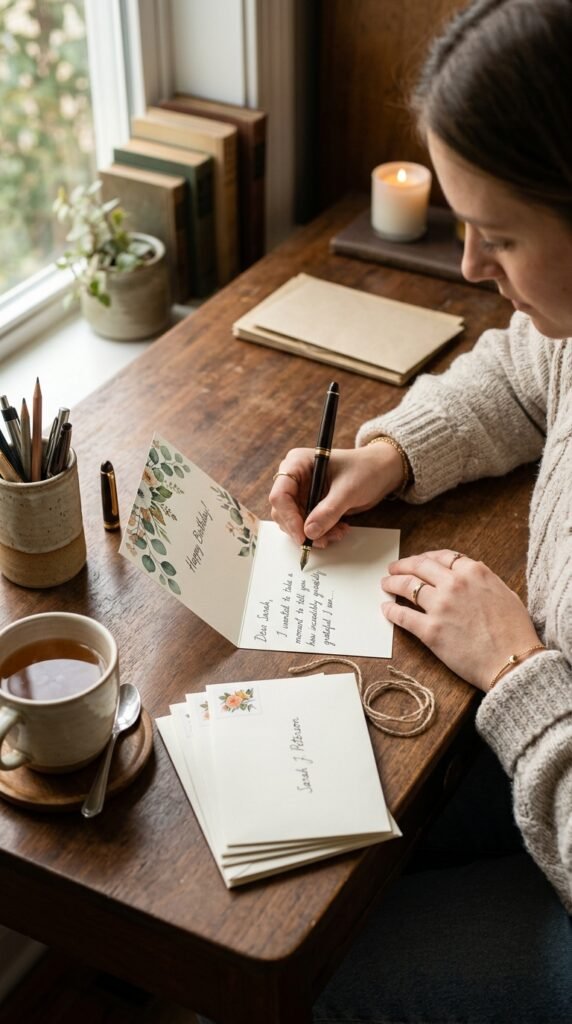
The Payoff Is Real
Once your system is set up, sending a card takes five minutes instead of a frantic last-minute Target run. You’ll feel more thoughtful, more prepared, and honestly — a little smug in the best way possible.
Save this guide and spend one afternoon getting organized. Future you will be incredibly grateful the next time a birthday sneaks up out of nowhere.