There’s a particular kind of frustration that happens in the kitchen — the kind where you’re mid-recipe, one hand stirring something on the stove, and you’re frantically rummaging through a drawer full of tangled spatulas, mystery gadgets, and that one melon baller you’ve used exactly once. Cooking stops feeling creative and starts feeling chaotic. Here’s the truth: an organized kitchen doesn’t require more space or a full renovation. It requires a better system. Get your utensils right, and everything else flows. Here’s how to do it.
Step 1: Empty Everything and Edit Ruthlessly
The only way to build a genuinely useful system is to start from zero. Pull every utensil out of every drawer, crock, and cabinet. Lay it all on the counter or kitchen table and take an honest look at what you actually own.
As you sort through, ask yourself:
- Have I used this in the last six months? If not, it’s likely just taking up space.
- Do I have duplicates? Three wooden spoons are fine. Eight is a storage problem.
- Is it damaged or degraded? Melted spatulas, splintered wooden tools, and rusted peelers should go immediately.
- Does it have a single use I never actually do? That avocado slicer, the strawberry huller, the corn stripper — if it hasn’t earned its drawer space, let it go.
Be honest and be decisive. The goal is a collection of utensils you reach for regularly — not a museum of every kitchen gadget you’ve ever bought or been gifted.
Step 2: Sort by Function, Not by Shape
Once you’ve edited down to the essentials, sort what’s left by how and when you use each tool — not by size or material.
Functional groupings that work beautifully in most kitchens:
- Stovetop tools — spatulas, wooden spoons, ladles, tongs, whisks
- Prep tools — peelers, zesters, graters, can openers, kitchen scissors
- Baking tools — rolling pins, pastry brushes, bench scrapers, measuring spoons
- Serving tools — serving spoons, salad tongs, pie servers
- Specialty tools — anything task-specific that only comes out occasionally
This grouping logic means the tools you need at the stove live near the stove, and the tools you need at the prep counter live there. Less walking, less searching, more cooking.

Step 3: Decide What Lives Out and What Lives In
Not every utensil deserves counter space — but the ones you use daily absolutely earn it. This is the key decision that shapes your whole system.
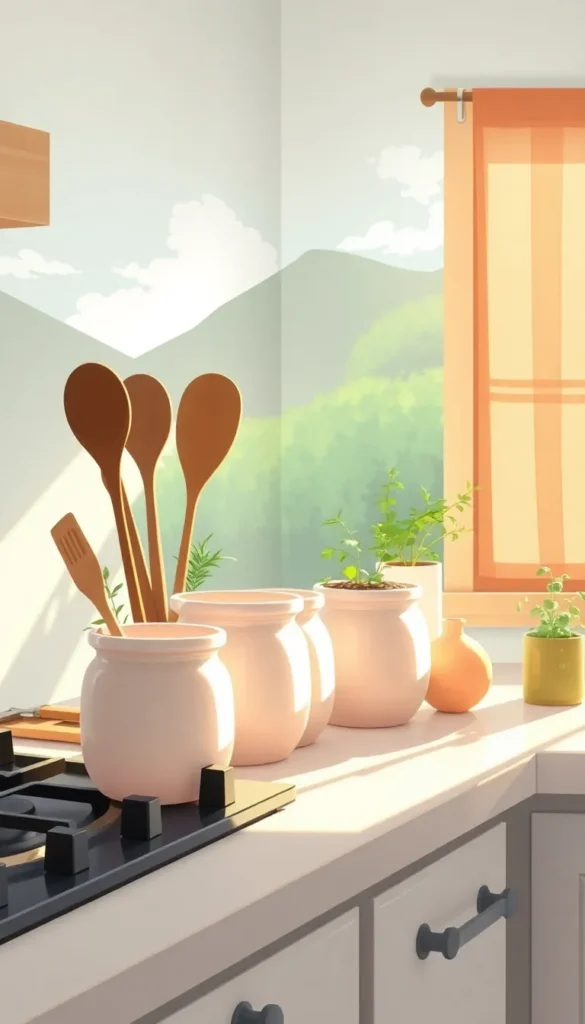
Keep on the counter (in crocks or holders):
- Wooden spoons and silicone spatulas
- Whisks and ladles
- Tongs
- Any tool you reach for almost every time you cook
Store in drawers (with dividers):
- Peelers, zesters, and graters
- Measuring spoons
- Can openers and scissors
- Tools used a few times a week
Store in cabinets or deep drawers:
- Rolling pins, pastry tools, and specialty items
- Serving utensils used mainly for hosting
- Anything seasonal or occasion-specific
The counter gets the daily essentials. The drawer gets the regulars. The cabinet gets everything else. Simple, functional, and easy to maintain.
Step 4: Choose Storage That Actually Works for Your Kitchen
Now it’s time to find homes that fit your space, your style, and your cooking habits. There’s no single right answer — just what works for your kitchen.
Countertop options:
- Ceramic or stoneware crocks — classic, attractive, and hold a lot; great near the stove
- Divided countertop caddies — keep different tool types separated without taking extra space
- Magnetic strips — mount on the wall to free up counter space entirely
Drawer options:
- Bamboo or wood expandable dividers — adjust to fit any drawer size
- Deep drawer inserts with individual compartments — perfect for keeping tools upright and visible
- Mesh drawer organizers — lightweight and easy to rearrange
Wall and vertical storage:
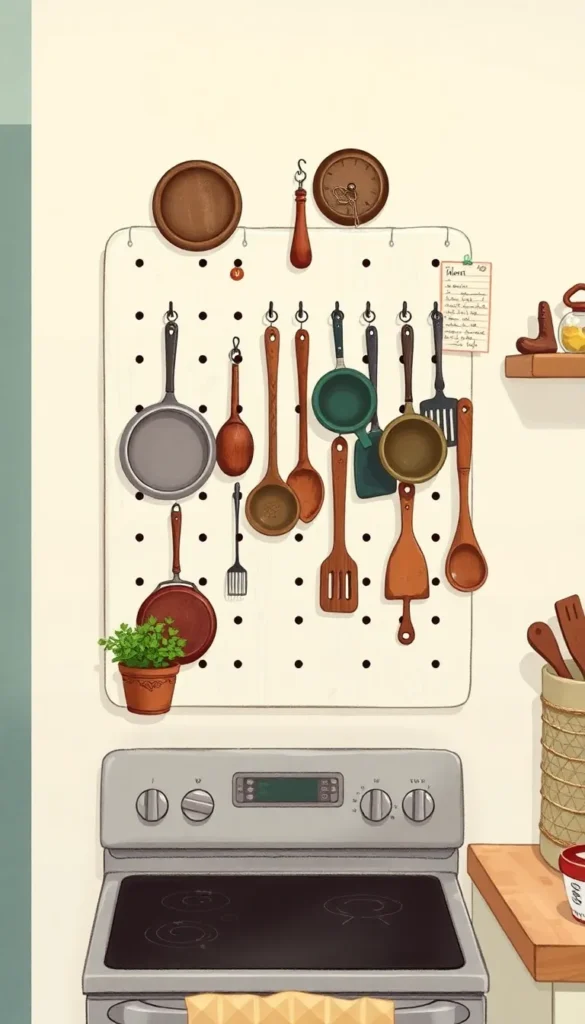
- A pegboard mounted near the cooking area is one of the most efficient utensil storage solutions available — every tool hangs in plain sight and nothing gets buried
Step 5: Organize the Junk Drawer — Yes, That One
Almost every kitchen has a drawer that became the default home for everything that didn’t have a better place. The mystery batteries, the takeout menus, the pushpins, and somehow — several random kitchen tools that don’t belong anywhere else.
Reclaiming this drawer takes about 20 minutes:
- Remove everything and sort into “kitchen” versus “not kitchen”
- Rehome the non-kitchen items elsewhere
- Add a simple divider insert and give the kitchen stragglers a proper category
- Keep one small section as a genuine catch-all — but a contained one
A tamed junk drawer is genuinely one of the most satisfying small wins in kitchen organization.
Step 6: Build a Maintenance Habit
The most beautifully organized kitchen reverts to chaos without one small but non-negotiable habit: returning every tool to its designated spot after washing.
A few ways to make this easier:
- Label drawer sections while the system is new, so every family member knows where things go
- Do a quick 5-minute reset at the end of cooking or after washing up
- Revisit the whole system every three to six months — cooking habits change, and your organization should reflect that
Cook Better by Organizing Smarter
The kitchen is where nourishment, creativity, and daily life intersect — it deserves to function as well as it possibly can. Organized utensils mean faster prep, calmer cooking, and a kitchen you actually enjoy spending time in.
Save this guide and spend one afternoon transforming your kitchen drawers. Once you cook in a truly organized kitchen, you’ll never want to go back to the chaos.