Be honest — how many nail polishes do you own that you’ve completely forgotten about? They’re rolling around in a drawer, crammed into a bag, or buried under skincare products, and every time you want to do your nails you end up reaching for the same three bottles out of habit. Sound familiar? A organized nail polish collection doesn’t just look stunning — it actually changes how you use it. When every color is visible and accessible, suddenly that coral from two summers ago becomes tonight’s perfect choice. Here’s how to organize your collection like the pros do it.
Step 1: Pull Everything Out and Do a Full Edit
You cannot organize what you haven’t fully inventoried. Start by gathering every single nail polish you own from every location — the bathroom, the bedroom, the junk drawer, the old makeup bag in the closet.
Once they’re all together, go through each bottle and ask:
- Is it still usable? Separate, clumpy, or completely dried-out polish is done. No amount of thinner will fully rescue a bottle that’s gone gummy and thick beyond recovery.
- Have I used this in the last two years? If not and you feel nothing looking at it, let it go.
- Is the color duplicated? Most collections have three nearly-identical nudes or pinks. Keep your favorite, release the rest.
- Is the brush ruined? A splayed or hardened brush makes application miserable — that’s reason enough to toss.
What remains after this edit is a collection worth organizing — and one you’ll actually enjoy using.
Step 2: Sort by Color Family First
This is the step that makes your collection feel like a salon display. Sorting by color family means you can find exactly what you want at a glance, without picking up and reading every single bottle.
A standard color order that works beautifully:
- Nudes and neutrals
- Pinks and mauves
- Reds and berries
- Oranges and corals
- Yellows and greens
- Blues and teals
- Purples and lavenders
- Blacks, grays, and whites
- Glitters, holographics, and special finishes
- Base coats, top coats, and treatments
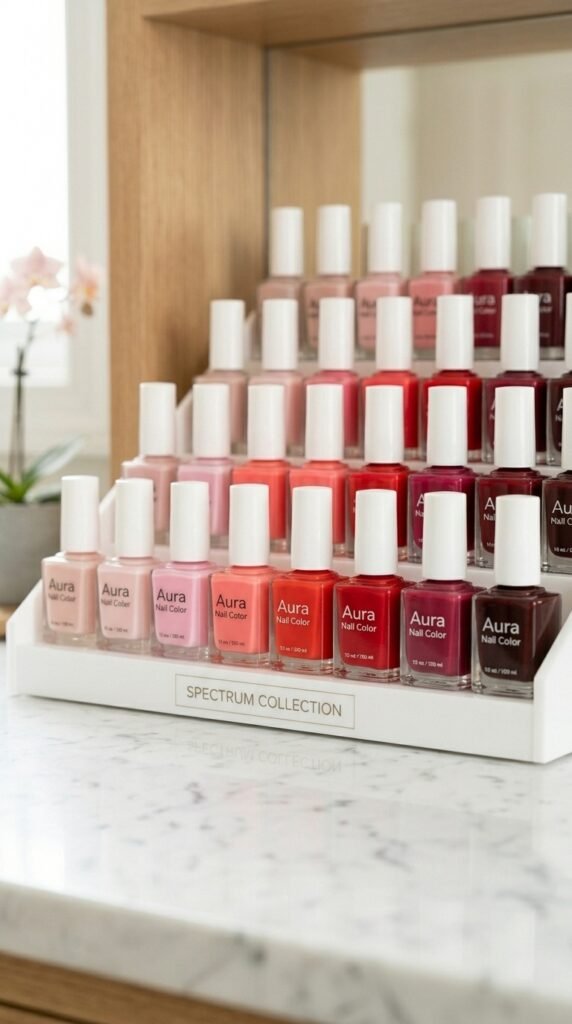
Within each color family, arrange from lightest to darkest for an even more polished, gradient effect. It’s a small detail that makes a big visual difference.
Step 3: Choose Your Display or Storage Style
How you store your polish depends on how many bottles you have, how much space you’re working with, and whether you want it on display or tucked away.
Display options (for visible storage):
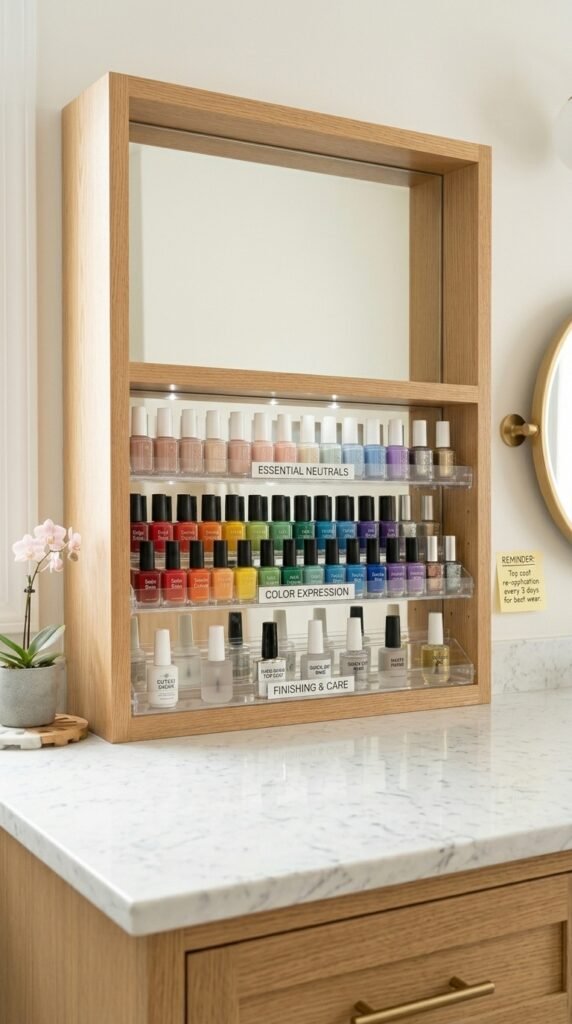
- Wall-mounted acrylic shelves — the most salon-like option, perfect for large collections
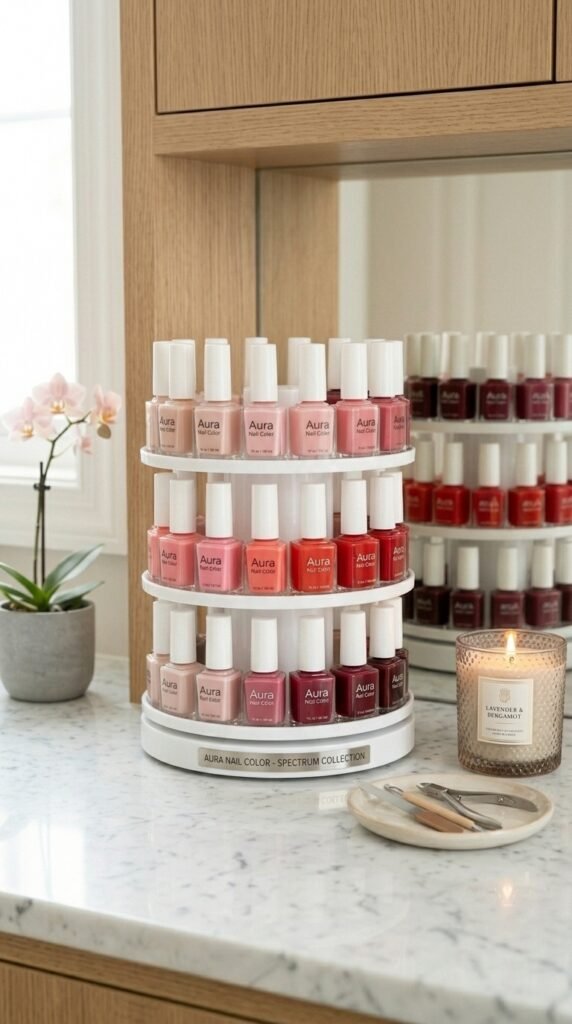
- Rotating carousel or lazy Susan — great for vanity tops; spins so every bottle stays accessible
- Tiered nail polish rack — freestanding, portable, and shows off colors beautifully
- Shadow box or floating shelf — doubles as wall décor in a vanity or bathroom
Concealed storage (for smaller spaces):
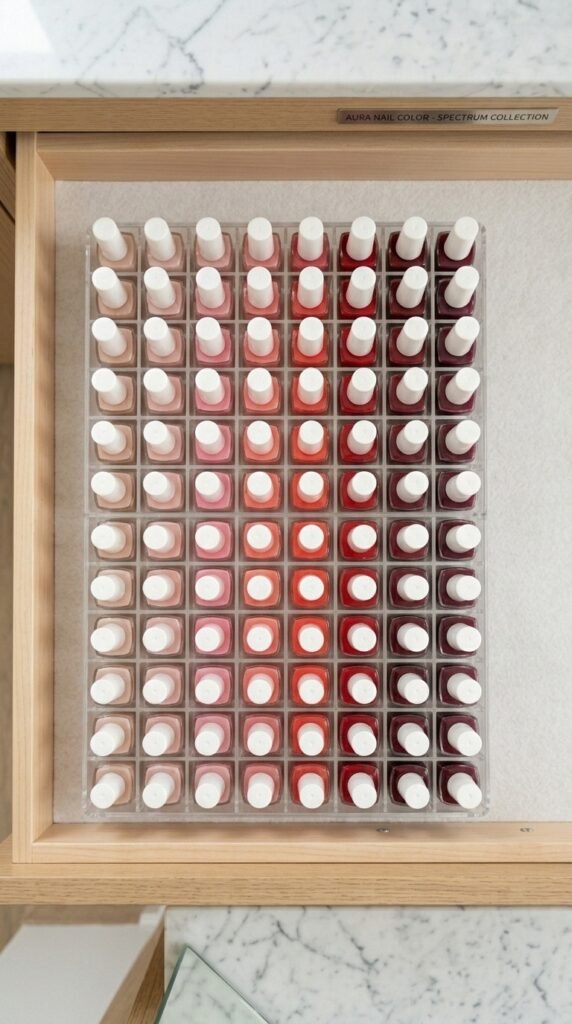
- A clear acrylic drawer organizer in a vanity drawer
- A dedicated cosmetic case or train case
- A small handled caddy that tucks into a cabinet
The non-negotiable rule for any option: every bottle must be visible from the front. Stacking bottles on top of each other is how colors get forgotten.
Step 4: Label or Swatch for Easy Identification
Here’s a pro trick that makes choosing a color ten times faster: create a swatch reference.
A few easy ways to do this:
- Paint a small dot of each color on the bottom of the cap so the color is visible when bottles are stored upright
- Use nail swatch sticks or a swatch ring — paint each stick and hang them in order alongside your display
- For large collections, keep a photo on your phone of your whole organized rack so you can reference it while shopping and avoid buying duplicates
This is especially useful for glitters, duochromes, and finishes that look different in the bottle than on the nail.
Step 5: Store Them Correctly to Extend Their Life
Organization is also about preservation. Nail polish is surprisingly sensitive to its environment.
Keep these rules in mind:
- Avoid direct sunlight — UV light breaks down pigment and causes color shifting
- Keep away from heat sources — warmth causes separation and thickens formula
- Store upright, never on their side — horizontal storage causes the brush to warp and the formula to settle unevenly
- Keep lids tightly closed — air exposure is the fastest route to a goopy, unusable bottle
- Avoid the bathroom if possible — steam and humidity fluctuations shorten polish life significantly
A cool, dry bedroom shelf or vanity drawer is genuinely the ideal home.
Step 6: Maintain It With a Simple Restocking Rule
Even a beautiful system falls apart without a small maintenance habit. The key is keeping your collection current and clutter-free.
Try these simple habits:
- Purge seasonally — a quick 10-minute check every few months catches drying bottles before they become a problem
- One in, one out — when you buy a new color, remove one you no longer love
- Re-sort after every use — return each bottle to its color family immediately rather than leaving it out
Your Collection Deserves to Be Seen
A disorganized polish collection is a collection you’re not fully using. Spend one afternoon sorting, editing, and displaying your bottles properly — and suddenly every at-home manicure becomes an experience rather than a chore.
Save this guide and give your nail polish the salon treatment it deserves. Once it’s organized, you’ll wonder how you ever lived with the chaos.