
Your kitchen drawers are either working for you — or quietly driving you crazy every single day. Cluttered drawers slow you down, hide what you need, and make cooking feel harder than it should be. The good news? You don’t need a full renovation or an expensive organizer set to fix them. A few smart systems can turn even the messiest drawer into a smooth, functional space. Whether you have one junk drawer or ten chaotic ones, these 23 kitchen drawer organization systems will help you find simple, affordable solutions that actually stick.
1. Use Bamboo Drawer Dividers for Everyday Utensils
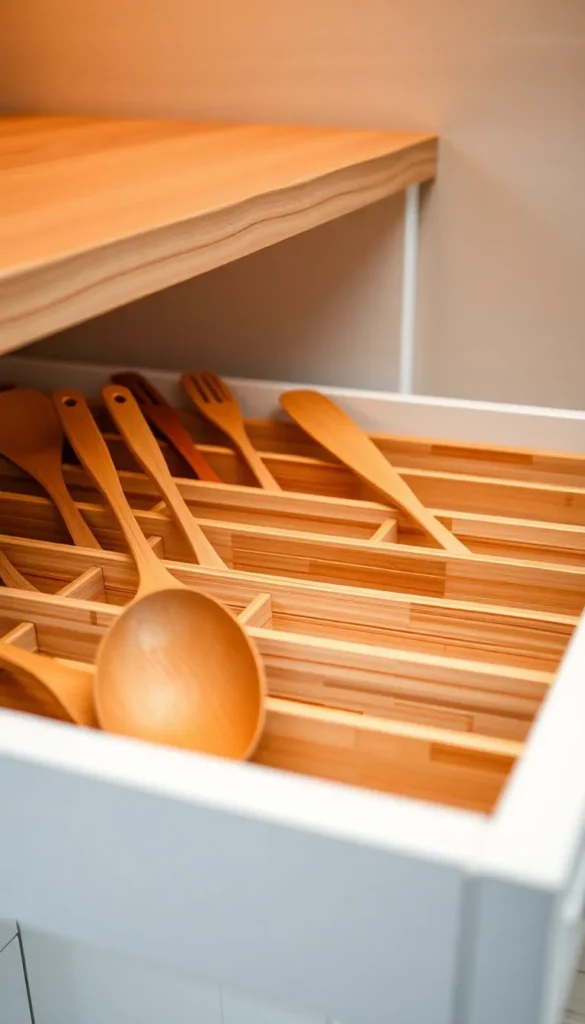
Bamboo dividers are one of the cheapest, most effective tools for drawer chaos. They slide in without tools and lock together to fit almost any drawer width. You can find a set for under $15 at most home goods stores. Sort your spatulas, tongs, and spoons into their own zones. No more digging around. Everything lands where your hand expects it. Start with just three sections — cooking tools, prep tools, and serving tools — and build from there.
2. Install a Knife Block Insert Inside Your Drawer
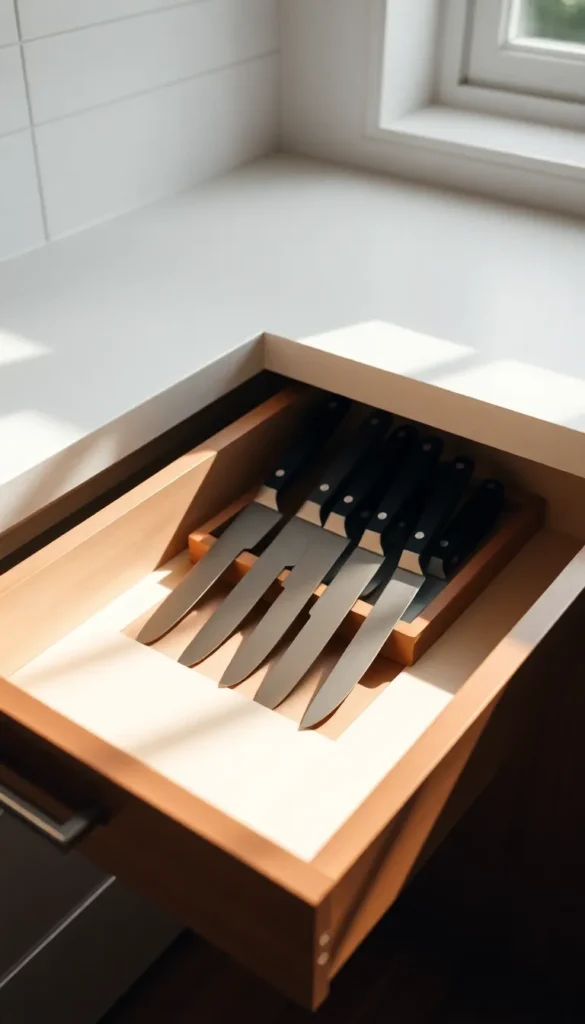
An in-drawer knife block keeps blades safe and off your countertop. It’s a foam or wood insert with angled slots that hold knives blade-down. Prices range from $20 to $40. DIY option: cut a piece of dense foam to fit your drawer and slice your own slots with a box cutter. Place it in the drawer closest to your cutting board. Your knives stay sharp longer because they’re not clanking against other tools. It’s one of the cleanest upgrades you can make.
3. Sort Spices in a Deep Drawer with a Tiered Insert
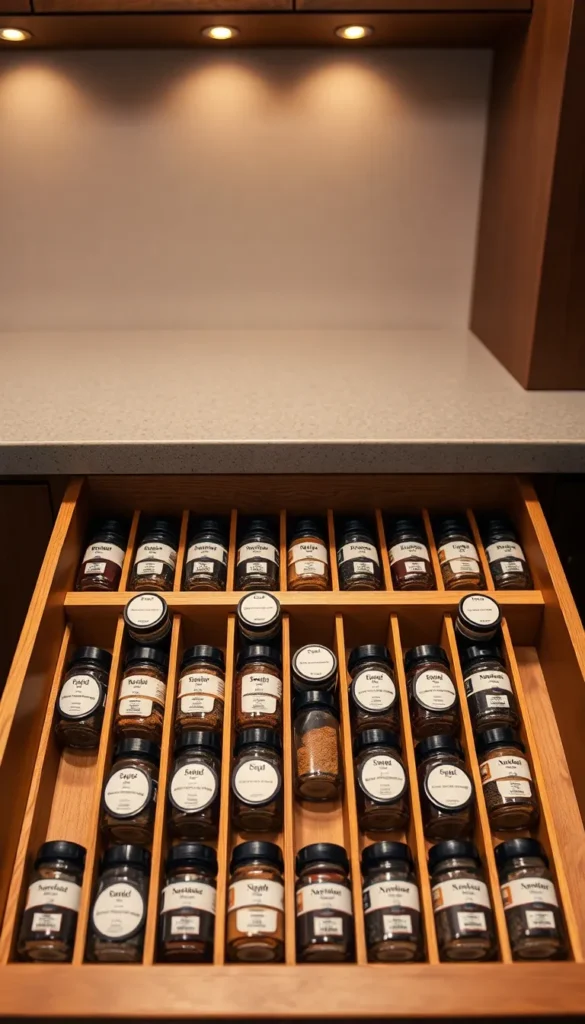
Spice cabinets are hard to see into. Deep drawer spice storage solves this completely. A tiered insert angles your jars so every label faces up. You can see everything at once — no pulling out five jars to find cumin. Affordable tiered inserts cost around $20–$30. A budget DIY version: cut strips of thin wood at an angle and glue them to a plywood base. Place it in a drawer near the stove. Alphabetical order or grouping by cuisine type both work well.
4. Repurpose an Ice Cube Tray for Small Items
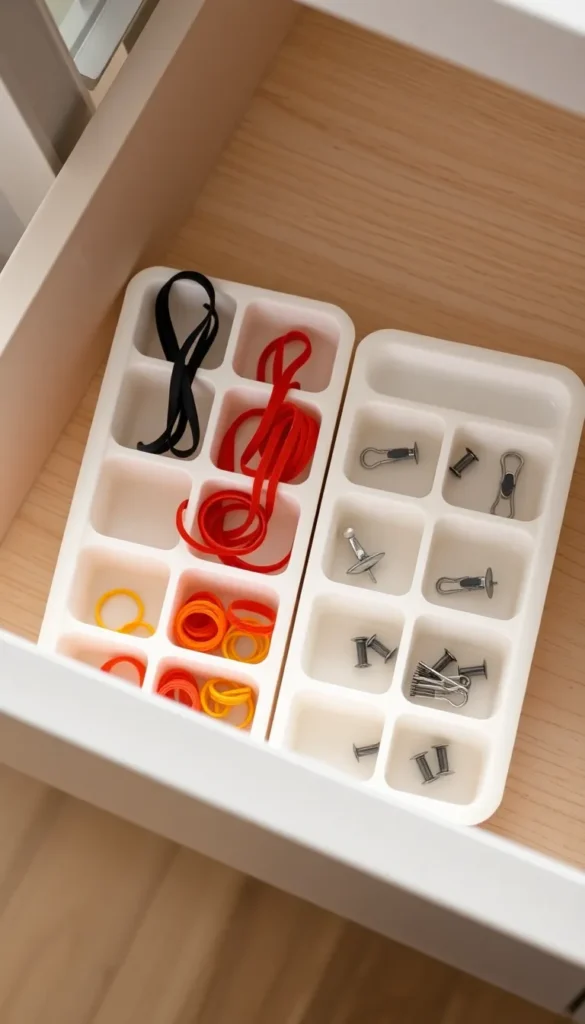
Small items like twist ties, rubber bands, and tiny clips disappear fast in a cluttered drawer. Ice cube trays are free if you already own them — or cost $1 at a dollar store. Drop one into a shallow drawer and sort one item type per cell. This works perfectly in a junk drawer or a craft supply drawer. You get 12–16 tiny compartments for almost no money. Silicone trays are especially good because they grip the drawer bottom and don’t slide around when you open and close.
5. Add a Pegboard-Style Adjustable Organizer
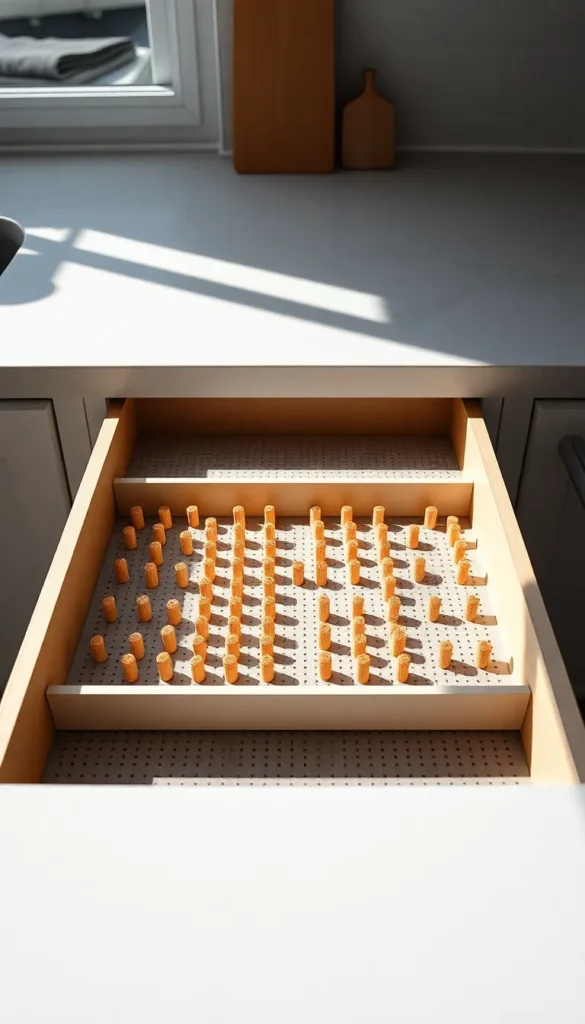
Peg organizers let you rearrange your layout anytime without buying a new insert. The base has a grid of holes and the pegs snap in wherever you want. Sections can be wide for big utensils or tiny for small tools. Popular brands like OXO sell these for around $20–$30. If your drawer is an odd size, peg systems are especially helpful because they flex to fit. Rearrange them when your kitchen needs change — no commitment required. It’s a practical long-term system.
6. Line the Bottom of Drawers with Grippy Shelf Liner
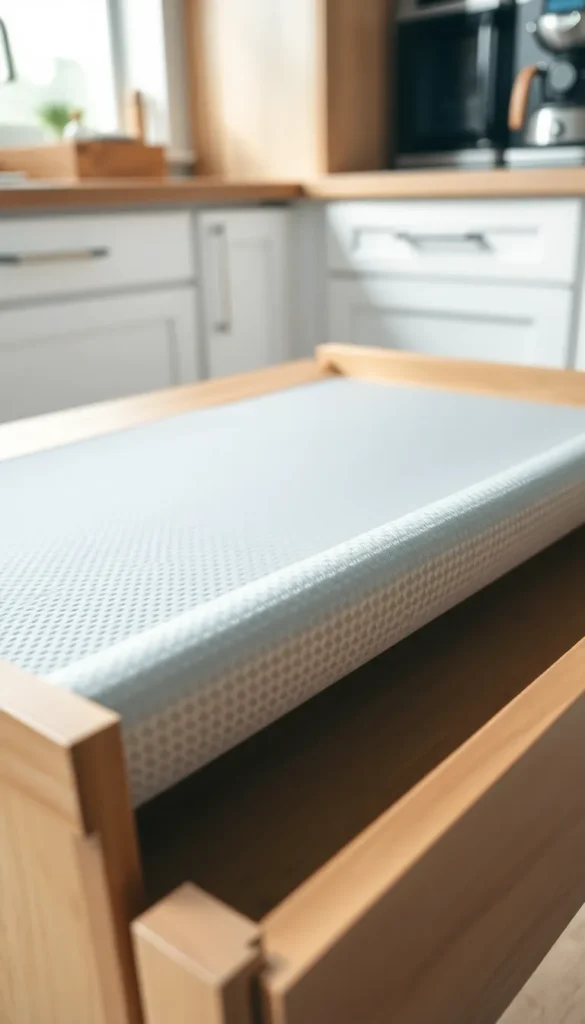
Before you add any organizer, lay down a non-slip shelf liner. It stops dividers and trays from shifting every time you close the drawer hard. Shelf liner also protects the wood and makes cleaning easier. A roll costs $5–$8 and covers multiple drawers. Cut it to size with scissors — takes about two minutes. Choose a thin waffle-pattern liner so it doesn’t add height. This one small step makes every other organizing system you put in the drawer work better.
7. Create a Foil and Wrap Station in One Dedicated Drawer
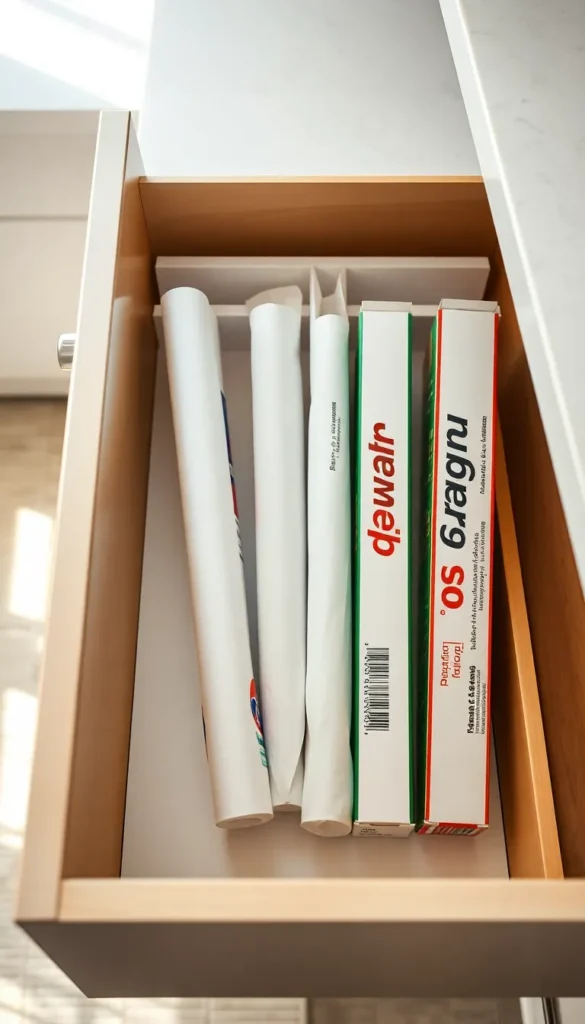
A dedicated wrap and foil drawer saves time every single time you cook or pack leftovers. Stand boxes upright in vertical slot dividers — they’re far easier to grab than when stacked flat. You can buy a wrap organizer insert for $15–$25, or DIY one using small tension rods placed across the drawer to keep boxes upright. Store foil, plastic wrap, parchment, and wax paper all in one place. Label the front of the drawer so everyone in the house knows exactly where things go.
8. Use a Tension Rod Divider for Vertical Storage
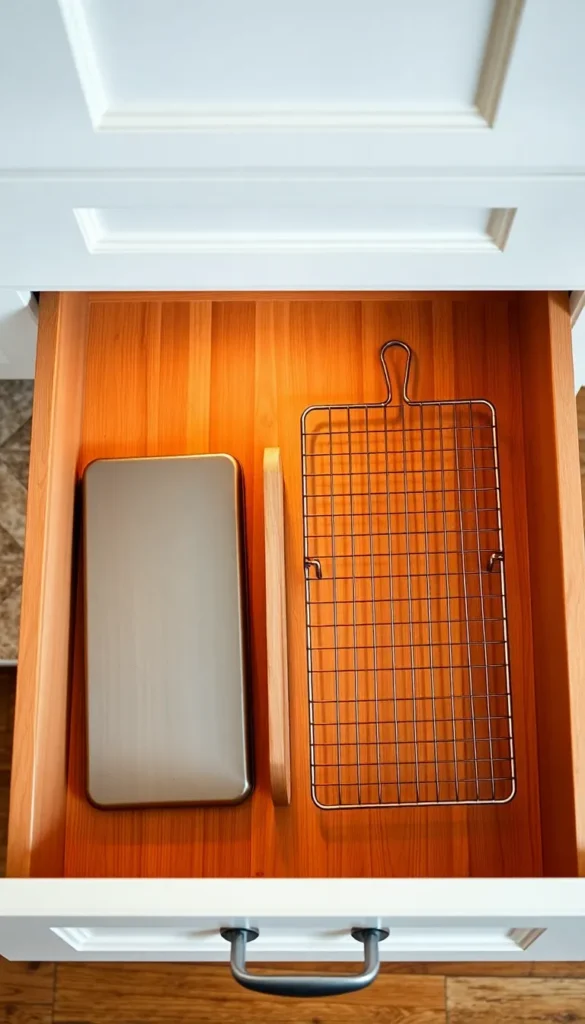
Tension rods are a $3 solution that people overlook constantly. Stretch them across a deep drawer from front to back to create upright dividers. This works perfectly for storing flat items vertically — baking sheets, cutting boards, muffin tins, and wire racks. No tools required. No drilling. Just press the rod against both sides and it holds. Adjust the position anytime. You can add two or three rods to create multiple slots. Items stay upright and grab out one at a time without toppling everything else.
9. Label Every Drawer from the Inside
Labels may seem basic, but they’re one of the most powerful habits in an organized kitchen. When everyone in the home knows which drawer holds what, things actually get put back correctly. Use a label maker for clean results. A budget option: print labels on regular paper, cut them out, and cover with clear tape. Attach labels to the inside front edge of each drawer so they’re visible when you open it. Review and update labels every few months as your kitchen habits shift.
10. Dedicate One Drawer Entirely to Takeout Essentials
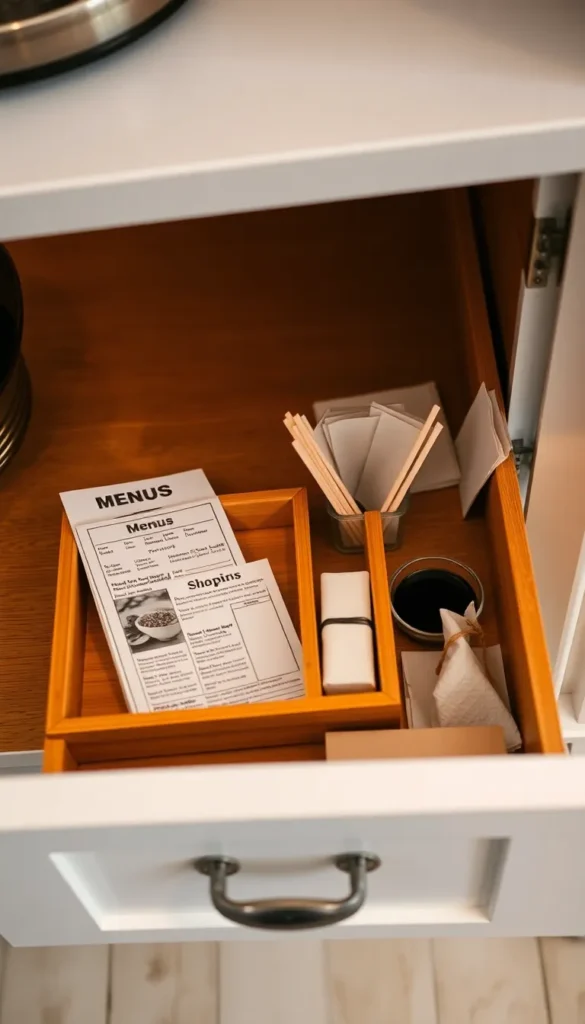
One takeout drawer keeps your kitchen from slowly filling up with loose menus, soy sauce packets, and mystery plastic utensils. Pick the drawer closest to where you set down delivery bags. Add a small tray with sections: one for menus or a printed QR code sheet, one for condiment packets, one for chopsticks or plastic utensils. Rubber-band menus together by cuisine type. Clear out expired packets every month or two. It sounds simple because it is — but having a dedicated spot stops takeout clutter from spreading everywhere.
11. Use Small Bins to Group Items in a Junk Drawer
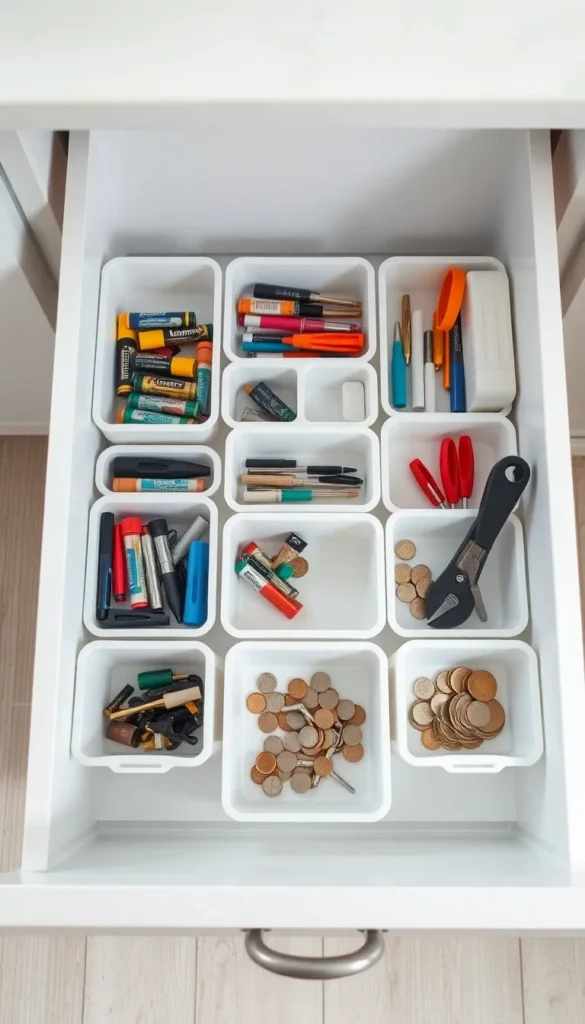
Every home has a junk drawer. The trick isn’t getting rid of it — it’s containing the junk. Small bins or containers from a dollar store work perfectly. Group similar items together: one bin for batteries, one for pens, one for small tools, one for random hardware. Bins with straight sides work better than round ones because they use drawer space more efficiently. You don’t need matching sets. Repurpose small food storage containers, mint tins, or cardboard boxes cut to size. The goal is categories, not perfection.
12. Sort Measuring Tools in a Narrow Drawer with Hooks
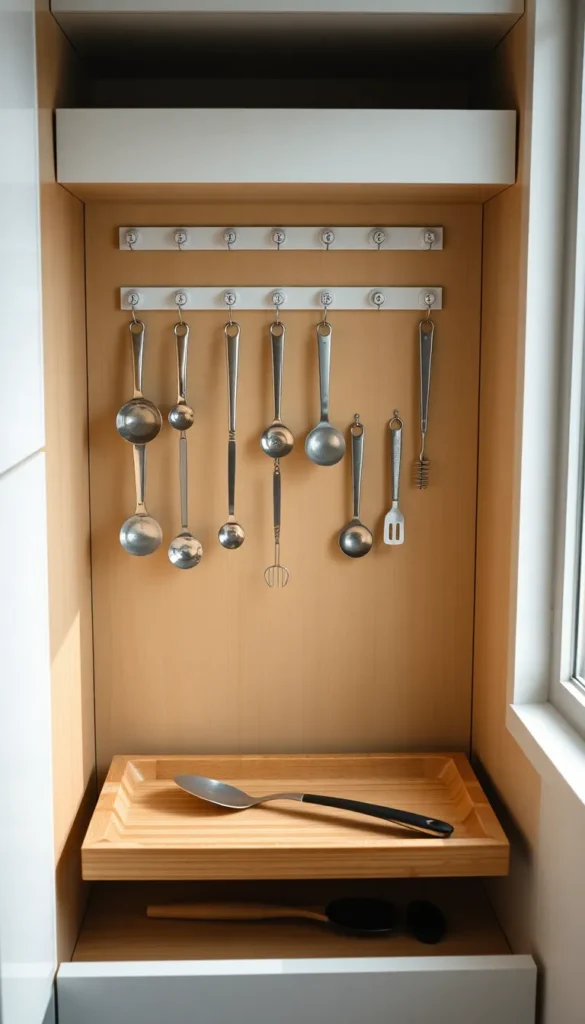
Measuring spoons and cups go missing because they get buried. Small adhesive hooks on the inside back wall of a narrow drawer let you hang them by their rings. They’re visible, reachable, and always in the same spot. Command hooks work well here — no damage when removed. This frees up the drawer floor for other flat tools. A whole set of drawer hooks costs under $5. If your measuring tools don’t have rings, a $2 ring from a hardware store fixes that in seconds.
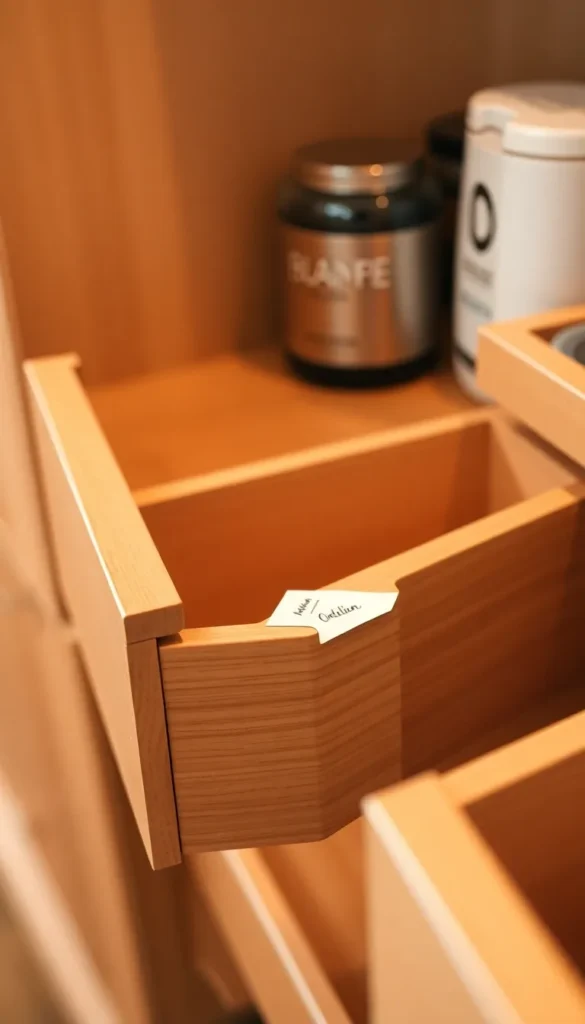
13. Create a Dedicated Coffee and Tea Drawer
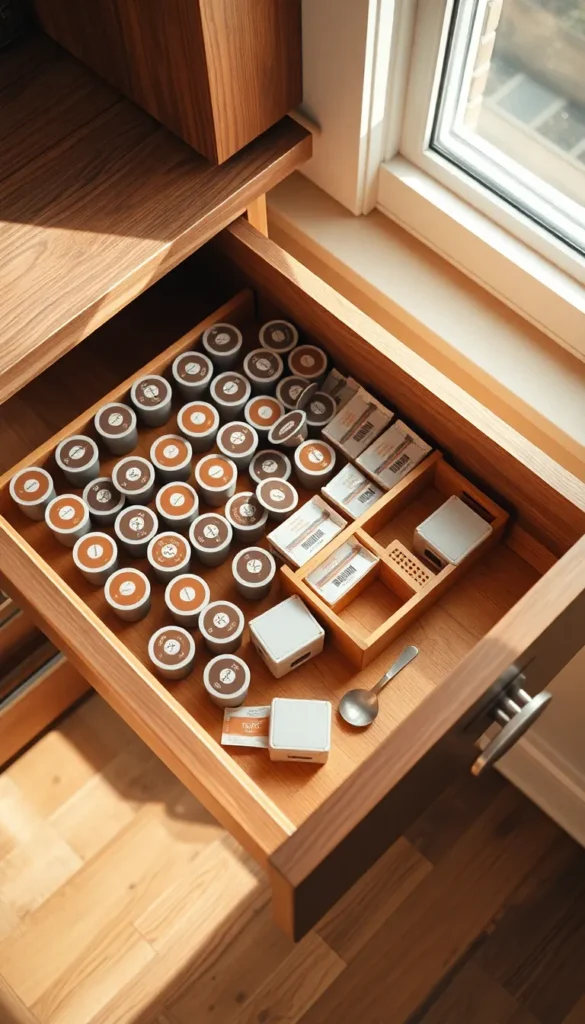
If you have a coffee maker or electric kettle near your counter, a dedicated coffee and tea drawer directly below it makes mornings faster. Use a small tray or divider insert to hold coffee pods in rows, tea bags sorted by type, and a section for sweetener packets. A wooden pod organizer insert costs around $15. Budget alternative: use a shallow cardboard box lined with shelf liner. Keep only what you actually use in the drawer and store extras in a pantry. It cuts your morning routine down significantly.
14. Roll and Stack Kitchen Towels Vertically
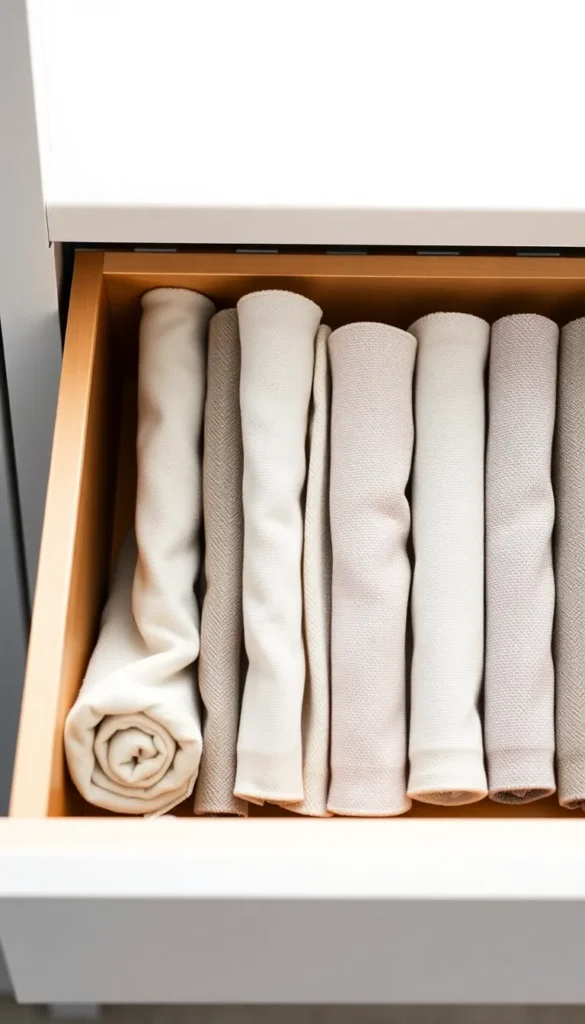
Most people fold dish towels flat and stack them — which means you always use the top one and forget the rest. Rolling towels and storing them upright like files in a folder changes this completely. Every towel is visible. You rotate through the whole stack naturally. This is the same concept as KonMari folding. No inserts needed — just roll tight and stand them up. A full drawer of towels takes up less space this way too. Works for kitchen towels, cloth napkins, and even oven mitts folded flat.
15. Add a Charging Station to Your Junk Drawer
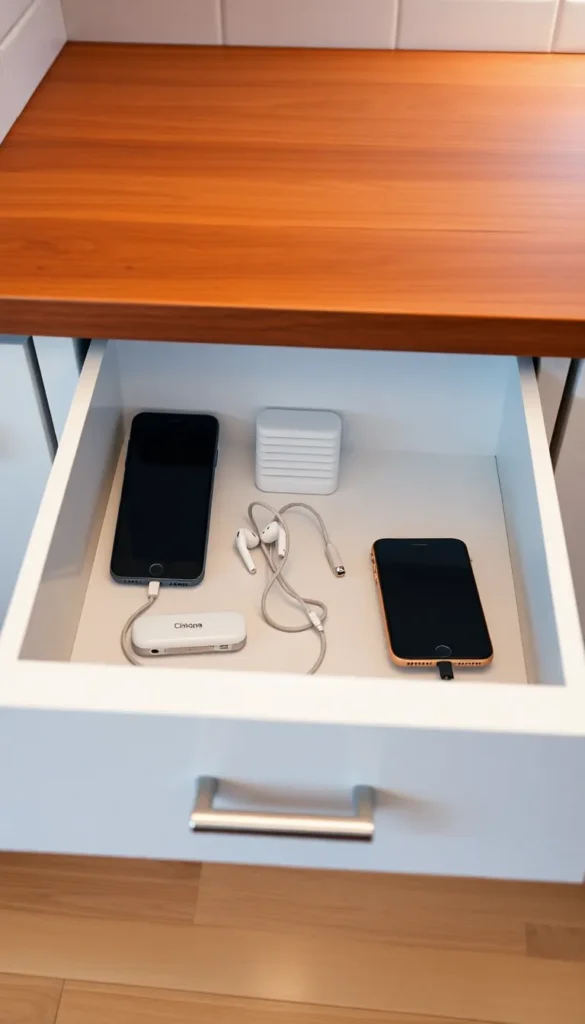
Many households end up charging devices on the kitchen counter because there’s no dedicated spot. A drawer charging station gets cables off the counter and out of sight. Choose a drawer near an outlet. Have someone drill a small hole in the back panel, or route a slim charging strip under the drawer gap. Place a small cable organizer clip inside to keep cords tidy. This works especially well in larger drawers. Phones, tablets, and earbuds charge inside, hidden away, with just the cable poking out slightly when the drawer is closed.
16. Use a Cutlery Tray with Extra-Deep Slots for Large Utensils

Standard cutlery trays have shallow sections that don’t hold large utensils well. Deep-slot trays fix this by including at least one or two long, deep sections for items like ladles, pasta forks, and slotted spoons. Prices run from $15 to $30 depending on material. Look for trays with both standard and oversized slots. If you can’t find one that fits, buy two shorter trays placed side by side. The key is giving large utensils their own lane instead of cramming them into a catch-all section.
17. Attach a Small Magnetic Strip to the Inside Drawer Wall
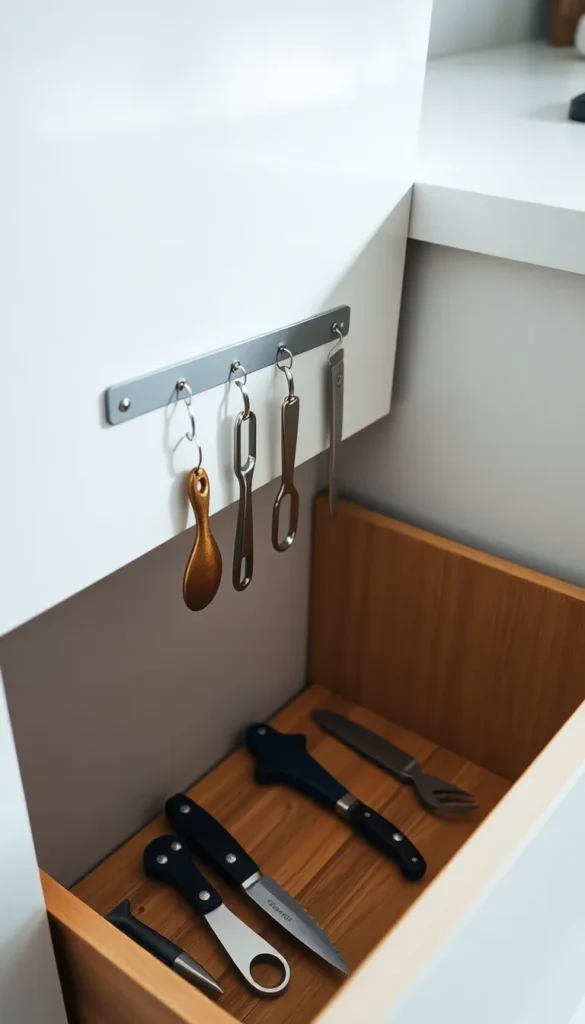
Magnetic strips inside drawers are an underused trick. A 6–8 inch adhesive strip on the inside side wall can hold small metal tools — a can opener, a peeler, scissors, or small knives. This clears up the drawer floor for other items. The strip attaches with peel-and-stick adhesive. No drilling. No damage to your cabinet. Cost: $8–$12. The key is to only put lightweight items on it. Heavy items can pull the strip loose. Think of it as a holding zone for your most-used small metal tools so they’re always right where your hand goes.
18. Use a Clear Acrylic Organizer for a Bathroom-Drawer-Style Setup
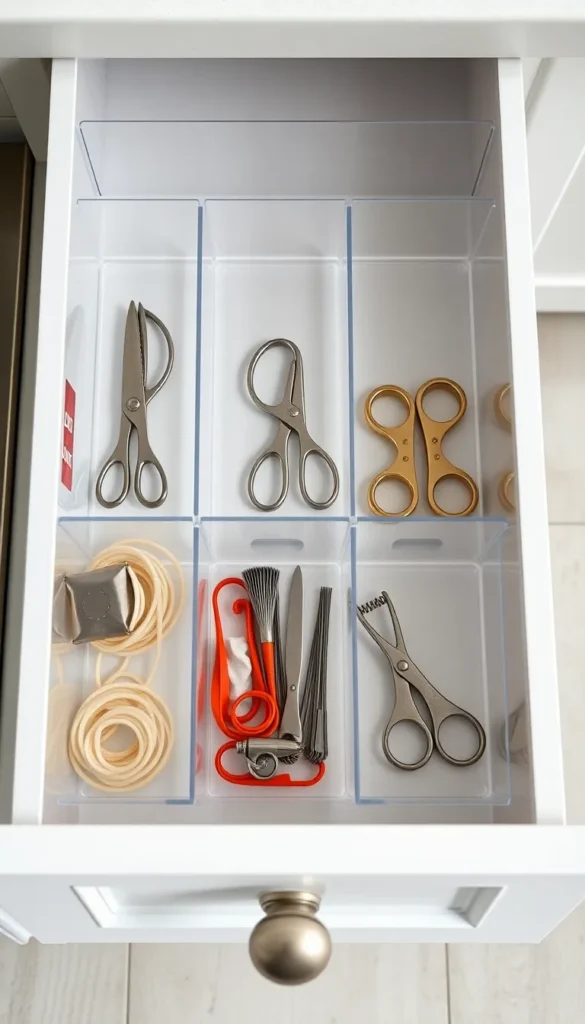
Clear acrylic organizers are popular in bathrooms and vanities, but they work just as well in kitchen drawers. The transparent walls let you see contents without opening separate containers. Choose a set with compartments of different sizes — small cells for tiny items and larger cells for bulkier tools. Sets are available for $15–$25 at most organizing stores. They look polished and clean even when slightly full. The clear material also makes it easy to spot when something is running low — like realizing you’re out of rubber bands before you need one.
19. Sort Plastic Bags by Size in a Dedicated Drawer
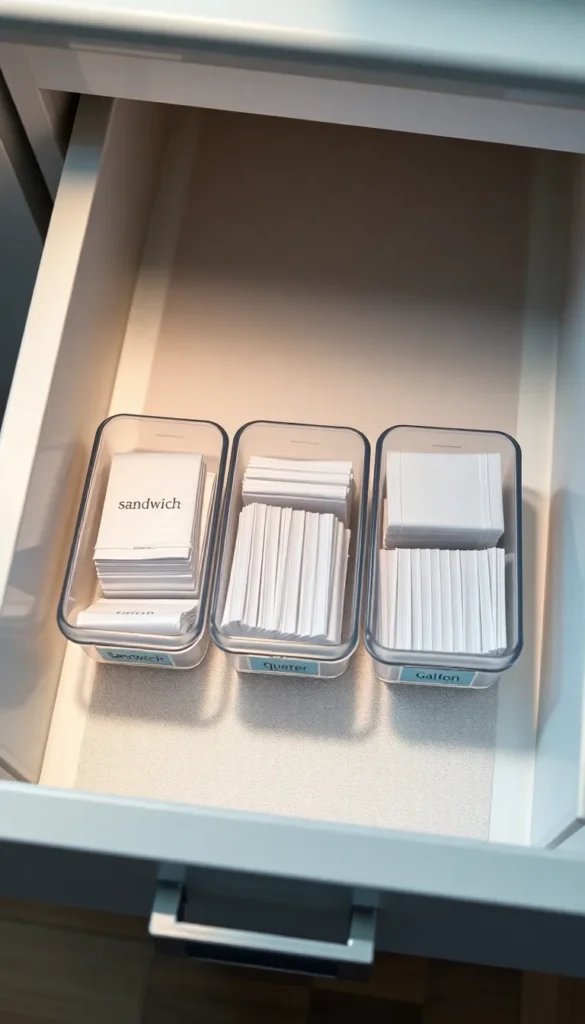
Boxes of plastic bags are awkward in a drawer — they slide, tip, and dispense bags you didn’t mean to grab. Three small containers, one per bag size, solve this. Decant sandwich, quart, and gallon bags into separate bins. Label each bin. Now you grab only the size you need. Plastic food storage containers, small shoebox lids, or even repurposed rectangular tins all work. This drawer also makes a good home for reusable silicone bags, snack bags, and chip clips. Keep it near the counter where you pack lunches or store leftovers.
20. Install a Built-In Drawer Organizer Using Foam Inserts
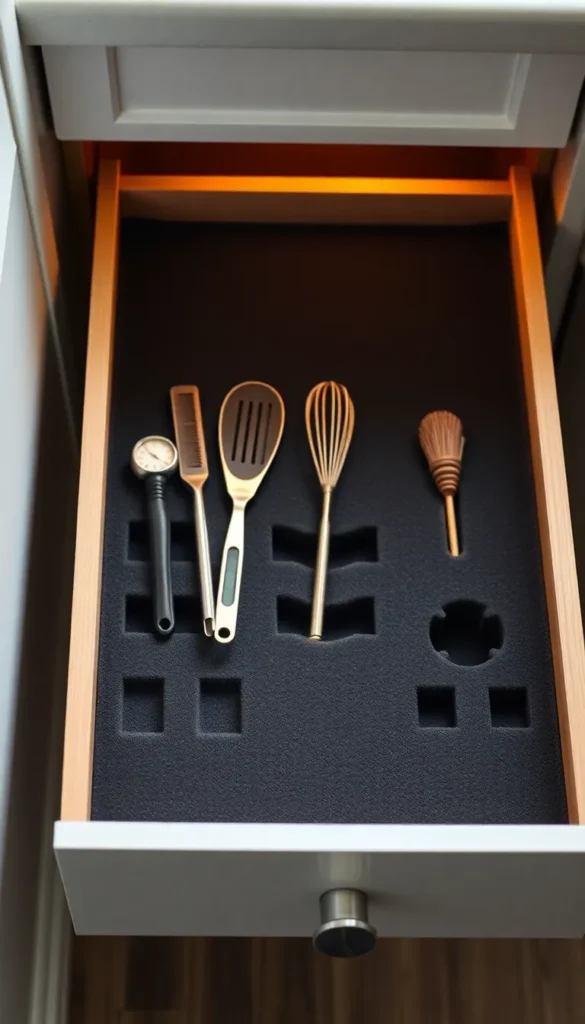
Custom foam inserts are what professional knife sets and high-end tool kits use — and you can DIY one for under $10. Buy a sheet of dense foam from a craft store. Cut it to fit your drawer. Then trace around each tool and cut out the shape with a box cutter. Every tool has a perfect home. When something is missing, the empty slot makes it obvious. This works especially well for specialty tools — a thermometer, a mandoline, odd-shaped gadgets that never fit neatly in standard trays. It’s one of the most satisfying drawer upgrades you can make.
21. Keep a Battery Drawer with a Simple Tester Station
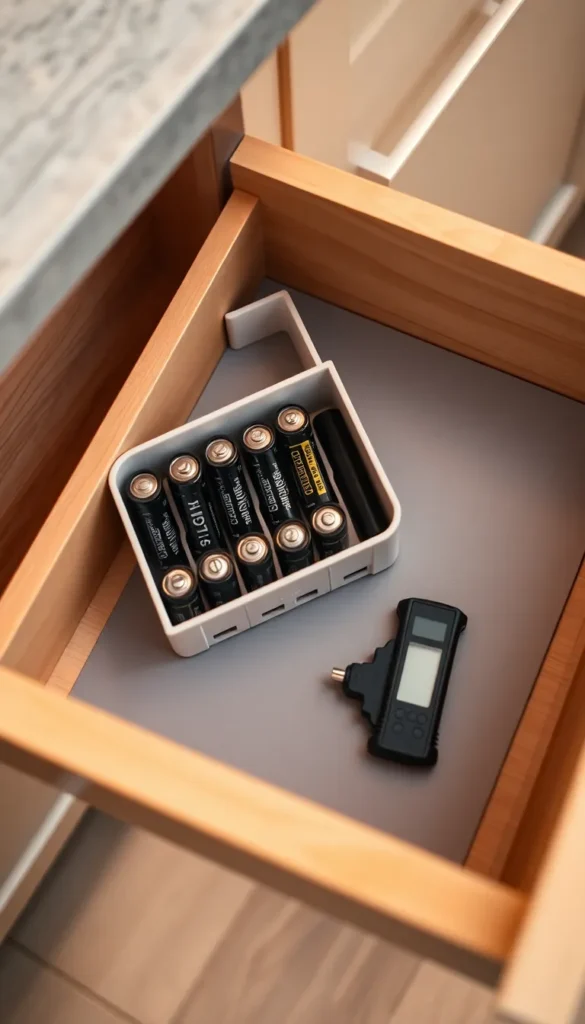
Dead batteries in the junk drawer cause real frustration. A dedicated battery drawer with a battery tester next to it solves two problems at once. Sort batteries by type — AA, AAA, C, D, 9V — into separate small containers or a divided tray. A basic battery tester costs $5–$8. Before you put a battery away, test it. Dead ones go straight to the recycling bin instead of back in the drawer. This drawer takes about ten minutes to set up and saves you the maddening experience of installing a dead battery into a smoke alarm at midnight.
22. Add a Recipe Card or Tablet Holder Inside a Deep Drawer
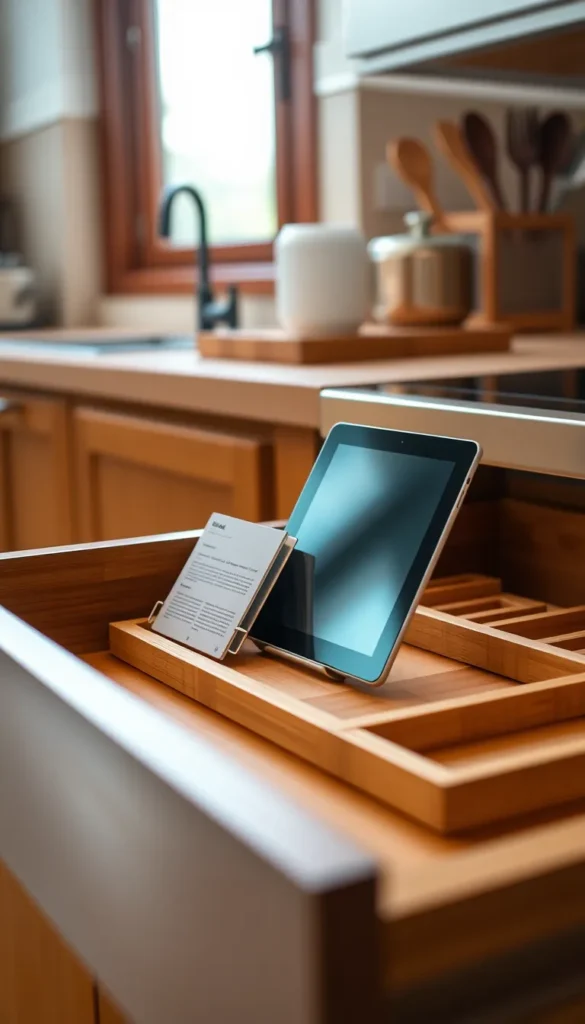
If you cook from recipes often, keeping a tablet holder or recipe card slot inside a drawer keeps your counter clear. A small angled phone or tablet stand — $8–$15 — sits in the back section of a deep drawer. Open the drawer slightly while cooking and prop up your device or a laminated recipe card. You can also store printed recipe cards in a small labeled folder inside the same drawer. No more flour fingerprints on your phone screen. No more propping a tablet up against a jar that tips over halfway through a recipe.
23. Reassess and Reset Your Drawers Every Six Months
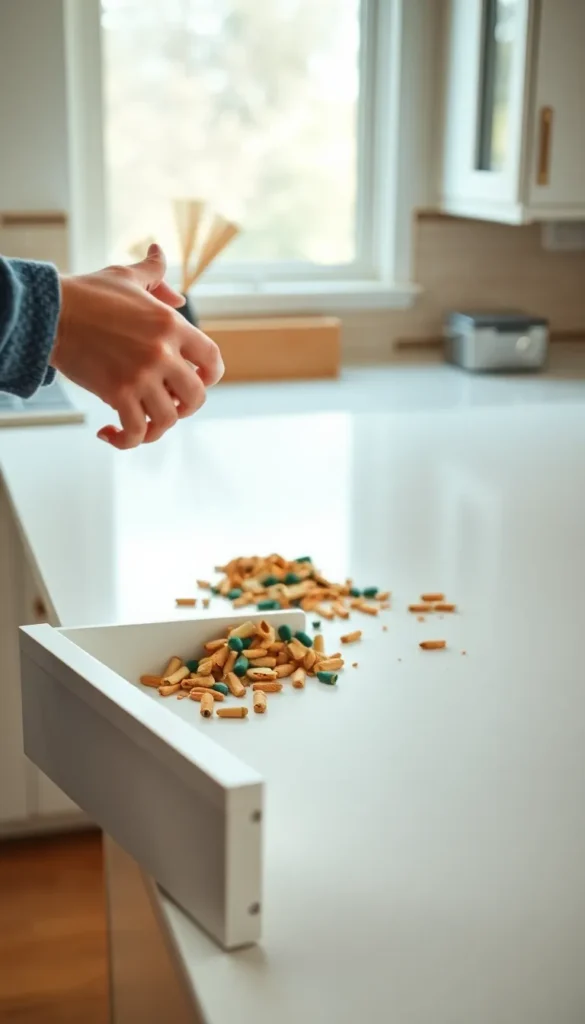
The best drawer organization system is the one you actually maintain. A six-month reset keeps things from slipping back into chaos. Pull everything out of each drawer. Wipe the interior. Get rid of anything broken, duplicate, or unused. Put back only what you actually use. This whole process takes about 30–45 minutes for an average kitchen. Set a recurring reminder on your phone. Do it in seasons — before summer cooking and before the holiday rush. Keeping your drawers functional is less about perfect systems and more about regular, honest editing of what belongs there.
Conclusion
Kitchen drawer organization doesn’t require a big budget, a renovation, or a weekend project. It starts with one drawer, one simple system, and a little intention. The 23 ideas here range from free DIY tricks — like repurposing ice cube trays or rolling towels upright — to low-cost upgrades like bamboo dividers, peg systems, and foam inserts. Pick two or three that match your kitchen’s real problems and start there. A well-organized drawer saves you time every single day, reduces stress while cooking, and makes your kitchen feel genuinely calm to work in. That’s a return on investment that pays off every morning and every meal.