You pull open the closet, reach for the wrapping paper, and — crunch. That beloved roll of elegant gold foil is now a mangled mess. Sound familiar? Wrapping paper is one of those things that’s easy to buy and nearly impossible to store without chaos taking over. But here’s the good news: a few simple systems can keep every roll, sheet, and ribbon pristine until the moment you actually need it.
Let’s fix the wrapping paper struggle once and for all.
Step 1: Start with a Full Declutter
Before you organize anything, pull everything out. Yes, everything — the half-used rolls jammed behind winter coats, the crumpled tissue paper stuffed in shopping bags, the ribbons tangled around each other like holiday spaghetti.
Sort into three piles:
- Keep — rolls that are still intact and usable
- Recycle — paper that’s too wrinkled or torn to save
- Donate — full rolls or supplies you simply won’t use
This step alone will shock you. Most people discover they have way more wrapping paper than they need — and half of it is already ruined.
Step 2: Choose the Right Storage Container
The container you choose makes or breaks the whole system. The key is finding something that keeps rolls upright or flat so they don’t bend, crease, or unravel.
Here are the best options depending on your space:
Tall Containers (Best for Upright Storage)
- A large wicker basket or fabric bin
- A clean trash can or laundry hamper dedicated to wrapping paper
- A tall gift wrap organizer bag with handles (great for closets)
Flat/Under-Bed Storage (Best for Small Spaces)
- Flat under-bed storage boxes designed for wrapping paper rolls
- A garment bag laid flat under the bed
- A shallow plastic bin that slides easily in and out
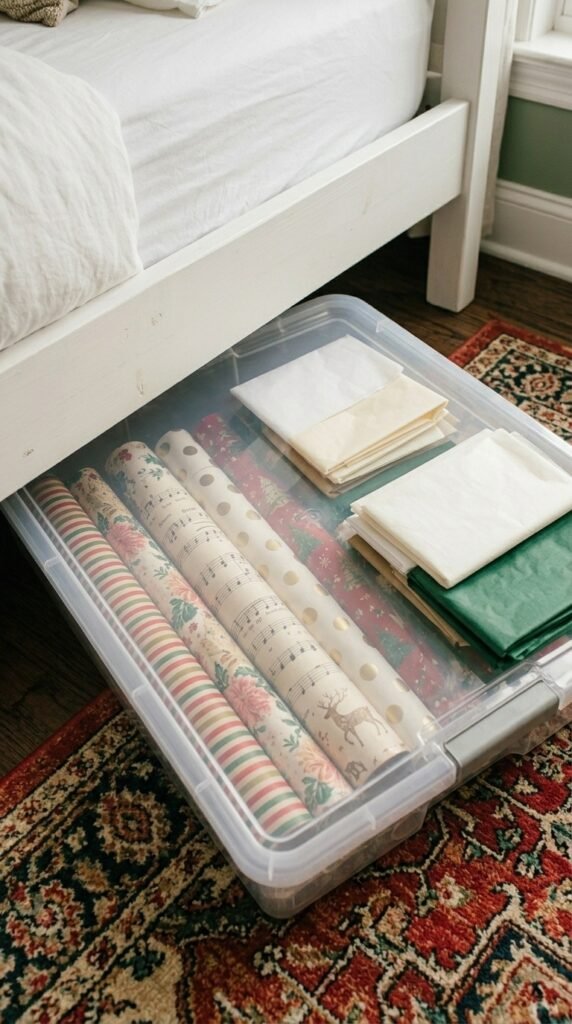
Avoid: cardboard boxes where rolls get stacked horizontally on top of each other — this is exactly what causes crushing and creasing.
Step 3: Keep Rolls Secure and Tidy
Loose rolls unravel constantly. Use one of these quick tricks to keep them neat:
- Slide a toilet paper tube over the end of each roll to hold the paper in place
- Use a rubber band loosely around the roll (not too tight — it can leave dents)
- Cut a slit in a paper towel tube and clip it over the edge like a sleeve
- Store rolls in individual cardboard tubes from paper towel cores, taped at the ends
Label each roll with a small sticky note — Christmas, Birthday, Baby Shower — so you’re not unrolling five options just to find the right one.
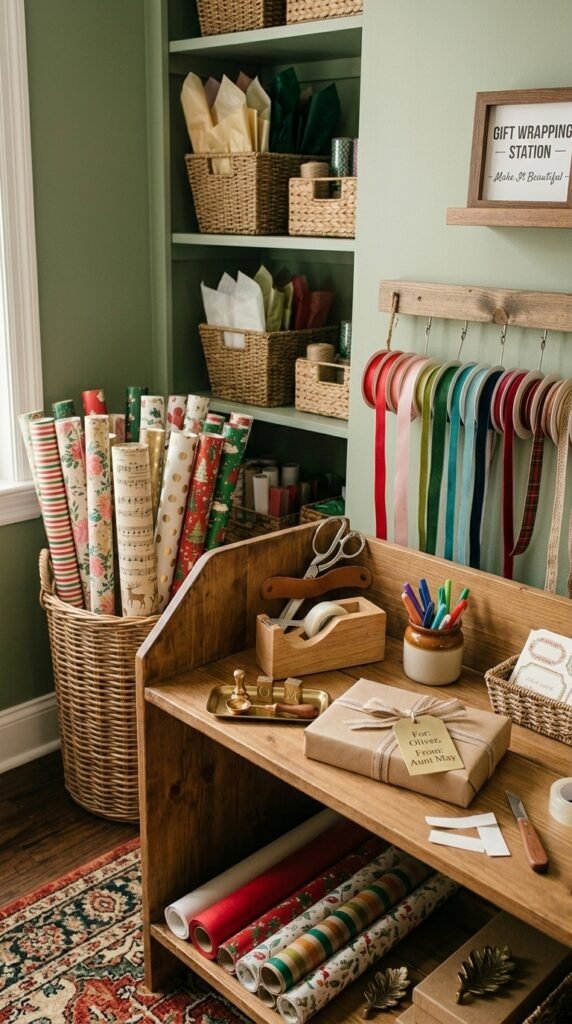
Step 4: Organize Ribbons, Bows, and Tags Together
The paper is only half the battle. Ribbons, bows, gift tags, tape, and scissors deserve their own dedicated spot — otherwise the whole system falls apart when you’re wrapping at midnight on December 24th.
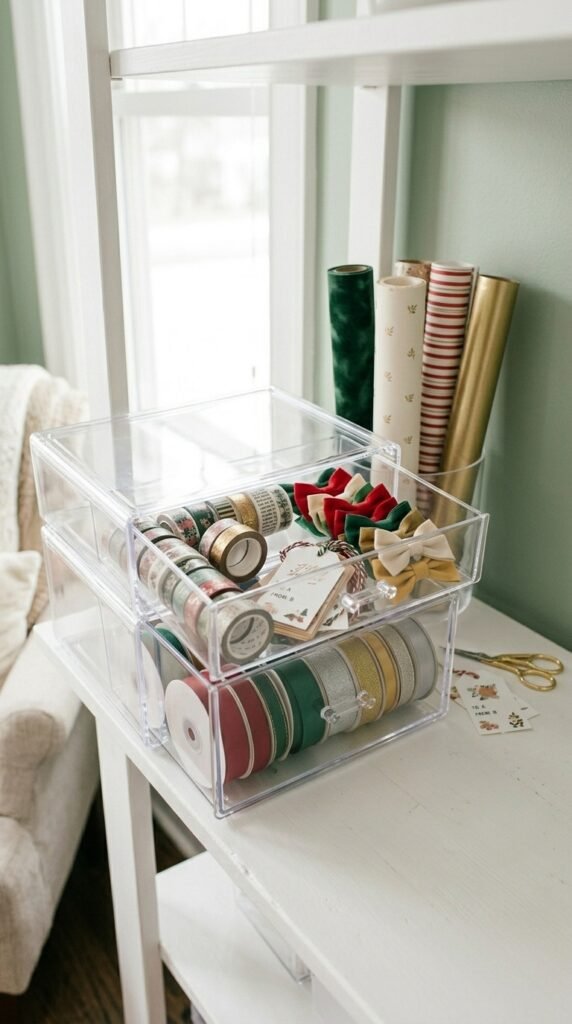
Try this setup:
- A small zip pouch or pencil case for tape, scissors, and gift tags
- A shallow drawer or clear bin for bows and ribbon curls (lay them flat so they don’t get crushed)
- Washi tape on a ring or rod so it’s always easy to find and pull
Keep everything in one place — ideally right next to your wrapping paper storage. A dedicated “wrapping station” (even just one basket and one small bin) saves enormous time.
Step 5: Find a Consistent Home for It All
The final — and most important — step is location. Wrapping supplies need a permanent, accessible spot so they actually get put back after use.
Great spots to consider:
- A hallway closet shelf (dedicate one full shelf)
- The top shelf of a bedroom closet
- A corner of the laundry room or mudroom
- A dedicated rolling cart that tucks into any closet
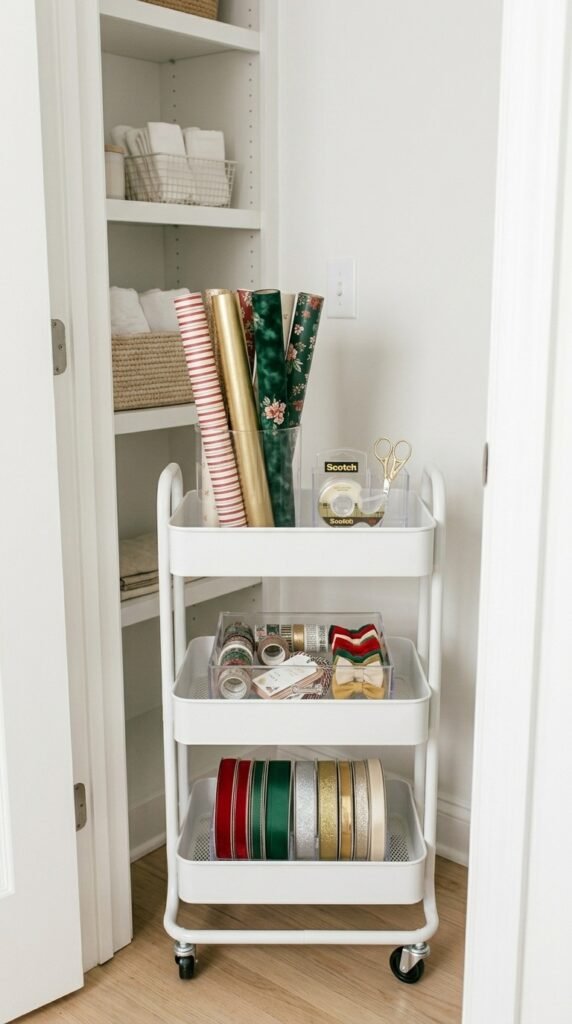
Wherever you choose, make sure every member of your household knows the spot. The system only works if things get returned to their home.
You’ll Never Dread Gift-Wrapping Again
With the right container, a few simple roll-securing tricks, and one dedicated spot for all your supplies, wrapping paper stays smooth, ribbon stays untangled, and gift-giving becomes genuinely enjoyable — instead of a 20-minute search through a crumpled disaster.
Save this post for your next declutter day, and tag someone who desperately needs a wrapping paper intervention. 🎁